

Node.js Succinctly®

CHAPTER 1
We can obtain information about Node.js at www.nodejs.org. According to the site, “Node.js is a platform built on Chrome's JavaScript runtime for easily building fast, scalable network applications. Node.js uses an event-driven, non-blocking I/O model that makes it lightweight and efficient, perfect for data-intensive real-time applications that run across distributed devices.” I suggest you also read the “What is Node.js” thread for a more in-depth Node.js definition.
Node.js provides the complete solution for server side applications, for instance web platforms. It can communicate with other systems, like database, LDAP, and any legacy application. There are many scenarios we can implement for Node.js.
Node.js can run on Windows, Linux, and Mac. It provides 32-bit and 64-bit platforms. To install Node.js for Ubuntu Linux, use the console and write the following script:
sudo apt-get install python-software-properties sudo add-apt-repository ppa:chris-lea/node.js sudo apt-get update sudo apt-get install nodejs npm |
For complete instructions on how to install Node.js for another Linux platform, visit: https://github.com/joyent/node/wiki/Installing-Node.js-via-package-manager.
If you are Windows user, you can install Node.js using the setup file. You can download it from the Node.js website, http://nodejs.org/download/. Download the .MSI file according to your platform. Run it and you will get the setup dialog as follows:

Figure 1: A Node.js Setup dialog
Follow the installation instructions.
A Node.js icon will be created on the Windows menu after installation. If you click this menu, the Node.js console will open.
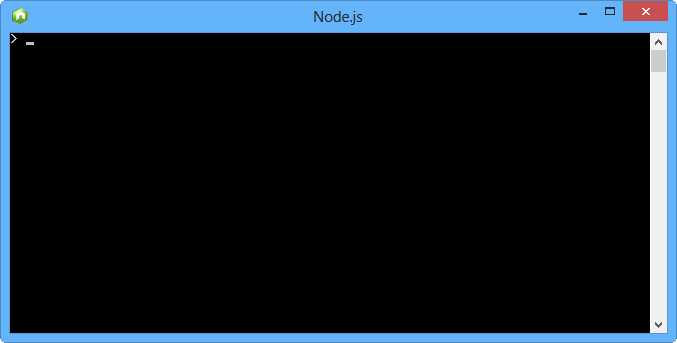
Figure 2: Node.js console
You can run the Node.js console manually from Windows Command Prompt (CMD). Launch it and type the following:
node |
It will display a response like the Node.js console.
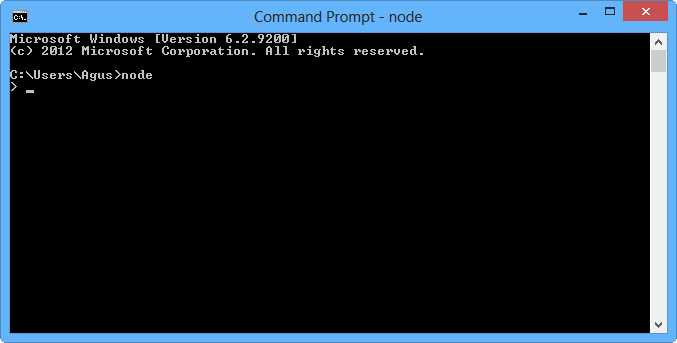
Figure 3: Running Node.js from Command Prompt
Basically you can use any text editor to write Node.js code. If you want to get more development experience, you could use the code editor with rich features such as WebStorm JetBrains, Eclipse, and Visual Studio. Some code editors may provide a debugging feature.
For Visual Studio 2012, you can use a web project template such as ASP.NET Empty Web Site.
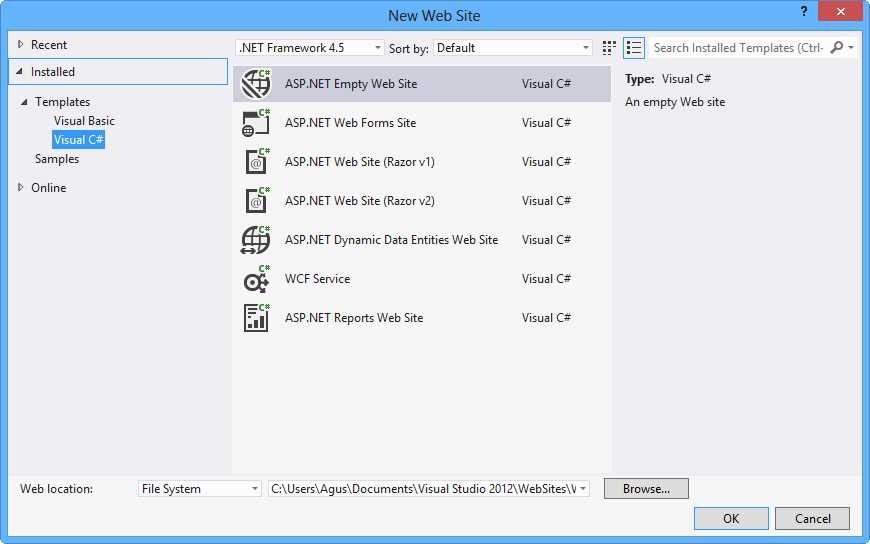
Figure 4: Web project template on Visual Studio 2012
Visual Studio 2012 provides an IntelliSense feature. It can help you to display information about API and syntax.
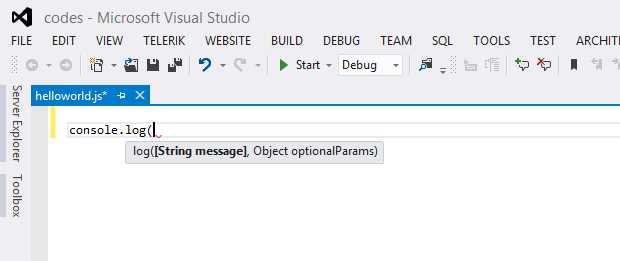
Figure 5: IntelliSense feature on Visual Studio 2012
Learning a new programming language usually starts with writing “hello world” code. Now how about Node.js? Let’s start writing “hello world” for Node.js.
First, run your code editor and write the following:
|
console.log('Hello world, nodejs'); |
Save this code to a file named helloworld.js.
Then open CMD or Terminal (Linux) and execute this file:
node helloword.js |
Here is the sample output of our “hello world” application:

Figure 6: “Hello world” application for Node.js
Note: console.log() shows data in the console.
Node.js provides modules to help our development. It is possible to cut development time because you don’t need write many lines of code.
There are a lot of Node.js modules that you can use. The list of Node.js modules can be seen here: https://github.com/joyent/node/wiki/Modules.
To install Node.js modules, you need the Node Packaged Modules (npm) package manager. After installing Node.js, you should have the npm package manager. You can check this by typing the script shown in the following table:
npm -help |
Then you will get a response on the console as shown in the following figure:
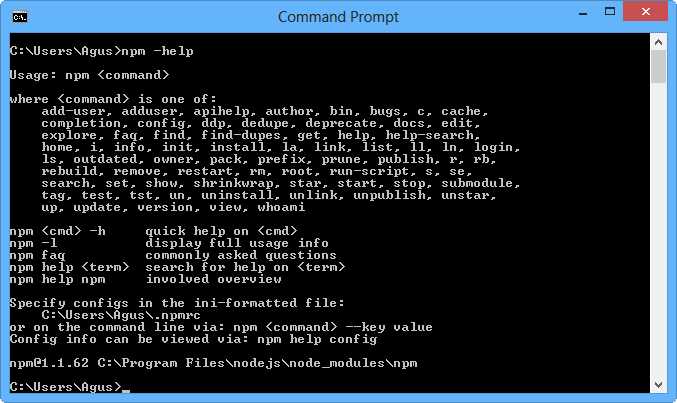
Figure 7: Calling the npm package manager
Let’s start to use a Node.js module, for instance, to add color to our console text. The module is cli-color, https://github.com/medikoo/cli-color .
First, install the cli-color module:
npm install cli-color |
Note: To install a Node.js module, your computer must be able to access an internet network. Some modules may require administrator level privileges for installation.
The output of installation is shown in Figure 8.
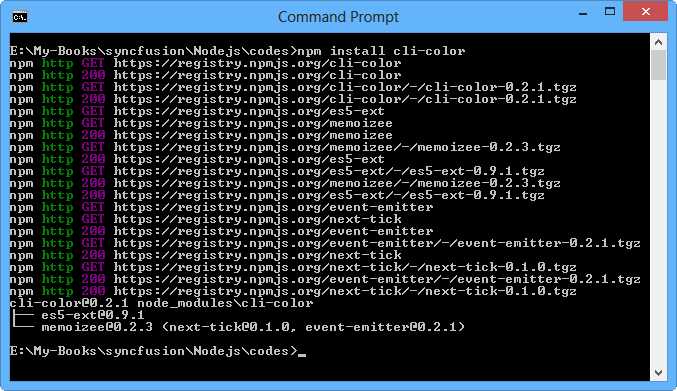
Figure 8: cli-color module installation
How do we use this module?
We need call the Node.js module in our code by calling require with the module name.
var clc = require('cli-color'); |
Therefore, if we want to color text, we can call xxx.blue for blue text and xxx.green for green text. xxx is a cli-color object.
console.log(clc.blue('"Hello node.js" in blue')); console.log(clc.red('"Hello node.js" in red')); console.log(clc.green('"Hello node.js" in green')); |
The sample of program output can be seen in Figure 9.
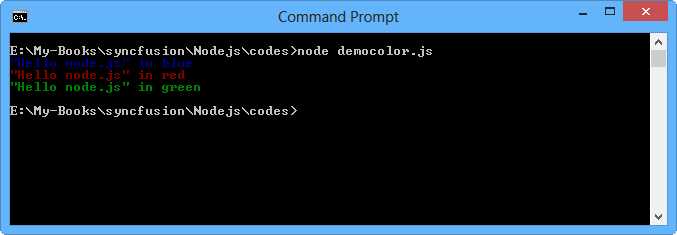
Figure 9: Program output for Node.js application with cli-color module.
How do you know the version of Node.js you are working with?
You can use a Node.js command to get the information on your Node.js version. Write this script:
node –v |
This is the output of Node.js script:
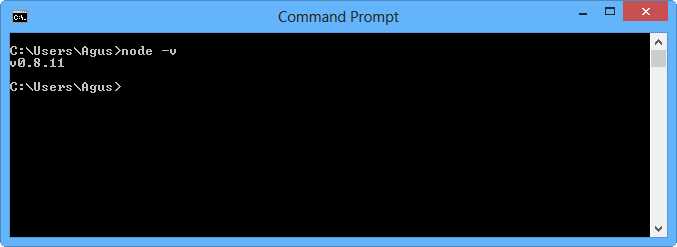
Figure 10: Getting the current Node.js version
Node.js doesn’t automatically update the existing runtime. You should check and update the Node.js version manually. Download the setup file from the Node.js website and then install it on your computer.
The setup installation will check the installed Node.js. If it was found, it will update the current version of Node.js. Check your Node.js version again after installation is complete.