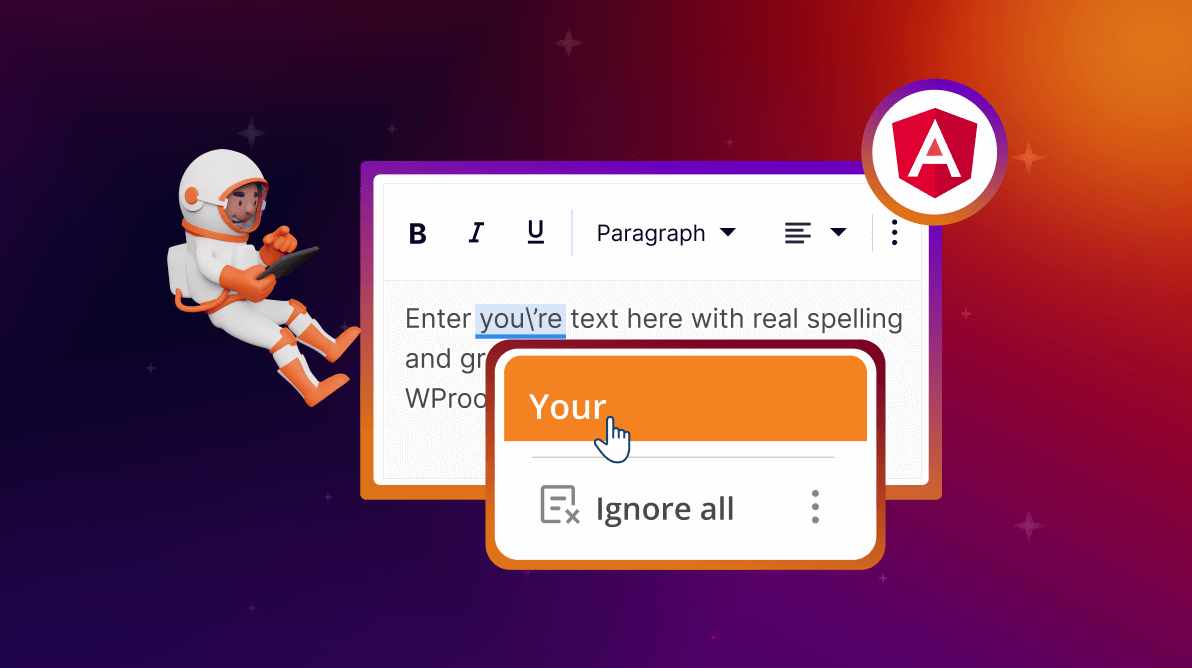
TL;DR: Learn to integrate WProofreader with Syncfusion Angular Rich Text Editor! This step-by-step guide ensures seamless setup, elevating text quality and user experience with advanced proofreading. Perfect for easy editing upgrades!
A WProofreader is an essential tool for bloggers. It offers real-time detection and correction of spelling errors as users type. It enhances the overall quality and professionalism of content, ensuring a positive user experience. With features like multilingual support, customization options, and integration with content management systems, web spellcheckers streamline the editing process, contributing to error-free and polished blog posts.
Therefore, in this blog, we’ll explore how to easily integrate the WProofreader with Syncfusion Angular Rich Text Editor to improve the quality of your content.
Step 1: Set up the Angular Rich Text Editor
First, refer to the getting started with Angular Rich Text Editor documentation. This will help you set up the Angular environment and add the Angular Rich Text Editor component to your app.
Step 2: Set up the WProofreader
To integrate the WProofreader, we should install the @webspellchecker/wproofreader-sdk-js package using NPM or Yarn.
npm install @webspellchecker/wproofreader-sdk-js
Or
yarn add @webspellchecker/wproofreader-sdk-js
Step 3: Configure WProofreader for Angular Rich Text Editor
Now, you can import the WProofreader module into your Angular app. Then, integrate it with the Angular Rich Text Editor by configuring the container property of WProofreader as the editable element of the Rich Text Editor’s inputElement.
You can obtain this through the @ViewChild instance of the Angular Rich Text Editor.
The lang property specifies the language of the text to be checked. You can change it to your preferred language. In the serviceId property, configure the activation key.
Refer to the following code example to integrate WProofreader with the Syncfusion Angular Rich Text Editor.
import { Component, AfterViewInit, ViewChild } from '@angular/core';
import { CommonModule } from '@angular/common';
import { RouterOutlet } from '@angular/router';
import { RichTextEditorAllModule, RichTextEditorComponent } from '@syncfusion/ej2-angular-richtexteditor';
import { ToolbarService, LinkService, ImageService, HtmlEditorService } from '@syncfusion/ej2-angular-richtexteditor';
//@ts-ignore
import WProofreader from '@webspellchecker/wproofreader-sdk-js';

@Component({
  selector: 'app-root',
  standalone: true,
  imports: [CommonModule, RouterOutlet, RichTextEditorAllModule],
  templateUrl: './app.component.html',
  styleUrl: './app.component.css',
  providers: [ToolbarService, LinkService, ImageService, HtmlEditorService]
})
export class AppComponent implements AfterViewInit  {
  @ViewChild("spellEditor")
  public spellEditor!:RichTextEditorComponent;
  title = 'WebSpellChecker-RichTextEditor';
  ngAfterViewInit(): void {
    WProofreader.init({
      container: this.spellEditor.inputElement,
      lang: 'en_US',
      serviceId:"tQYWpiIqVsyXwDO"
    });
  }
}
Refer to the following image.

GitHub reference
For more details, refer to our GitHub demo.

Harness the power of Syncfusion’s feature-rich and powerful Angular UI components.
Conclusion
Thanks for reading! I hope you now have a clear idea of how to integrate the WProofreader with Syncfusion Angular Rich Text Editor. We look forward to you trying this integration and hope you provide feedback in the comments section below.
If you are new to Syncfusion, try our control features by downloading a free trial.
If you have any questions, contact us through our support forums, support portal, or feedback portal. We are always happy to assist you!


