Angular is a component-based, front-end development framework. As a result, there are many component libraries specialized for Angular. As developers, it is essential to be aware of them to choose the best one for our Angular projects.
In this article, I will go through 10 Angular component libraries, in no particular order, that every developer should know.
1. Angular Material: Google’s official Angular UI component library
Angular Material, formerly known as Material2, is Google’s official Angular UI component library. It is built using TypeScript and focuses on implementing the application based on Google’s Material Design. Most importantly, Angular Material allows developers to create their own customized components.
Angular Material has more than 22,000 GitHub stars and 1.1 million weekly NPM downloads.
Features of Angular Material
- Simple APIs with consistent cross-platform behavior.
- Developers can build their own custom components using the tools provided. For example, you can customize the colors of your theme, create custom topologies, or even create your own component styles using the Sass API.
- High-quality and widely used components built by the Angular team.
- Support for standard CSS.
Installation
You can install Angular Material using NPM or Yarn as follows.
// with npm
npm i @angular/material

// with yarn
yarn add @angular/material
Usage
After installation, you need to import relevant Angular Material into the app.module.ts file. Then, you can use the component in your Angular application.
//App Module

import { MatSliderModule } from '@angular/material/slider';

@NgModule ({
  imports: [
    MatSliderModule,
  ]
})

class AppModule {}

// App Component
<mat-slider min="1" max="100" step="1" value="50"></mat-slider>
2. NGX Bootstrap: expands Bootstrap capabilities
NGX Bootstrap is a popular, open-source Angular component library. It extends Bootstrap component capabilities and allows developers to use them in Angular applications easily. Compared to native Bootstrap components, NGX Bootstrap components are modular, extensible, and adaptable.
NGX Bootstrap has more than 5,000 GitHub stars and 300,000 weekly NPM downloads.
Features of NGX Bootstrap
- NGX Bootstrap can run on desktop and mobile platforms with the same performance level.
- Comprehensive and easy-to-understand documentation.
- Components are modular by design.
- Each component is unit tested and supports the latest Angular versions.
- A set of guidelines helps improve code readability and maintainability.
Installation
You can install NGX Bootstrap using NPM or Yarn as follows.
// with npm
npm i ngx-bootstrap

// with yarn
yarn add ngx-bootstrap
Usage
After installation, you need to import the component modules to appModule.
import { TooltipModule } from 'ngx-bootstrap/tooltip';


@NgModule({
  ...
  imports: [TooltipModule.forRoot(),...]
  ...
})
Then, you can use NGX Bootstrap components in Angular components.
<button type="button" class="btn btn-primary"
        tooltip="Vivamus sagittis lacus vel augue laoreet rutrum faucibus.">
    Click here…
</button>
Syncfusion Angular component suite is the only suite you will ever need to develop an Angular application faster.
3. NG Bootstrap: inspired by Bootstrap
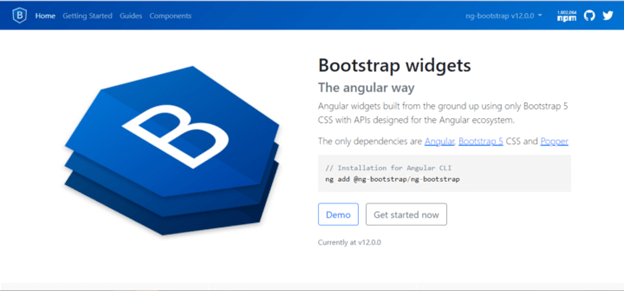
NG Bootstrap is another well-known Angular UI component library inspired by Bootstrap. Despite having a similar name to NGX Bootstrap, NG Bootstrap is a completely different project. NG Bootstrap components are built using only Bootstrap 5 CSS with APIs specifically designed for Angular.
NG Bootstrap has more than 7,900 GitHub stars and 400,000 weekly NPM downloads.
Features of NG Bootstrap
- A variety of widgets to choose from, including all Bootstrap widgets.
- Developers can use Bootstrap components like modals, carousels, progress bars, etc.
- Having a basic understanding of Angular is enough to use NG Bootstrap.
- Components are lightweight and responsive.
- The library does not depend on other dependencies.
- All components are tested with 100% coverage.
- Large community for support.
Installation
You can install NG Bootstrap using NPM or Yarn as follows.
// with npm
npm i @ng-bootstrap/ng-bootstrap

// with yarn
yarn add @ng-bootstrap/ng-bootstrap
Usage
After installation, you need to import the complete NgbModule or the submodule with the required components to the app.module.ts.
import {NgbModule} from '@ng-bootstrap/ng-bootstrap';

@NgModule({
  imports: [NgbModule],
})

export class AppModule {
}

//or

import {NgbAlertModule} from '@ng-bootstrap/ng-bootstrap';

@NgModule({
  imports: [NgbAlertModule],
})

export class AppModule {
}
Then, simply use the NG Bootstrap component in your application.
// app.components.html
<p>
 <ngb-alert [dismissible]="false"><strong>Warning!</strong>
    Better check yourself, you're not looking too good.
 </ngb-alert>
</p>
4. Onsen UI for Angular: supports PWAs
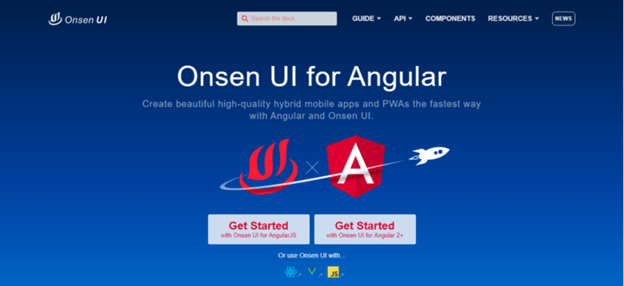
Onsen UI is a JavaScript-based component library specialized for web and mobile applications. Developers can easily build reactive mobile apps and PWAs using the development tools and powerful CLI provided by Onsen UI.
Onsen UI has more than 8,600 GitHub stars and 30,000 weekly NPM downloads.
Features of Onsen UI
- It is simple to learn and apply.
- Monaca is a cross-platform tool for developing hybrid apps, and Onsen UI works well with it.
- Developers can use Onsen UI to work with CSS, HTML, and JavaScript technologies.
- It is compatible with both AngularJS and Angular 2+.
Installation
You can easily install Onsen UI using NPM as follows.
// with npm
npm install onsenui ngx-onsenui --save
Usage
First, you need to import Onsen to AppModule.
import { OnsenModule } from 'ngx-onsenui';
...
imports: [ BrowserModule, OnsenModule ],
Then, import CUSTOM_ELEMENTS_SCHEMA to AppModule.
import { CUSTOM_ELEMENTS_SCHEMA } from '@angular/core';
...
schemas: [ CUSTOM_ELEMENTS_SCHEMA ],
Then, include Onsen CSS files in angular.json to use Onsen components in your application.
"styles": [
  "node_modules/onsenui/css/onsenui.css",
  "node_modules/onsenui/css/onsen-css-components.css",
  "src/styles.css"
],
Finally, you can directly use Onsen components in your application.
// app.components.html
<div><ons-button (click)="onClick()">Onsen Button</ons-button>
</div>
5. PrimeNG: an extensive collection of UI components
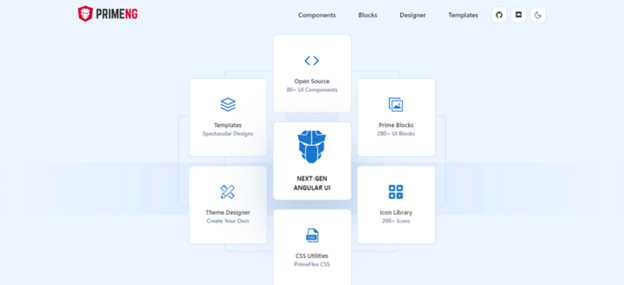
PrimeNG is yet another Angular component library well-known for its extensive collection of UI components. Its widgets are all open-source and licensed under the MIT license. This library is very appealing because it was created by PrimeTek Informatics, a company that specializes in developing high-quality open-source UI solutions.
Onsen UI has more than 7,300 GitHub stars and 296,000 weekly NPM downloads.
Features of PrimeNG
- More than 80 different components.
- A theme designer lets you create your own themes.
- Anyone can easily get started with professionally designed, customizable templates provided by PrimeNG.
- 200+ icons.
- 280+ UI blocks.
- It is constantly being updated. If any problems arise, they can be resolved quickly.
Installation
You can install PrimeNG using NPM or Yarn as follows.
// with npm
npm i primeng

// with yarn
yarn add primeng
Usage
After installation, you can use PrimeNG components.
// component.ts
import {ButtonModule} from 'primeng/button';

// component.html
<button pButton type="button" label="Click" ></button>
<p-button label="Click" ></p-button>
Find the right property to fit your requirement by exploring the complete documentation for Syncfusion’s Angular components.
6. NG Lightning: Angular component library for Salesforce development
NG Lightning is a popular Angular component library for Salesforce development. This library is reliant on input properties to provide better performance to end-users. It is built on a lightning design system as well as a native Angular component.
Features of NG Lightning
- Focused on improved performance and greater development flexibility.
- Specialized in Angular and Salesforce development.
- Written in TypeScript.
Installation
You can install NG Lightning using NPM as follows.
npm install --save ng-lightningUsage
After installation, you need to include the style files in the angular.json file.
"styles": [
  "node_modules/@salesforce-ux/design-system/assets/styles/salesforce-lightning-design-system.min.css",
  "node_modules/@angular/cdk/overlay-prebuilt.css",
],
Then, you can import the NG Lightning module to AppModule and use the components as required.
// App Module

import {NglModule} from 'ng-lightning';

@NgModule({
  imports: [..., NglModule],
  declarations: [AppComponent, ...],
  bootstrap: [AppComponent],
})

export class AppModule {}

// App Component

<button type="button" nglButton variant="base">base</button>
7. Syncfusion Angular UI : a comprehensive UI components library for Angular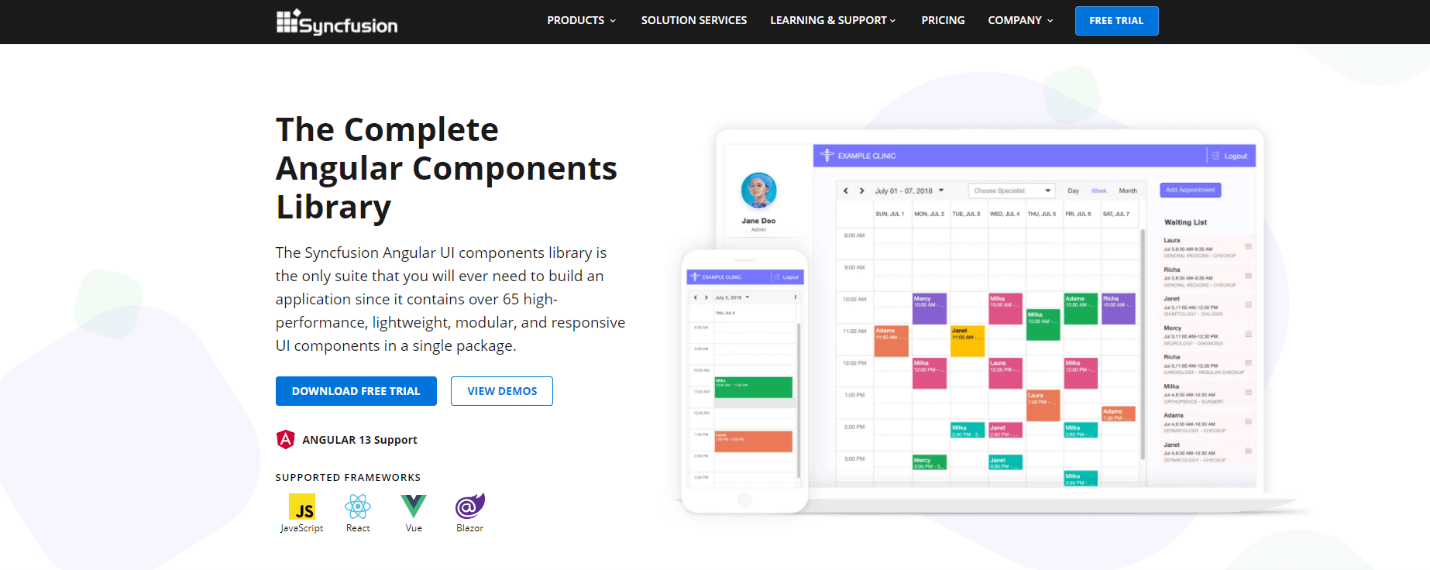
The Syncfusion Angular UI library offers over 65 high-performance, lightweight, modular, and responsive UI components in a single package.
Features of Syncfusion Angular UI suite
- To facilitate selective referencing, all components are designed as modules.
- The components are touch-friendly and adaptable to multiple devices, resulting in a great user experience.
- Components can be used by a global audience in various languages and cultures.
- Lightweight.
Installation
You can install the required packages via NPM.
npm i @syncfusion/ej2-angular-baseUsage
This is how you can implement a check box from the Syncfusion UI components.
//component.ts

import { Component, ViewEncapsulation, Inject, ViewChild } from '@angular/core';
import { CheckBoxComponent } from '@syncfusion/ej2-angular-buttons';

@Component({
  selector: 'control-content',
  templateUrl: 'checkbox.html',
  styleUrls: ['checkbox.css'],
  encapsulation: ViewEncapsulation.None
})

export class CheckBoxController {
  @ViewChild('checkbox')
  public checkbox: CheckBoxComponent;

  constructor(@Inject('sourceFiles') private sourceFiles: any) {
    sourceFiles.files = ['checkbox.css'];
  }

  // function to handle the CheckBox change eventpublic changeHandler() : void {
    this.checkbox.label = 'CheckBox: ' + this.checkbox.checked;
  }
}

//component.html

<div class="control-section">
  <div class="checkbox-control"><div class="row"><ejs-checkbox #checkbox label="CheckBox: true" [checked]="true" (change)="changeHandler()"></ejs-checkbox>
  </div>
 </div>
</div>
8. Clarity: enterprise-focused design system
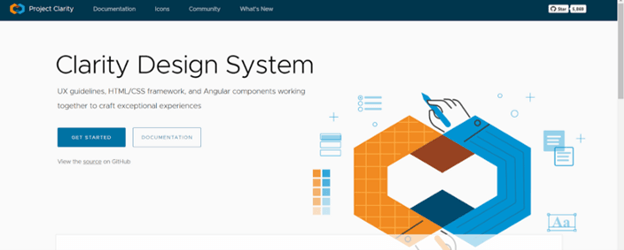
Clarity is a free and open-source Angular component library that serves as a combination of UX guidelines, HTML/CSS framework, and Angular components. It provides a set of reusable UI components that work with any JavaScript framework or no framework at all.
Features of Clarity
- Scalable and customizable components.
- It can be used in any web application, regardless of the JavaScript framework.
- It offers a set of well-designed and implemented data-bound components.
Installation
You can install Clarity using NPM as follows.
// with npm
npm i @clr/angular
Usage
After installation, you can import the ClarityModule into your Angular application’s module.
import { NgModule } from '@angular/core';
import { BrowserModule } from '@angular/platform-browser';
import { ClarityModule } from '@clr/angular';
import { AppComponent } from './app.component';

@NgModule({
  imports: [
    BrowserModule,
    ClarityModule,
    ....
  ],

  declarations: [ AppComponent ],
  bootstrap: [ AppComponent ]
})

export class AppModule { }
Then, you can use Clarity components in your Angular application.
<clr-alert [clrAlertAppLevel]="true"><clr-alert-item><span class="alert-text">
   Congratulations, you have installed Clarity!
  </span></clr-alert-item>
</clr-alert>
Be amazed exploring what kind of application you can develop using Syncfusion Angular components.
9. Vaadin UI components: enterprise-level UI components for web applications
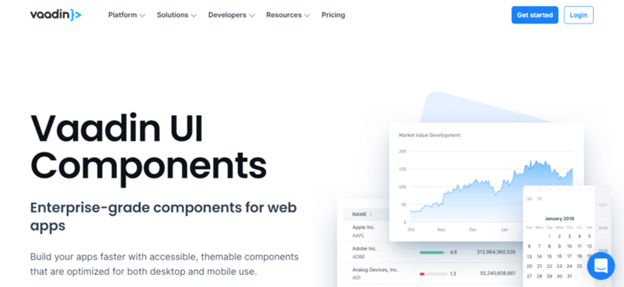
The Vaadin Angular component library provides 45+ accessible components for Angular applications. These components are optimized for both web and mobile views to provide a good user experience.
Features of Vaadin
- Responsive layouts.
- A good base for your own design system.
- Manually tested with common assistive technologies.
- It handles server-client communication and routing quickly and securely.
- Keyboard navigation and screen reader support are provided.
Installation
You can install Vaadin using NPM as follows.
// with npm
npm i @vaadin/vaadin-grid
Usage
After installation, you need to import Vaadin components to your application.
// app.components.ts

import '@vaadin/vaadin-button';
import '@vaadin/vaadin-button';
Then, you can use Vaadin components in your application as follows.
// app.components.html

<vaadin-horizontal-layout theme="spacing" style="align-items: baseline">
  <vaadin-button @click="${() => this.counter++}"> Button </vaadin-button>
  <p> Clicked ${this.counter} times </p>
</vaadin-horizontal-layout>
10. Nebular: customizable Angular UI kit
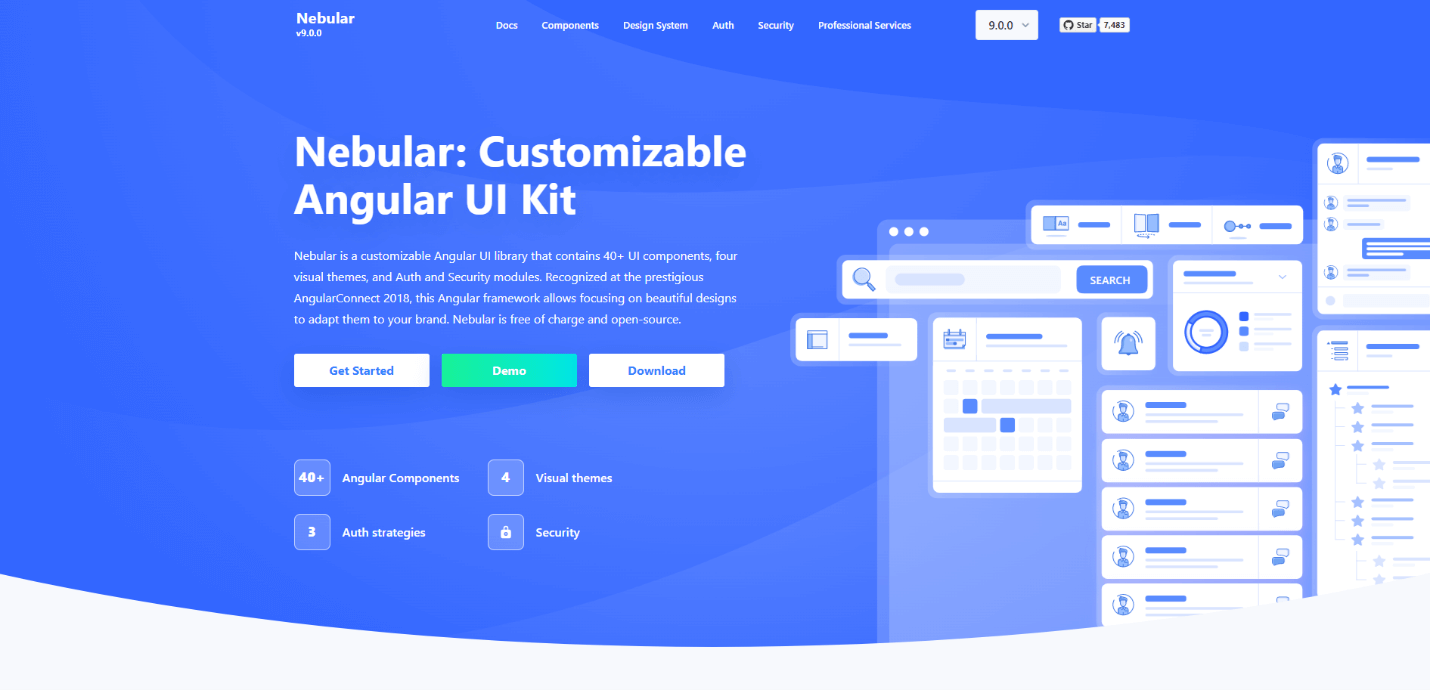
Nebular is a customizable Angular UI component library that focuses on the adaptability and design of the application. It has more than 40 UI components, four visual themes, and authentication and security modules.
Features of Nebular
- Authentication layer.
- Excellent community support.
- Components have configurable styles.
- Implementation based on the Eva design system.
Installation
You can install Nebular using NPM as follows.
//with npm
npm i node-teradata
Usage
After installation, you can use Nebular components.
// App module

@NgModule({
  imports: [
    NbCardModule,
  ]
})

export class AppModule { }

// App component
<nb-card>
  <nb-card-body>
    Card
  </nb-card-body>
</nb-card>
Harness the power of Syncfusion’s feature-rich and powerful Angular UI components.
Conclusion
In this article, I discussed 10 different Angular component libraries. Each of them has some unique features and can be used based on your requirements.
I hope my descriptions will help you choose the best Angular component library for your project. Thank you for reading.
Syncfusion’s Angular UI component library is the only suite you will ever need to build an application, containing a wide range of high-performance, lightweight, modular, and responsive UI components in a single package.
For existing customers, the newest Essential Studio® version is available for download from the License and Downloads page. If you are not yet a Syncfusion customer, you can try our 30-day free trial to check out the available features. Also, check out our demos on GitHub.
For questions. you can contact us through our support forums, support portal, or feedback portal. We are always happy to assist you!

