Traditionally, we need to do the following to include any of the Syncfusion Angular components in the Angular CLI environment:
- Create a new Angular CLI application.
- Install the Syncfusion Angular package.
- Register the module in app.module.ts.
- Add required theme references.
- Add the Syncfusion Angular component.
- Compile and run the application using the ng serve -o command.
In the manual configuration process, we may encounter many issues while working with multiple packages. Because of this, we recommend Angular Schematics for configuring any Syncfusion Angular components with simple commands.
Schematics is a modern web scaffolding tool that can apply transforms to your project, such as creating new components, and installing and configuring existing Angular libraries.
I am very excited to announce that our Angular UI component suite supports Schematics out of the box! This provides the following:
- Add, install, and configure any Syncfusion Angular package.
- Include our readily available themes in your application.
- Include the most frequently used code snippets of our components.
In this blog, we are going to learn about how to use our Angular Schematics features in an Angular CLI application.
Let’s start with the integration and configuration.
Create Angular CLI application
Before we get started with configuration, ensure the latest Angular CLI is installed in your system environment. If it is not installed, we recommend you use the following command to install it:
npm install -g @angular/cli
Run the following command to create a new Angular CLI application:
ng new syncfusion-schematics
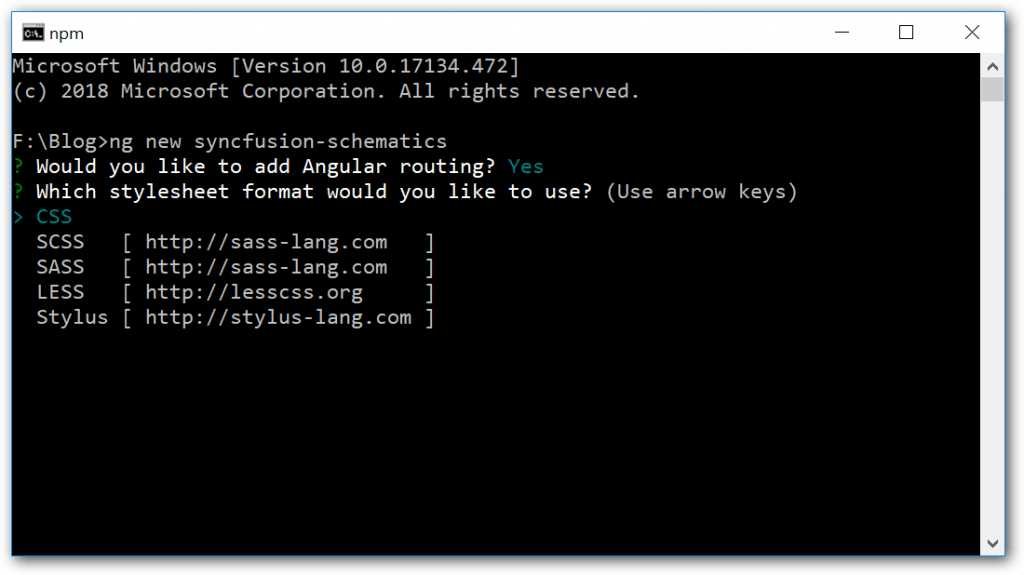
This command requires routing and style sheet format inputs to create the application, which are up to us. In the following figure, we are enabling the routing and using CSS for style sheet format.
Creating an Angular CLI application
Configure Syncfusion Angular packages
The Angular CLI application is now ready. Navigate to the created CLI application using the following command:
cd syncfusion-schematics
Now you can install and configure any Syncfusion Angular package using the ng add command. Here, we are going to configure our ListView component using the following command:
ng add @syncfusion/ej2-angular-lists
This command will configure the ListView component with a default Material theme in the Angular CLI application. If you wish to change the built-in theme, include the theme attribute with the ng add command, as shown in the following code:.
ng add @syncfusion/ej-angular-lists ––theme=”fabric”
You can see the code changes required for changing the theme in the following screenshots from the Visual Studio Code editor.
| File | Code changes |
| package.json |  |
| angular.json |  |
| app.module.ts | 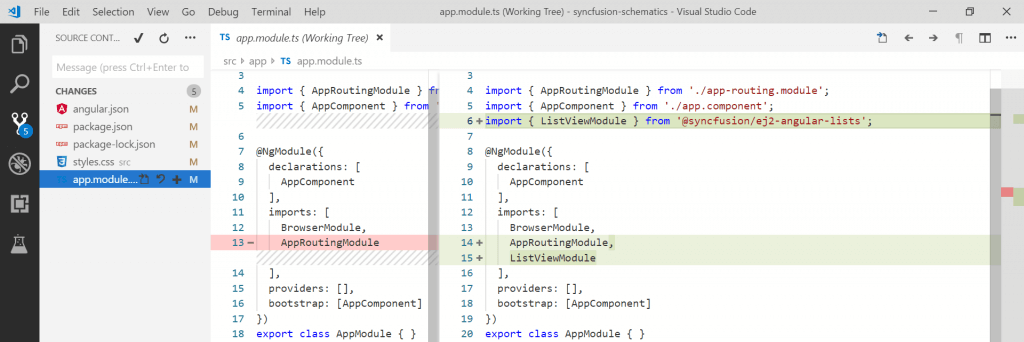 |
| style.css |  |
Note: You may use our Angular packages with multiple modules. For example, our @syncfusion/ej2-angular-popups components have multiple modules such as Dialog and Tooltip. We can include the specific module using the ––module attribute as in the following command:
ng add @syncfusion/ej2-angular-popups ––modules=”tooltip”
Include code examples
The Syncfusion ListView component is now configured into the Angular CLI application. Next, we are going to include the default ListView code example into this application, using the ng generate command.
ng g @syncfusion/ej2-angular-lists:listview-default ––name=syncfusion-lists
This command will include the code examples in the syncfusion-lists Angular component file. You can reference the folder syncfusion-lists for created component file changes. The command execution should look like the following figure.
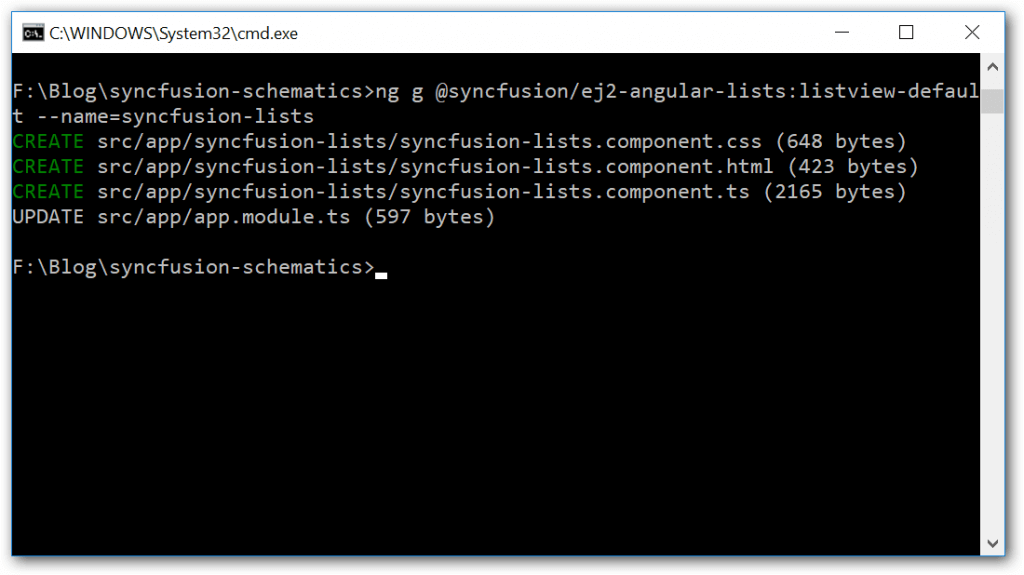
Adding ListView to the Application
Routing for Syncfusion ListView
Finally, we must include the routing for the created ListView Angular component in the app.routing.ts file.
[app.routing.ts]
import { NgModule } from ‘@angular/core’;
import { Routes, RouterModule } from ‘@angular/router’;
// Syncfusion ListView component routing.
import { SyncfusionListsComponent } from ‘./syncfusion-lists/syncfusion-lists.component’;
const routes: Routes = [
{ path: ‘lists’, component: SyncfusionListsComponent },
{ path: ”, pathMatch: ‘full’, redirectTo : ‘lists’ }
];
@NgModule({
imports: [RouterModule.forRoot(routes)],
exports: [RouterModule]
})
export class AppRoutingModule { }
Serve the application
Go to the application directory and launch the server using the following command:
ng serve ––open
Once all the files are compiled successfully, the site will be served.
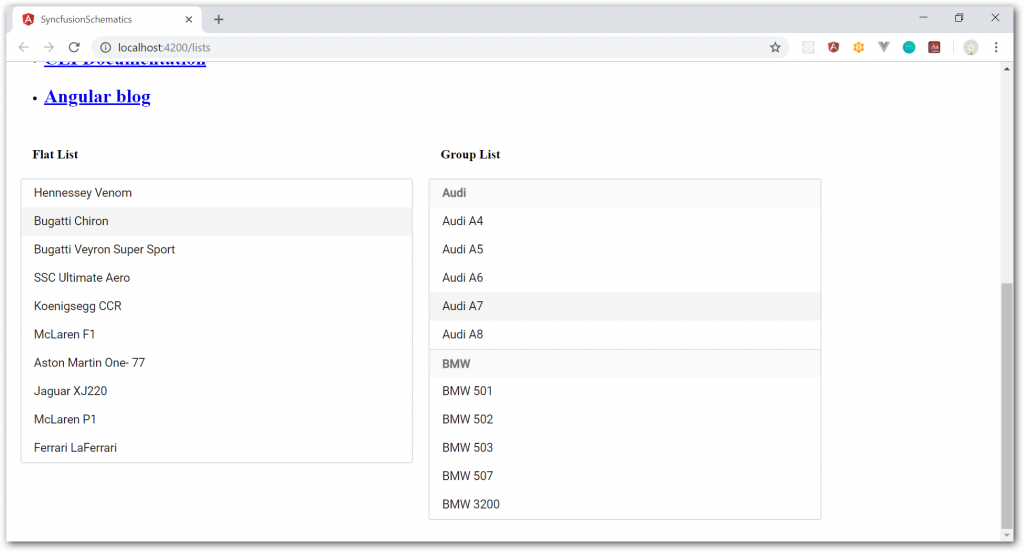
The ListView default sample should look something like the following figure.
ListView Sample Served
If you wish, navigate to the following location to explore the code examples for the Syncfusion ListView component:
node_modules/@syncfusion/ej2-angular-lists/schematics/generators
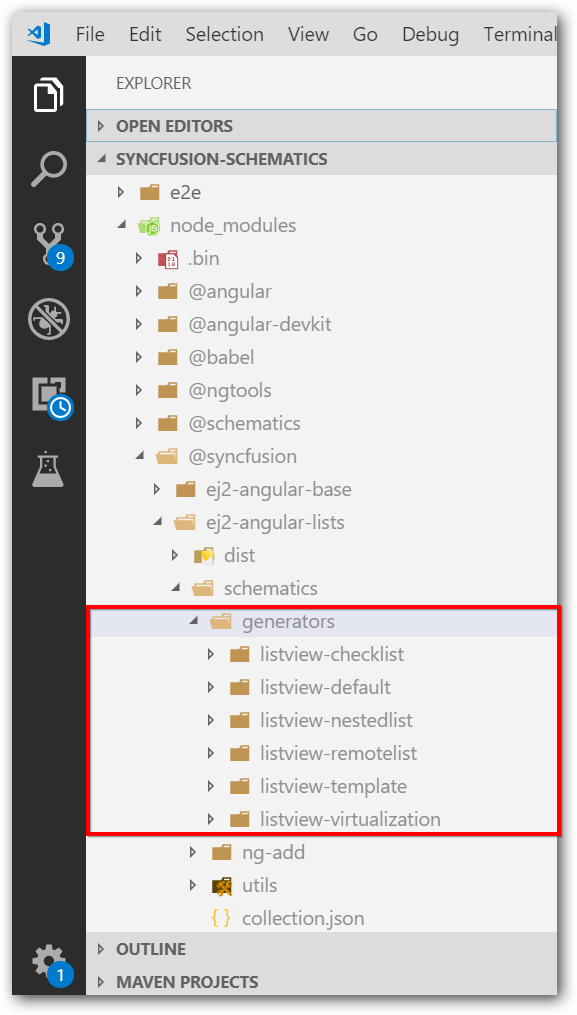
Location of ListView Examples
You can replace the listview-default name with the proper folder name to include a specific code example of our ListView component using the ng g command from the include code examples section above. For example, the remote-list code example will be included when you use the following command:
ng g @syncfusion/ej2-angular-lists:listview-remotelist ––name=syncfusion-lists
Summary
In this blog, we learned how to use Syncfusion Angular Schematics to configure and generate samples for our Angular components in an Angular CLI application using simple commands.
Feel free to check out the Syncfusion Angular components on GitHub, our sample browser, and our documentation to explore live demos of the components and their various customization features.
If you have any questions or require clarifications, please let us know in the comments section below. You can also contact us through our support forum or Direct-Trac. We are happy to assist you!
If you like this blog post, we think you’ll also like the following free ebook:

