
TL;DR: Let’s see how to save and load images using the React Image Editor and SQL Server LocalDB. We’ll create an ASP.NET Core Web API to store images, connect it to a React app, and enable cropping, annotations, and filters. The backend handles image storage and retrieval via API, while the frontend integrates the Image Editor for seamless modifications.
Saving and loading images from a database can be essential for many apps, like web galleries, that require image storage.
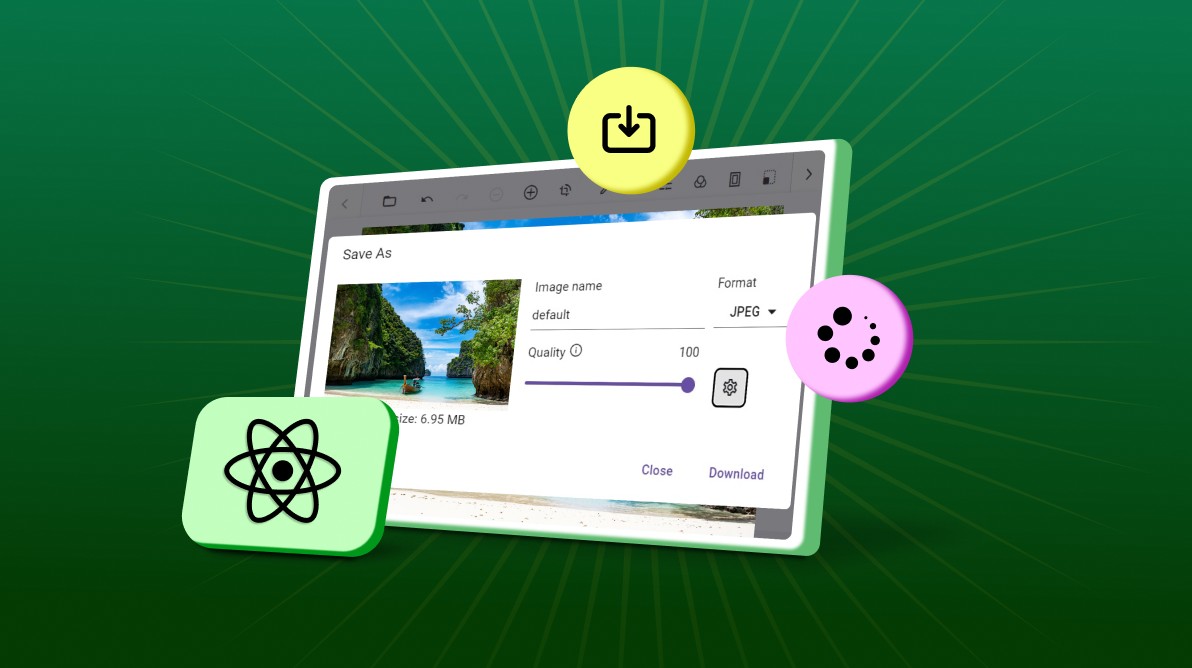
The Syncfusion React Image Editor component offers various built-in tools for rotating, flipping, zooming, and cropping images with user-selected areas. Additionally, it provides functionality for inserting annotations, including text, freehand drawings, and various shapes like rectangles, ellipses, lines, paths, and arrows. The component also includes filters and fine-tuning options to enhance images. It supports keyboard interactions and events and provides a user-friendly interface optimized for touch interactions.
In this blog, we’ll see how to save and load images using the React Image Editor and SQL Server LocalDB.
Different data types, such as BLOB (Binary Large Object), can be used to store image data in a database. In SQL Server, images can be stored as VARBINARY(MAX) or IMAGE. Since IMAGE is deprecated, we’ll focus on using VARBINARY(MAX).
Let’s get started!
Create an ASP.NET Core web API project
First, create a web API app that connects to SQL LocalDB. After setting up the app, install the following NuGet packages in the Server project, as they are essential for database connectivity:
Create a database in SQL LocalDB
Follow these steps to create the database for the app:
- Open SQL Server Object Explorer:
- In Visual Studio, navigate to the View menu and select SQL Server Object Explorer.
- Create a new database:
- In the SQL Server Object Explorer, locate the LocalDB server (you may need to expand the node).
- Right-click on Databases and select Add New Database.
- Name the new database as ImageDB and click OK.
- Create a new table in the database:
- In the SQL Server Object Explorer, expand the ImageDB database.
- Right-click on Tables and select Add New Table.
- Define the table schema:
- In the new table, define the following columns:
- Id: Set the data type to NVARCHAR(50) (For unique identification, with a fixed length).
- Name: Set the data type to NVARCHAR(50) (To store the image name).
- ImageData: Set the data type to VARBINARY(MAX) (To store the image data).
- In the new table, define the following columns:
- Save the table:
- Name the table ImageCollections and save the table by clicking the Update button in the top left corner.
Now, the ImageDB database has a table called ImageCollections with fields to store image metadata and binary data.
Connecting the database to the app
Create a model class named CustomImageData in the Shared project to represent image data. The class should include the following properties:
- Id for a unique identifier,
- Name for the image’s name,
- Description for a brief description,
- ImageData is a byte array used to store the actual image.
Refer to the following code example.
public class CustomImageData
{
    public int Id { get; set; }
    public string Name { get; set; }
    public byte[] ImageData { get; set; }
}
Then, create a DbContext class named ImageDbContext in the Data folder of the Server project. This class should include a DbSet property called ImageCollections, which corresponds to the table name in the database.
Refer to the following code example.
public class ImageDbContext : DbContext
{
    public ImageDbContext(DbContextOptions<ImageDbContext> options)
        : base(options)
    {
    }

    public DbSet<CustomImageData> ImageCollections { get; set; }
}
The ImageCollections table in the ImageDB database stores our images. We should first copy the connection string to connect the app to the database and manage actions, such as loading and saving. To do so, right-click on the ImageDB database, select Properties, and copy the connection string. Then, update the appsettings.json file in the Server project with the connection string details.
Refer to the following code example.
{
  "ConnectionStrings": {
    "DefaultConnection": "Data Source=(localdb)\\MSSQLLocalDB;Initial Catalog=ImageDB;Integrated Security=True;Connect Timeout=30;"
  },
  "AllowedHosts": "*"
}
Then, include the ImageDbContext in the Program.cs file of the Server project.
var builder = WebApplication.CreateBuilder(args);
builder.Services.AddControllers();
….
….
builder.Services.AddDbContext<ImageDbContext>(options =>
    options.UseSqlServer(builder.Configuration.GetConnectionString("DefaultConnection")));
var app = builder.Build();
…
…

app.UseAuthorization();
app.MapControllers();

app.Run();
Create an API controller for database access
To access data from the database, we need an API controller to handle requests for fetching and updating images. Start by adding a new item to the Controllers folder of the Server project. Then, implement the API controller in a class named ImagesController.
The following code example defines two API endpoints in the controller for managing image data.
- The GET endpoint, accessed via api/Images/{id}, retrieves an image by its unique identifier from the ImageCollections table in the database. If the image is found, it returns the data; otherwise, it returns a NotFound result.
- The PUT endpoint, accessed via the same route, updates an existing image record with new data provided in the request body. It checks if the image exists and if the provided ID matches the image’s ID. Then, it updates the necessary fields and saves the changes to the database. If the image does not exist or the IDs do not match, it returns appropriate error responses (NotFound or BadRequest).
using ImageEditorDBSample.Data;
using Microsoft.AspNetCore.Http;
using Microsoft.AspNetCore.Mvc;

namespace ImageEditorDBSample.Controller
{
    [Route("api/[controller]")]
    [ApiController]
    public class ImagesController : ControllerBase
    {
        private readonly ImageDbContext _dbContext;
        public ImagesController(ImageDbContext dbContext)
        {
            _dbContext = dbContext;
        }
        [HttpPost]
        public IActionResult SaveImage([FromForm] string id, [FromForm] IFormFile imageFile)
        {
            if (string.IsNullOrEmpty(id) || imageFile == null || imageFile.Length == 0)
            {
                return BadRequest("Invalid input");
            }
            using (var memoryStream = new MemoryStream())
            {
                // Copy the uploaded file's content into the memory stream
                imageFile.CopyTo(memoryStream);
                // Convert the memory stream into a byte array
                byte[] imageBytes = memoryStream.ToArray();
                // Check if the image already exists
                var existingImage = _dbContext.ImageCollections.FirstOrDefault(i => i.Id == id);
                if (existingImage != null)
                {
                    // Update existing record
                    existingImage.Name = imageFile.FileName;
                    existingImage.ImageData = imageBytes;
                }
                else
                {
                    // Add new record
                    var imageRecord = new CustomImageData
                    {
                        Id = id,
                        Name = imageFile.FileName,
                        ImageData = imageBytes
                    };
                    _dbContext.ImageCollections.Add(imageRecord);
                }
                _dbContext.SaveChanges();

                return Ok("Image saved successfully");
            }
        }

        [HttpGet("{id}")]
        public IActionResult LoadImage(string id)
        {
            var image = _dbContext.ImageCollections.FirstOrDefault(i => i.Id == id);
            if (image == null)
            {
                return NotFound("Image not found");
            }
            // Convert the byte array to a Base64 string
            var base64Image = Convert.ToBase64String(image.ImageData);
            return Ok(base64Image);
        }
    }
}
Design the user interface
Once the backend is set up, we can design the user interface to load and save images using the React Image Editor and SQL LocalDB. Ensure the port number from the launchSettings.json file in the Client project’s Properties folder is correctly used in the react example.
For the front end, we’ll use the React Image Editor to edit images, with functionalities to save and load images from a database. Once the image editor is set up, add two buttons to load and save images to the database.
The following code defines two asynchronous methods for interacting with image data via a web API.
- loadImageFromDB: This method sends an HTTP GET request to an API endpoint to fetch image data. It then deserializes the response into a CustomImageData object. If the image data is present, it converts the binary data to a base64 string and displays it in the Image Editor component.
- saveImageToDB: This method retrieves the image data from the Image Editor as a data URL using the getImageData method. It then extracts the base64 portion of the URL, converts it into a byte array, and creates a CustomImageData object with these bytes. The method serializes this object into JSON format and sends it to the API using an HTTP PUT request, thereby updating the image data in the database.
This setup allows users to load an image from the database into the React Image Editor, make modifications, and then save the edited image back to the database.
import React, { useRef } from 'react';
import { ImageEditorComponent } from '@syncfusion/ej2-react-image-editor';

const App = () => {
  const imageEditorRef = useRef(null);

  // Method to load image from the database
  const loadImageFromDB = async () => {
    const xhr = new XMLHttpRequest();
    xhr.open('GET', `https://localhost:7268/api/images/1`, true);
    xhr.onreadystatechange = function () {
        if (xhr.readyState === 4 && xhr.status === 200) {
            const base64Image = xhr.responseText;
            // Load the Base64 image string into the Image Editor component
            imageEditorRef.current.open(`data:image/png;base64,${base64Image}`);
            console.log('Image loaded successfully');
        } else if (xhr.readyState === 4) {
            console.error('Error loading image:', xhr.status, xhr.statusText);
        }
    };
    xhr.send();
  };

  // Method to save the image to the database
  const saveImageToDB = async () => {
     if (imageEditorRef.current) {
        const imageData = await imageEditorRef.current.getImageData();
        // Create a canvas to extract the image data as a blob
        const canvas = document.createElement('canvas');
        const ctx = canvas.getContext('2d');
        canvas.width = imageData.width;
        canvas.height = imageData.height;
        ctx.putImageData(imageData, 0, 0);
        canvas.toBlob((blob) => {
            if (blob) {
                const formData = new FormData();
                formData.append('id', 1); // Add the ID
                formData.append('imageFile', blob, 'editedImage.png');
                const xhr = new XMLHttpRequest();
                xhr.open('POST', 'https://localhost:7268/api/images', true);
                xhr.onreadystatechange = function () {
                    if (xhr.readyState === 4) {
                        if (xhr.status === 200) {
                            console.log('Image saved successfully');
                        } else {
                            console.error('Error saving image:', xhr.statusText);
                        }
                    }
                };
                xhr.send(formData);
            }
        }, 'image/png');
    }
 };

 return (
    <div>
      <ImageEditorComponent ref={imageEditorRef} height="550px"/>
      <button onClick={loadImageFromDB}>Load Image from DB</button>
      <button onClick={saveImageToDB}>Save Image to DB</button>
    </div>
  );
};

export default ImageEditorComponent;
Reference
For more details, refer to the loading and saving images in React Image Editor from a database StackBlitz demo.

Conclusion
Thanks for reading! In this blog, we’ve seen how to load and save images in the Syncfusion React Image Editor from a database. Storing and retrieving images from a database involves converting images to and from binary format. While straightforward, this process requires attention to best practices such as compression and security. Whether you’re developing a simple profile system or a complex gallery app, understanding how to handle image data in a database is an invaluable skill.
You can also contact us through our support forums, support portal, or feedback portal. We are always happy to assist you!


 No spam, just valuable updates.