TL;DR: Explore the Syncfusion WPF Gantt control to enhance your project management skills. This blog highlights its key features, including data binding, task relationships, and resource management, and provides a step-by-step guide to integrating it into your app. Learn to visualize complex timelines and streamline task and resource management for improved productivity. Dive in to unlock the full potential of this intuitive tool!
Syncfusion WPF Gantt is a project management control that offers a Microsoft Project-like interface for displaying and managing hierarchical tasks and timelines. This control allows you to manage tasks, resources, and their relationships intuitively.
In this blog, we will delve into the key features of the WPF Gantt control and outline the steps to get started!
Key features
The WPF Gantt control provides support for the following key features:
- Data binding
- Task relationships
- Resources
- Baseline
- Editing
- Filtering and sorting
- Selection
- Drag and drop
- Zooming
- Tooltip
- Strip lines
- DateTime indicator
- Export and import
- Theming
- Appearance customization
- Localization and globalization
Let’s take a closer look at these features!
Data binding
The WPF Gantt control provides MVVM (Model-View-ViewModel) friendly features with comprehensive data binding support. This allows you to synchronize task data from external services and databases into the Gantt control using mapping techniques.
You can create a custom task model with required fields such as ID, Name, StartDate, EndDate, and Duration, as well as other optional fields like Predecessor and Resource. These fields can be mapped to the equivalent properties in the TaskAttributeMapping API within the Gantt control class.
Task relationships
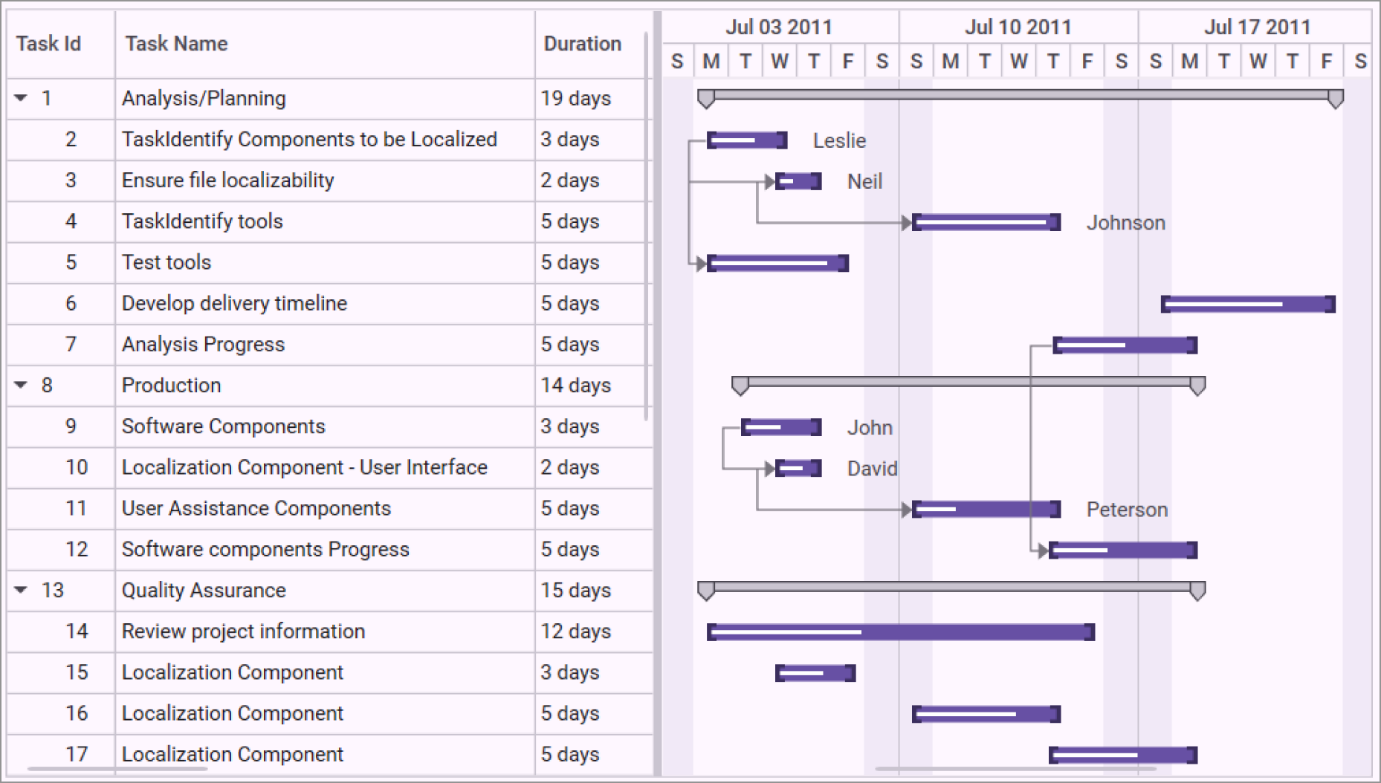
The WPF Gantt allows us to create relationships among different tasks to determine the execution order using finish-to-start, start-to-finish, start-to-start, and finish-to-finish link types.

Resources
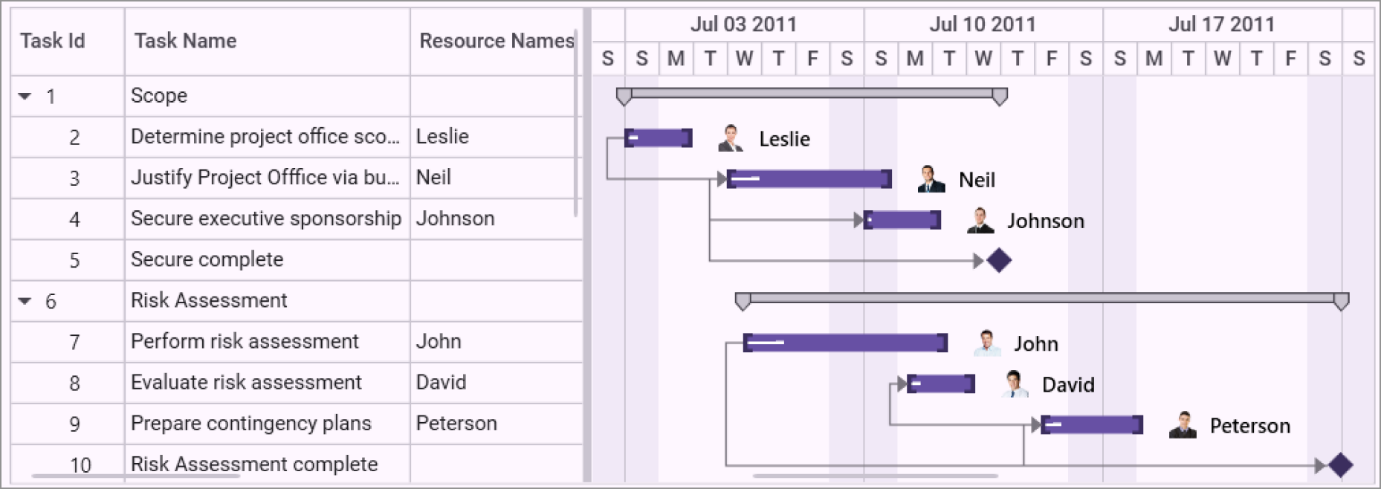
You can allocate multiple resources to each task in the resource view of the Gantt. The tasks are hierarchically assigned to each resource, visualizing resources as parents and tasks as children. This structure provides a clear overview of resource allocation and task assignments within the project.
Baseline
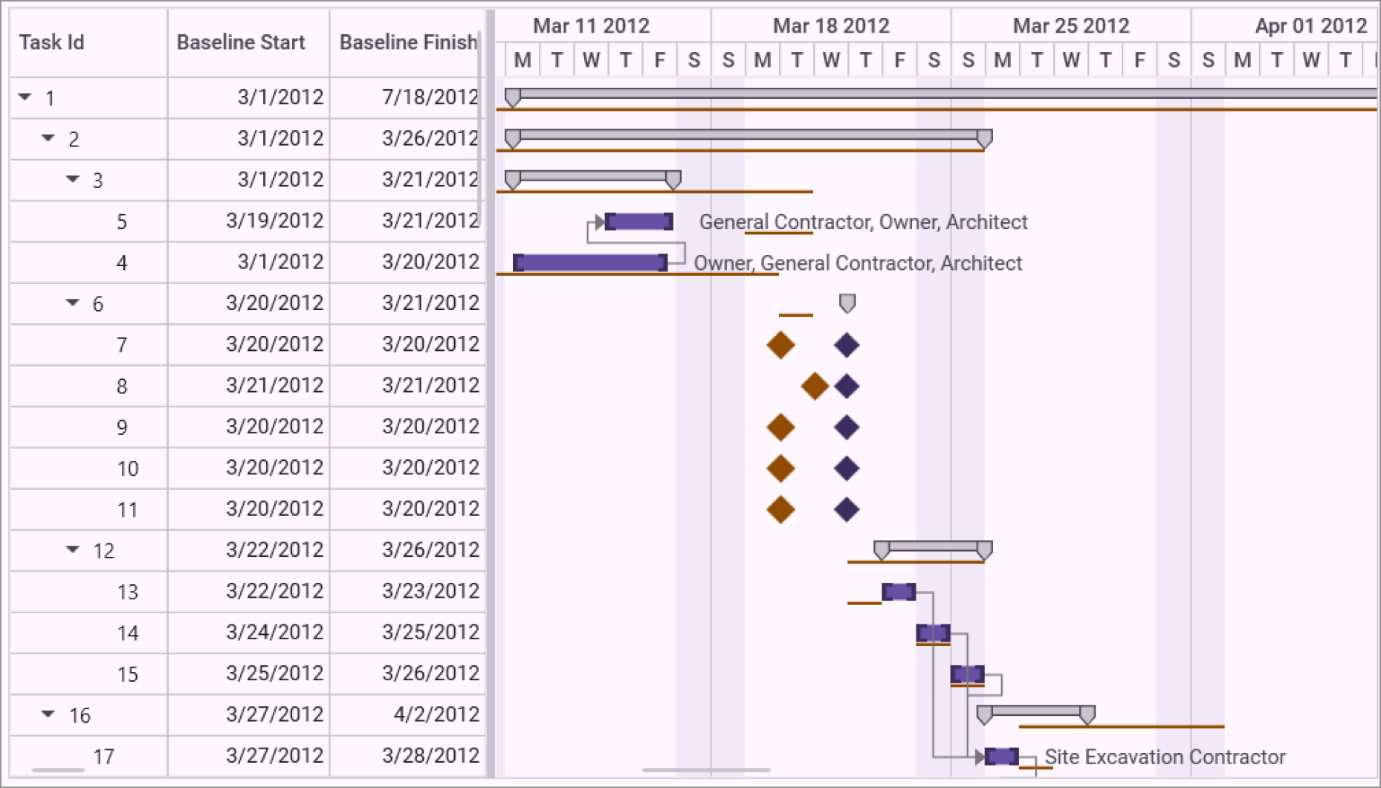
You can compare the current task’s progress with the planned timeline using baselines. This feature lets you view the deviation between the planned and actual completion dates of the tasks in a project. Baseline dates or planned dates of a task may or may not be the same as the actual task dates, providing a clear comparison to help identify any deviations.
Editing
You can edit the task fields, such as duration, start date, end date, and predecessors, directly within their respective cells in the Gantt Grid. You can enable or disable editing operations by utilizing the read-only option, allowing for flexible control over project updates.

Filtering and sorting
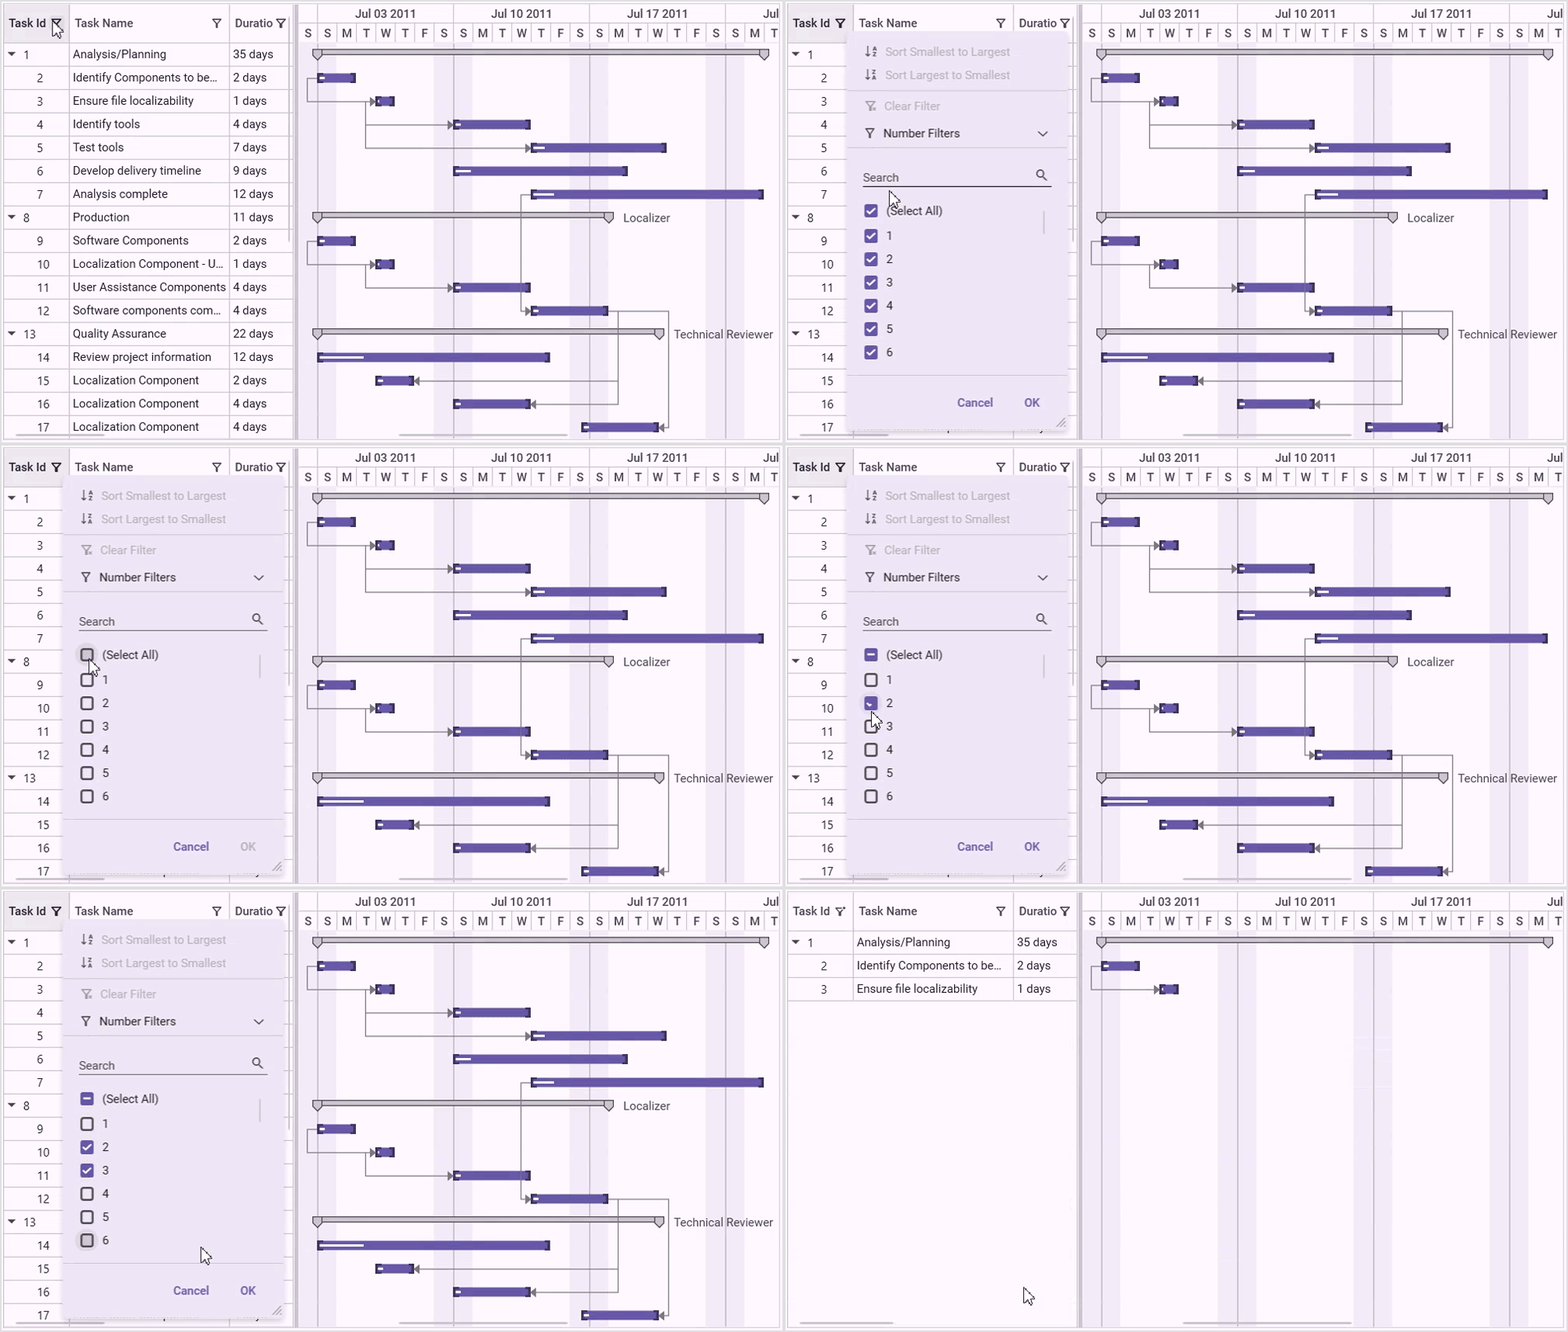
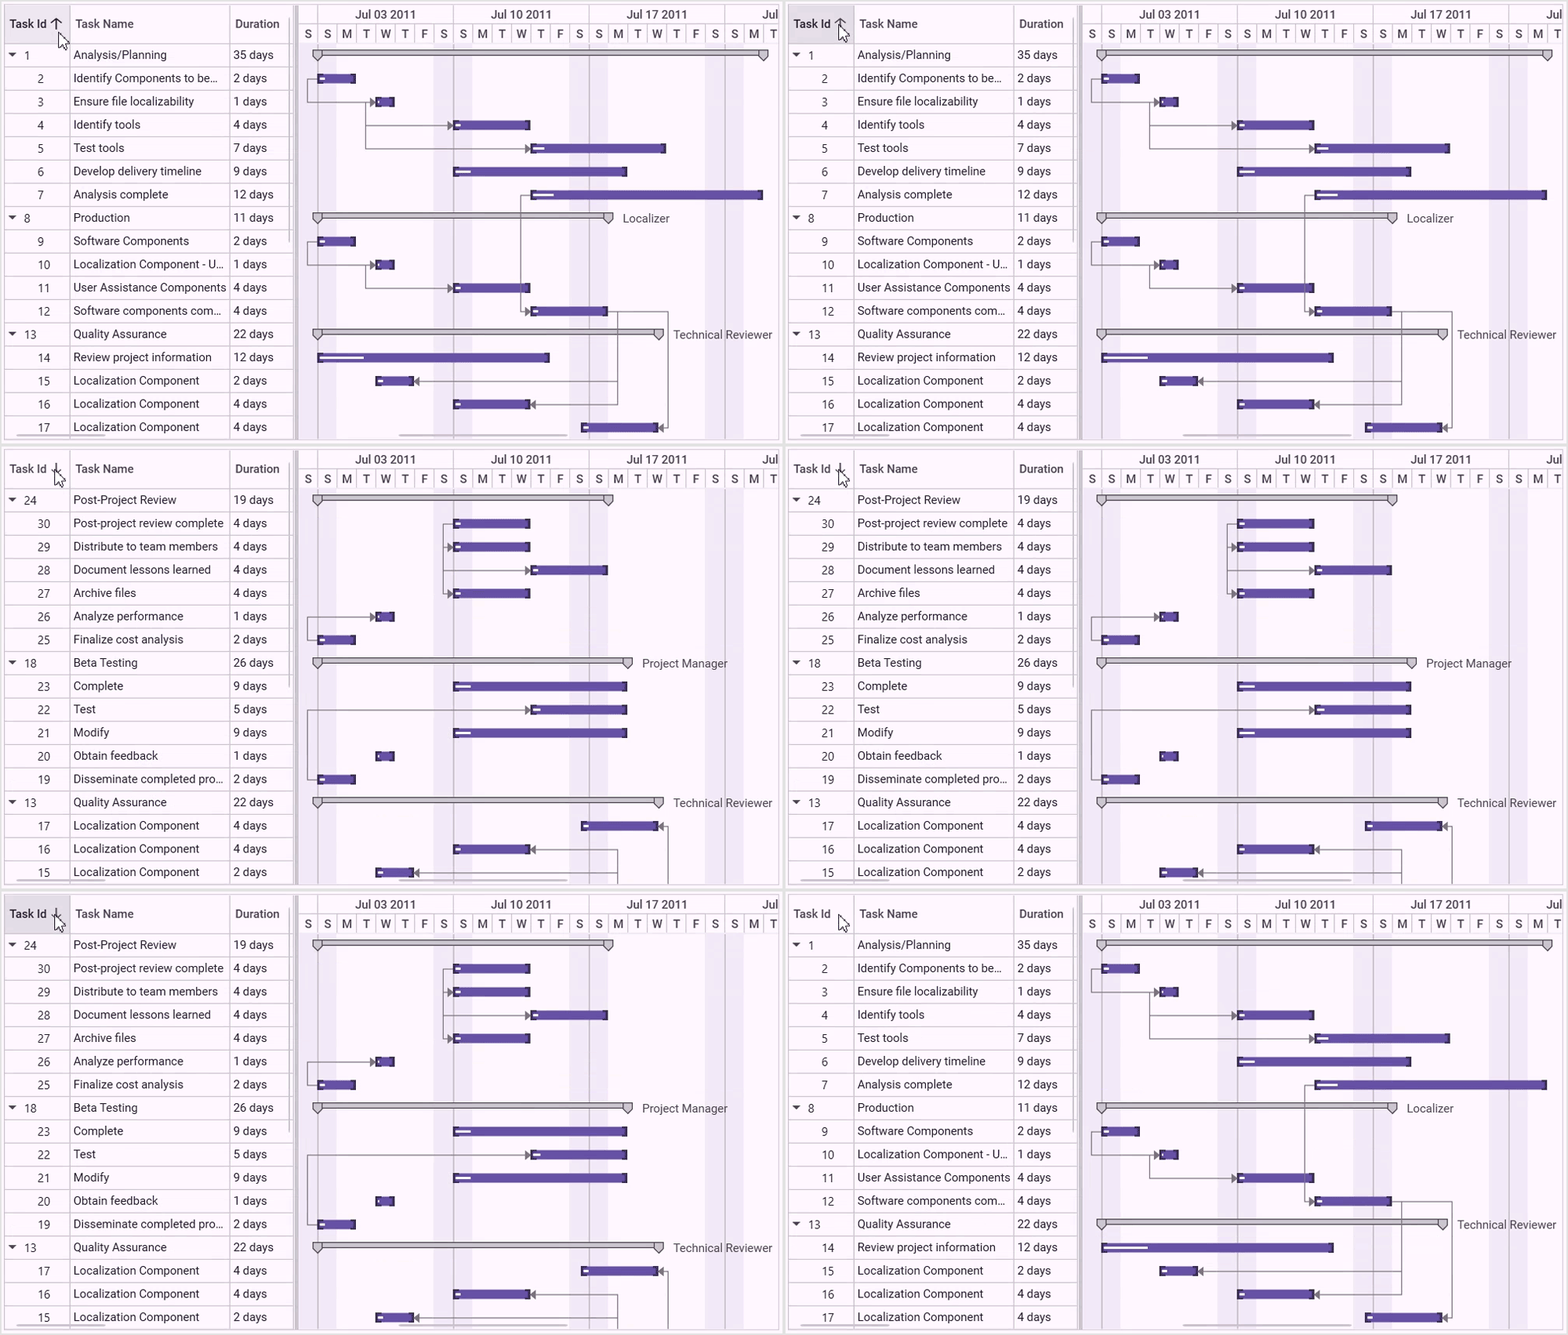
You can filter data across all columns by using the menu filtering option. You can also sort any column in ascending or descending order by simply clicking on the column header, making it easy to organize and analyze task data.
Refer to the following GIF images.
Selection
With the selection feature, you can efficiently select single or multiple tasks within the WPF Gantt control. Additionally, you can restrict selection by setting the SelectionMode property value to None, offering enhanced control over task management.

Drag and drop
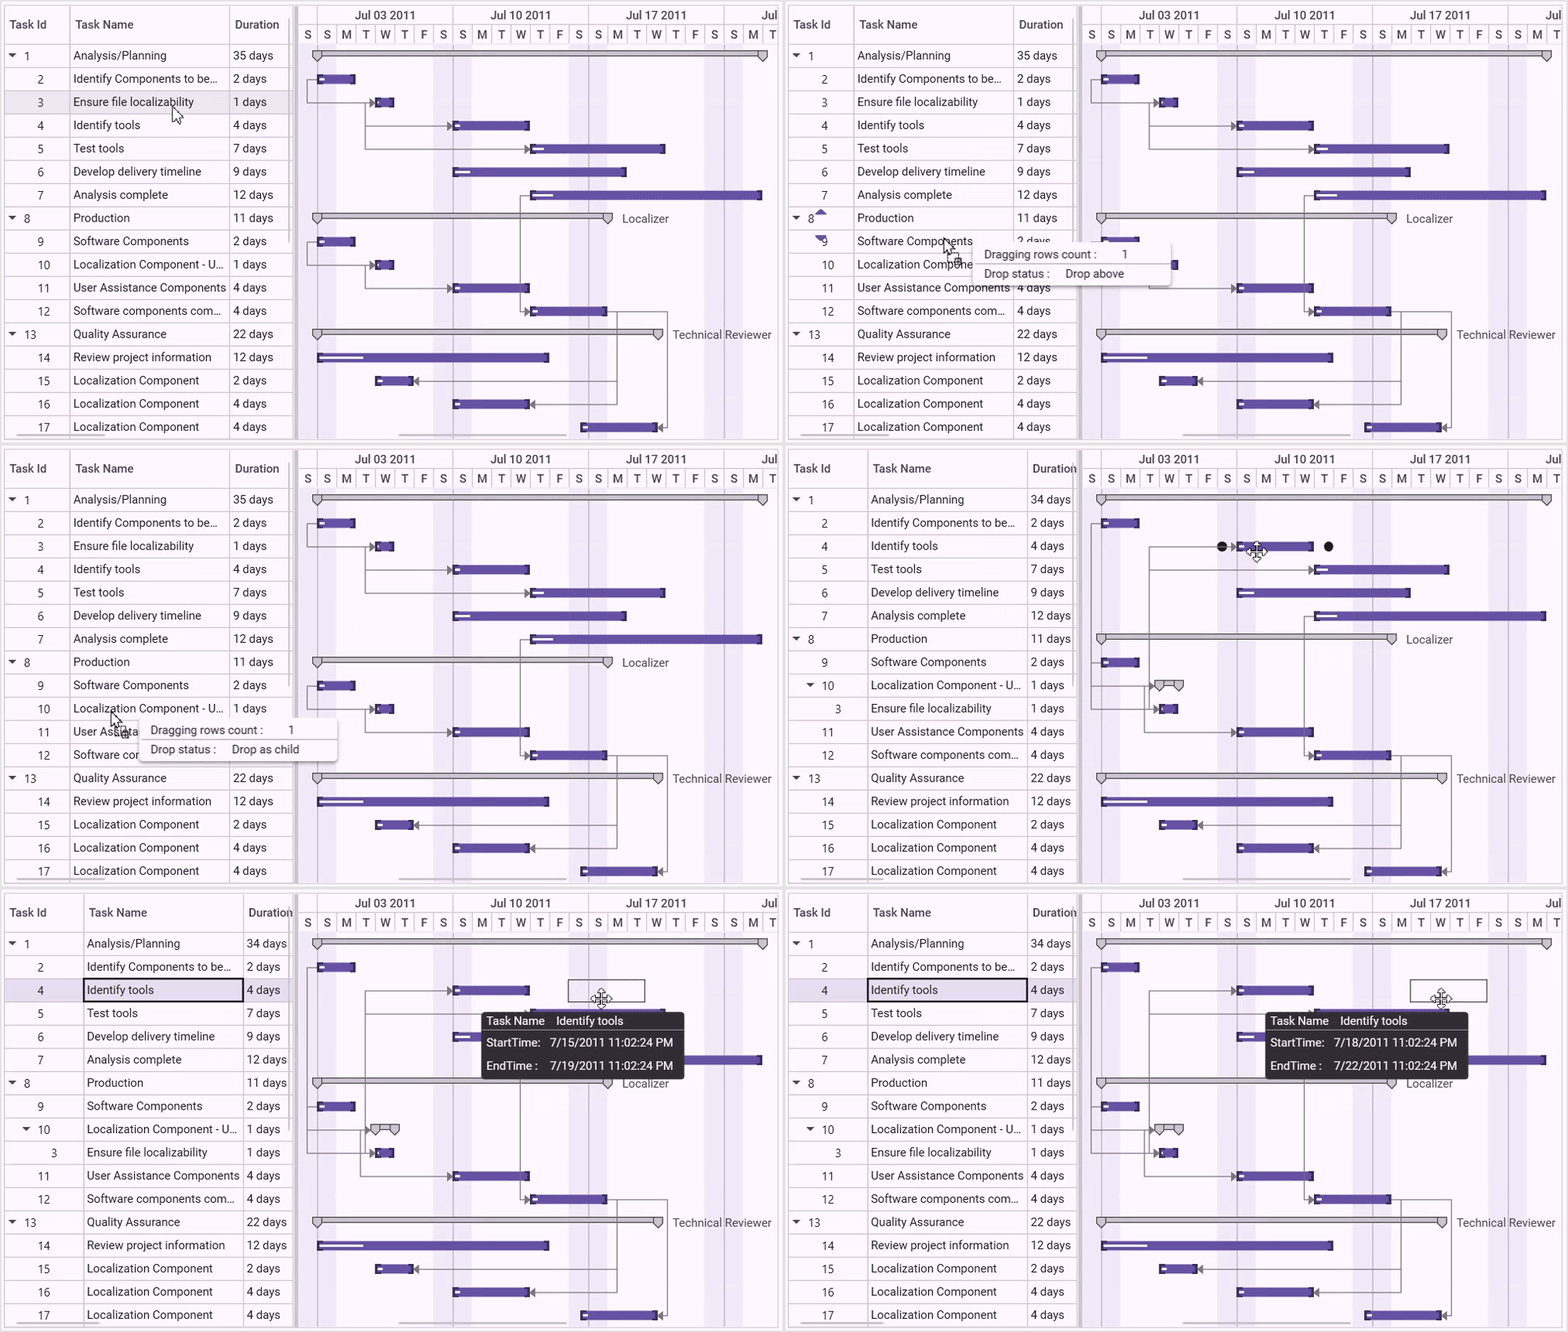
You can easily reorder rows by dragging and dropping them within the Gantt Grid. Additionally, we can drag-and-drop tasks within the same row to adjust timings in Gantt control, offering flexibility in task scheduling.
Zooming
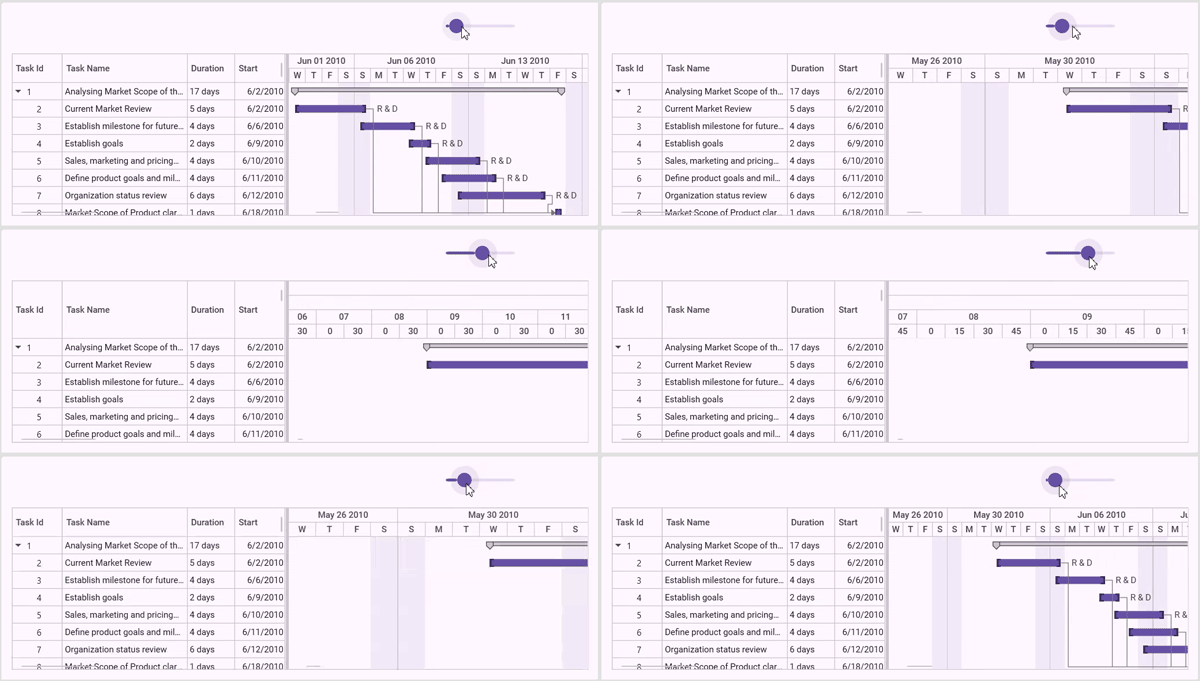
Increase or decrease the width of timeline cells and change the timeline units dynamically with zooming. This allows you to view tasks in a project, from years to minutes, enhancing your ability to manage and analyze project timelines effectively.
Tooltip
When the mouse hovers over a task, the interactive Gantt displays the details about the task values in tooltips. This feature provides quick ideas about the relevant tasks, enhancing user experience and better understanding.

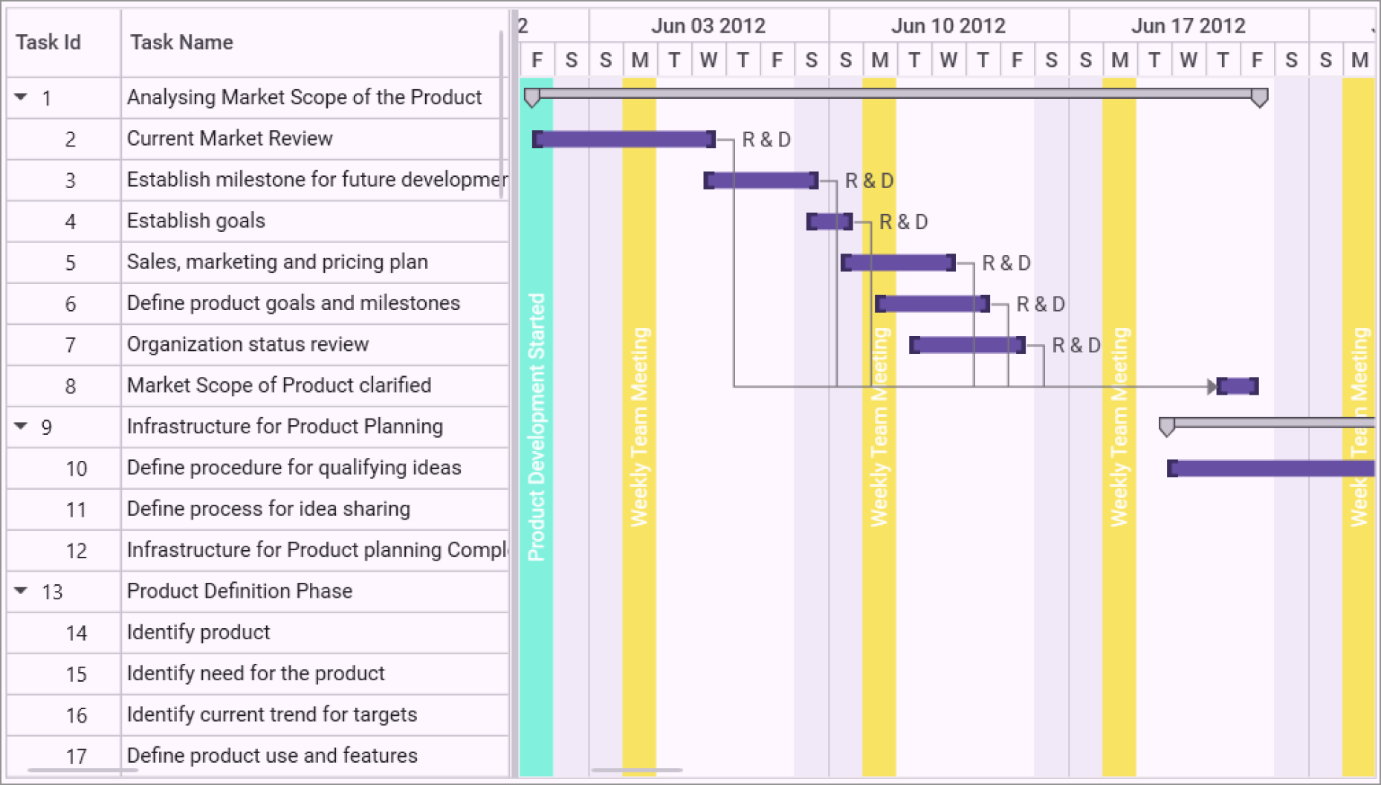
Strip lines
Quickly identify important days and events in your project timeline by highlighting them with strip lines on the Gantt. You can also create strip lines for recurring dates.
Refer to the following image.
DateTime indicator
The DateTime indicator visually marks the current date, loaded time, dynamic time, and absolute dates on the Gantt chart, providing a clear reference point within the project timeline. This feature helps users quickly assess task status and deadlines in relation to the specific date, enhancing project monitoring and management.

Export and import
You can easily export data from the Gantt control in XML format and import it into MS project apps and vice versa, enabling seamless data exchange for efficient project management. Additionally, you can export the visible region or the entire Gantt chart as images in formats such as JPEG, PNG, or BMP.
Theming
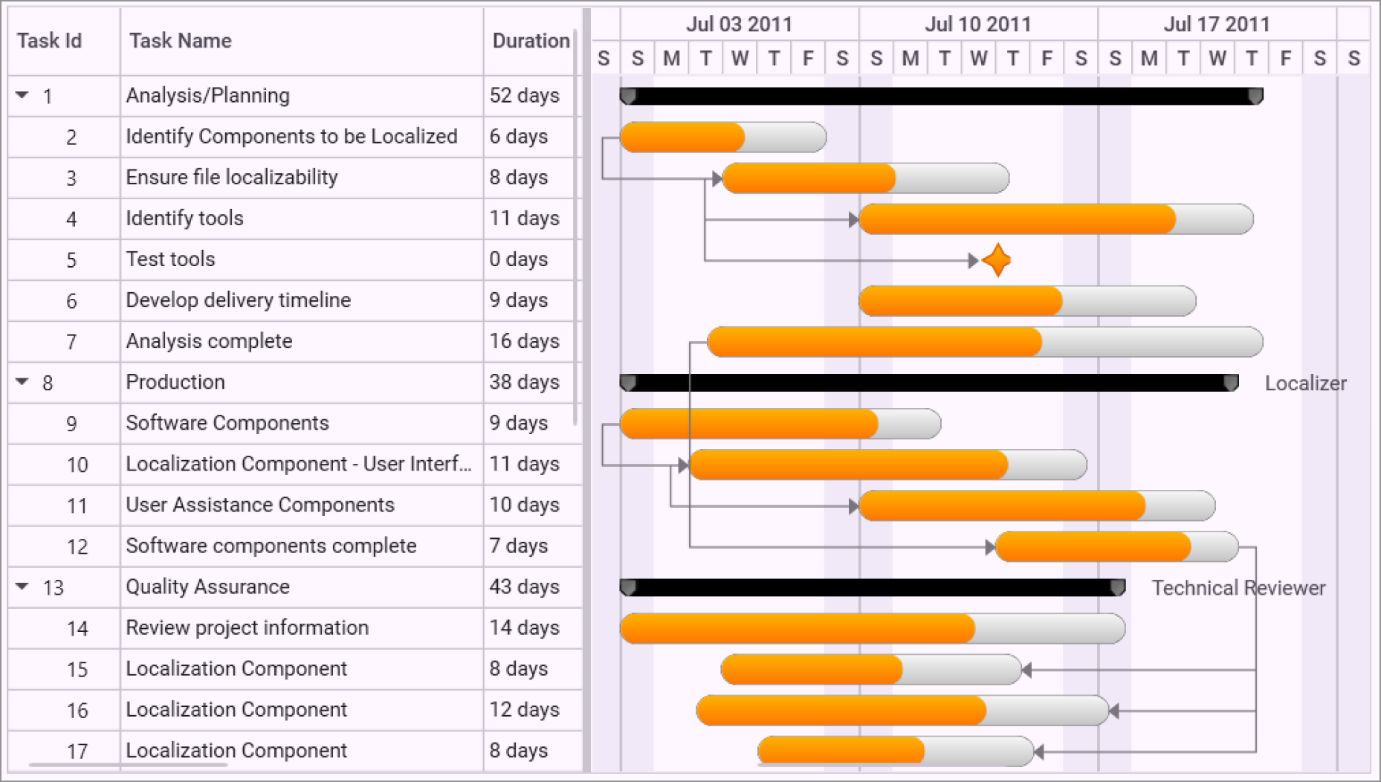
Unlock the power of visual appearance customization with the Gantt control’s theming support. You can effortlessly transform the appearance of Gantt’s grid, schedule, and chart using a variety of built-in themes.
Appearance customization
You can provide a unique and consistent look to your Gantt by customizing its appearance using styles, data templates, and themes.
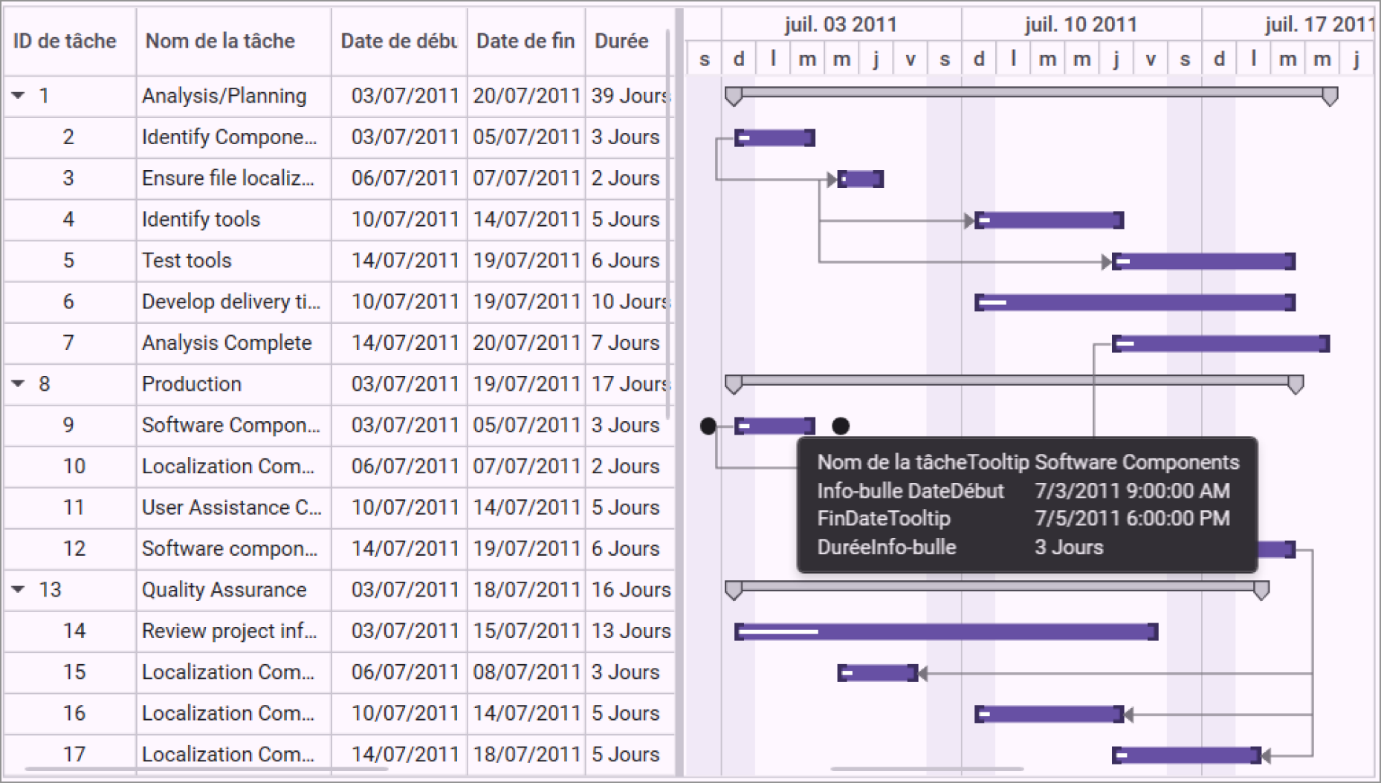
Localization and globalization
The current date and time are displayed in globalized formats. Additionally, all static text within the Gantt can be localized.
Note: For more details, refer to the WPF Gantt control documentation.
Getting started with WPF Gantt control
We have explored the key features of the WPF Gantt control. Let’s see how to integrate the control in your WPF app.
- First, Create a new WPF app in Visual Studio.
- Syncfusion WPF components are available in the NuGet Gallery. To add the Gantt control to your project, open the NuGet package manager in Visual Studio, search for Syncfusion.Gantt.WPF, and install it.
- Import the Syncfusion WPF schema. Refer to the following code example where we’ve used syncfusion as a prefix to the namespace and initialize the Gantt control.
xmlns:syncfusion="http://schemas.syncfusion.com/wpf"
<syncfusion:GanttControl />
- Then, populate the Gantt ItemSource to visualize the tasks in the view.
Creating a view model data with the actual data:
public class GanttViewModel
{
    private ObservableCollection<TaskDetails> taskDetails;
    public GanttViewModel()
    {
        this.taskDetails = this.GetTaskDetails();
    }
    public ObservableCollection<TaskDetails> TaskDetails
    {
        get
        {
            return this.taskDetails;
        }
        set
        {
            this.taskDetails = value;
        }
    }

   private ObservableCollection<TaskDetails> GetTaskDetails()
    {
        ObservableCollection<TaskDetails> taskDetails = new ObservableCollection<TaskDetails>();
        taskDetails.Add(new TaskDetails { TaskId = 1, TaskName = "Scope", StartDate = new DateTime(2011, 7, 3), FinishDate = new DateTime(2011, 7, 14), Progress = 40d });
        taskDetails[0].Child.Add(new TaskDetails { TaskId = 2, TaskName = "Determine project office scope", StartDate = new DateTime(2011, 7, 3), FinishDate = new DateTime(2011, 7, 5), Progress = 20d });
        taskDetails[0].Child.Add(new TaskDetails { TaskId = 3, TaskName = "Justify Project Offfice via business model", StartDate = new DateTime(2011, 7, 3), FinishDate = new DateTime(2011, 7, 7), Progress = 20d });
        taskDetails[0].Child.Add(new TaskDetails { TaskId = 4, TaskName = "Secure executive sponsorship", StartDate = new DateTime(2011, 7, 3), FinishDate = new DateTime(2011, 7, 14), Progress = 20d });
        taskDetails[0].Child.Add(new TaskDetails { TaskId = 5, TaskName = "Secure complete", StartDate = new DateTime(2011, 7, 14), FinishDate = new DateTime(2011, 7, 14), Progress = 20d });
         …….
         …….

        taskDetails[0].Resources = new ObservableCollection<Resource>() { new Resource { ID = 1, Name = "John" }, new Resource { ID = 2, Name = "Neil" } };
        taskDetails[0].Child[3].Resources = new ObservableCollection<Resource>() { new Resource() { ID = 3, Name = "Peter" } };
        taskDetails[1].Resources = new ObservableCollection<Resource>() { new Resource() { ID = 4, Name = "David" } };
        return taskDetails;
    }
}
Binding the ItemsSource of Gantt control with task details:
<syncfusion:GanttControl x:Name="ganttControl"
                         ItemsSource="{Binding TaskDetails}">
    <syncfusion:GanttControl.DataContext>
        <local:GanttViewModel />
    </syncfusion:GanttControl.DataContext>
</syncfusion:GanttControl>
You can now run the app and visualize the specified data in the WPF Gantt control.
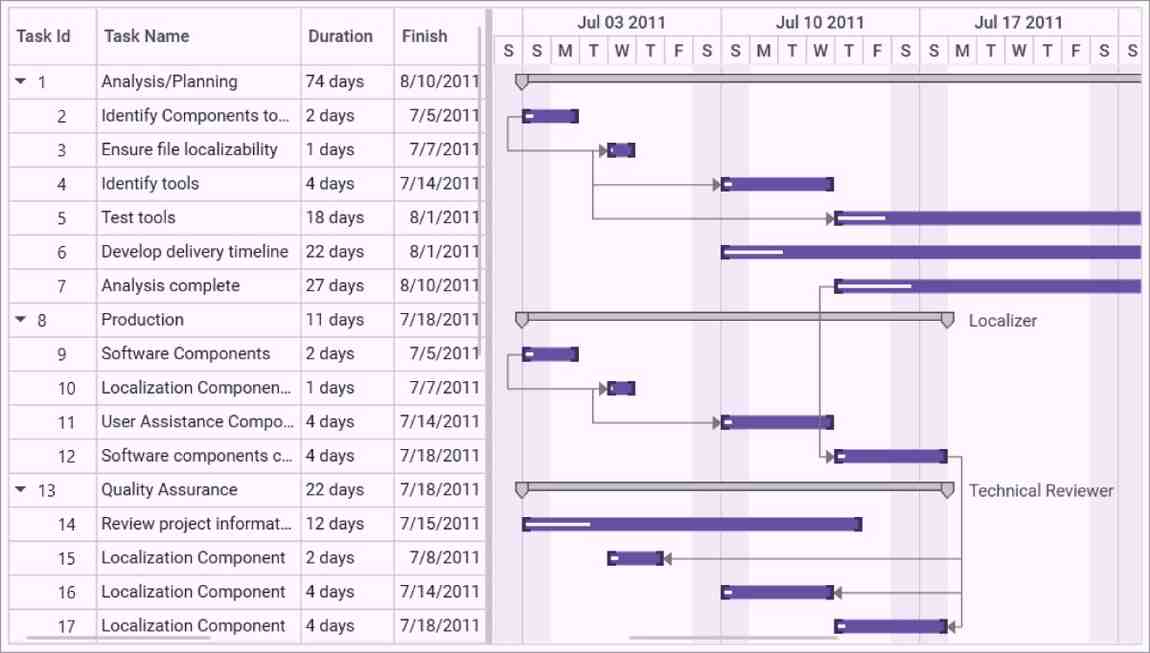
Integrating Gantt control in a WPF app
Conclusion
Thanks for reading! In this blog, we’ve explored the outstanding features of the WPF Gantt control. Use this versatile tool to become a pro in project management and enhance your productivity. Also, share your feedback in the comments below.
If you’re an existing Syncfusion user, the newest version of Essential Studio® is available from the License and Downloads page. If you’re new to Syncfusion, you can take advantage of our 30-day free trial to explore the features and capabilities of our components.
If you have questions, contact us through our support forums, feedback portal, or support portal. We are always happy to assist you!
