
TL;DR: Deploy React app on Azure Static Web Apps. This comprehensive guide walks you through setting up your app, creating a GitHub repository, and configuring automated deployment, all within a cost-free, NoOps environment with seamless integration and global distribution.
As a web developer, the primary goal is to deliver a product that meets customers’ needs. To achieve this, it’s better to be able to focus on building the app rather than on its overall operational aspects, such as deploying it.
Deploying an app is a complex task that involves setting up build pipelines, configuring the build environment, and managing a domain. Automation simplifies and streamlines this process. This is where Azure Static Web Apps can be useful.
What Is Azure Static Web Apps?
Azure Static Web Apps is a managed service offered by Azure that allows you to deploy a static site automatically from a code repository such as GitHub. Following is the process diagram.
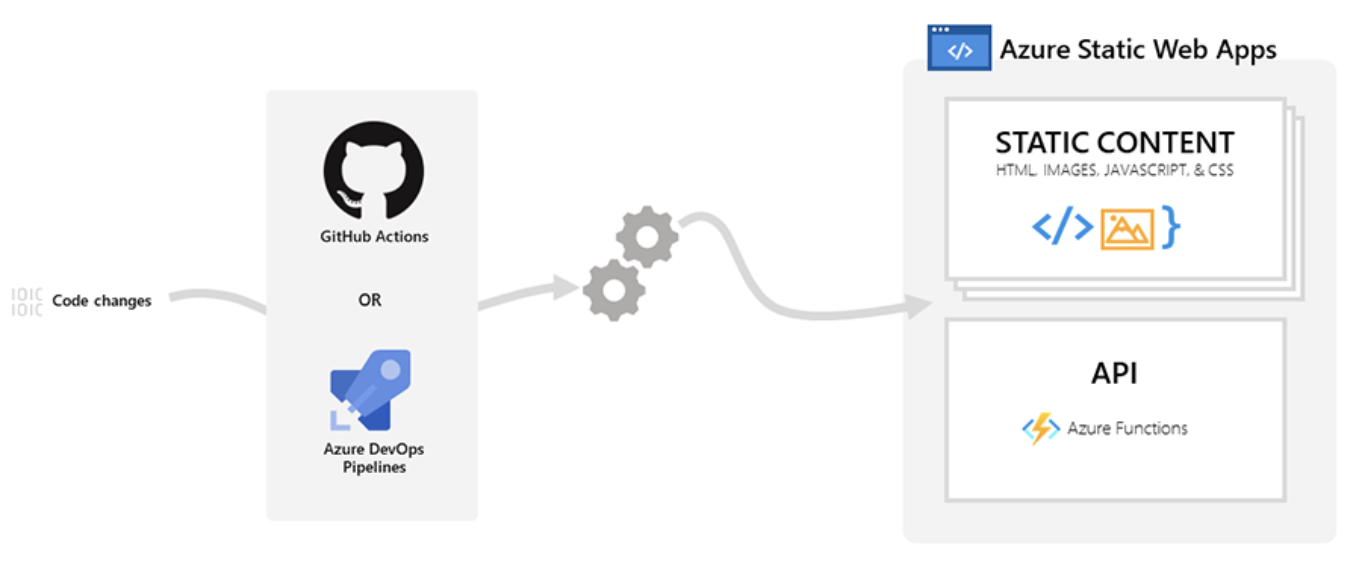 By default, you can configure Azure Static Web Apps to integrate with GitHub or Azure DevOps Pipelines. It will then continue to watch for code changes, and when it receives new commits on specific branches, it will automatically deploy the changes on your site.
Azure Static Web Apps support various static web apps, such as your usual React, Angular, Vue.js, Next.js apps, and more.

Key features of Azure Static Web Apps
Apart from app deployment, Azure Static Web Apps has a wide set of features that make it effective in a NoOps workflow:
- SSL certificate management: Azure Static Web Apps automatically provisions and manages SSL certificates for you. You can also integrate your own if needed.
- Domain management: By default, Azure Static Web Apps assigns a domain to your site. You can later override this with a custom domain using a CNAME record.
- Global distribution: It serves your site through global points-of-presence locations, thus making your app serve content faster to users.
- Staging deployments: Azure Static Web Apps can be configured to deploy a version of your site against every pull request you raise to the central repository. By doing so, you’re free to test the site before merging it into the release branch.
With Azure Static Web Apps, you can achieve a 100% ops-free environment. Now, let’s see how to deploy your own React site on Azure Static Web Apps.
Deploying a React.js app on Azure Static Web Apps
Prerequisites
Before you begin, there are a few things you need to set up:
- Create an Azure account.
- Install the latest version of Node.js on your PC.
- Install NPM.
- After completing these installations, you can run the following command to verify them.
npm -v && node -v
If everything is set up correctly, the version numbers will be displayed.
 Once your Azure account is created, you will see the corresponding output.
Step 1: Creating a boilerplate React app
Let’s create a boilerplate React.js application that you can deploy. To do this, run the next command.
npx create-react-app my-azure-appYou will see output confirming the creation of the app, as follows.
 Then, launch the app using the following command.
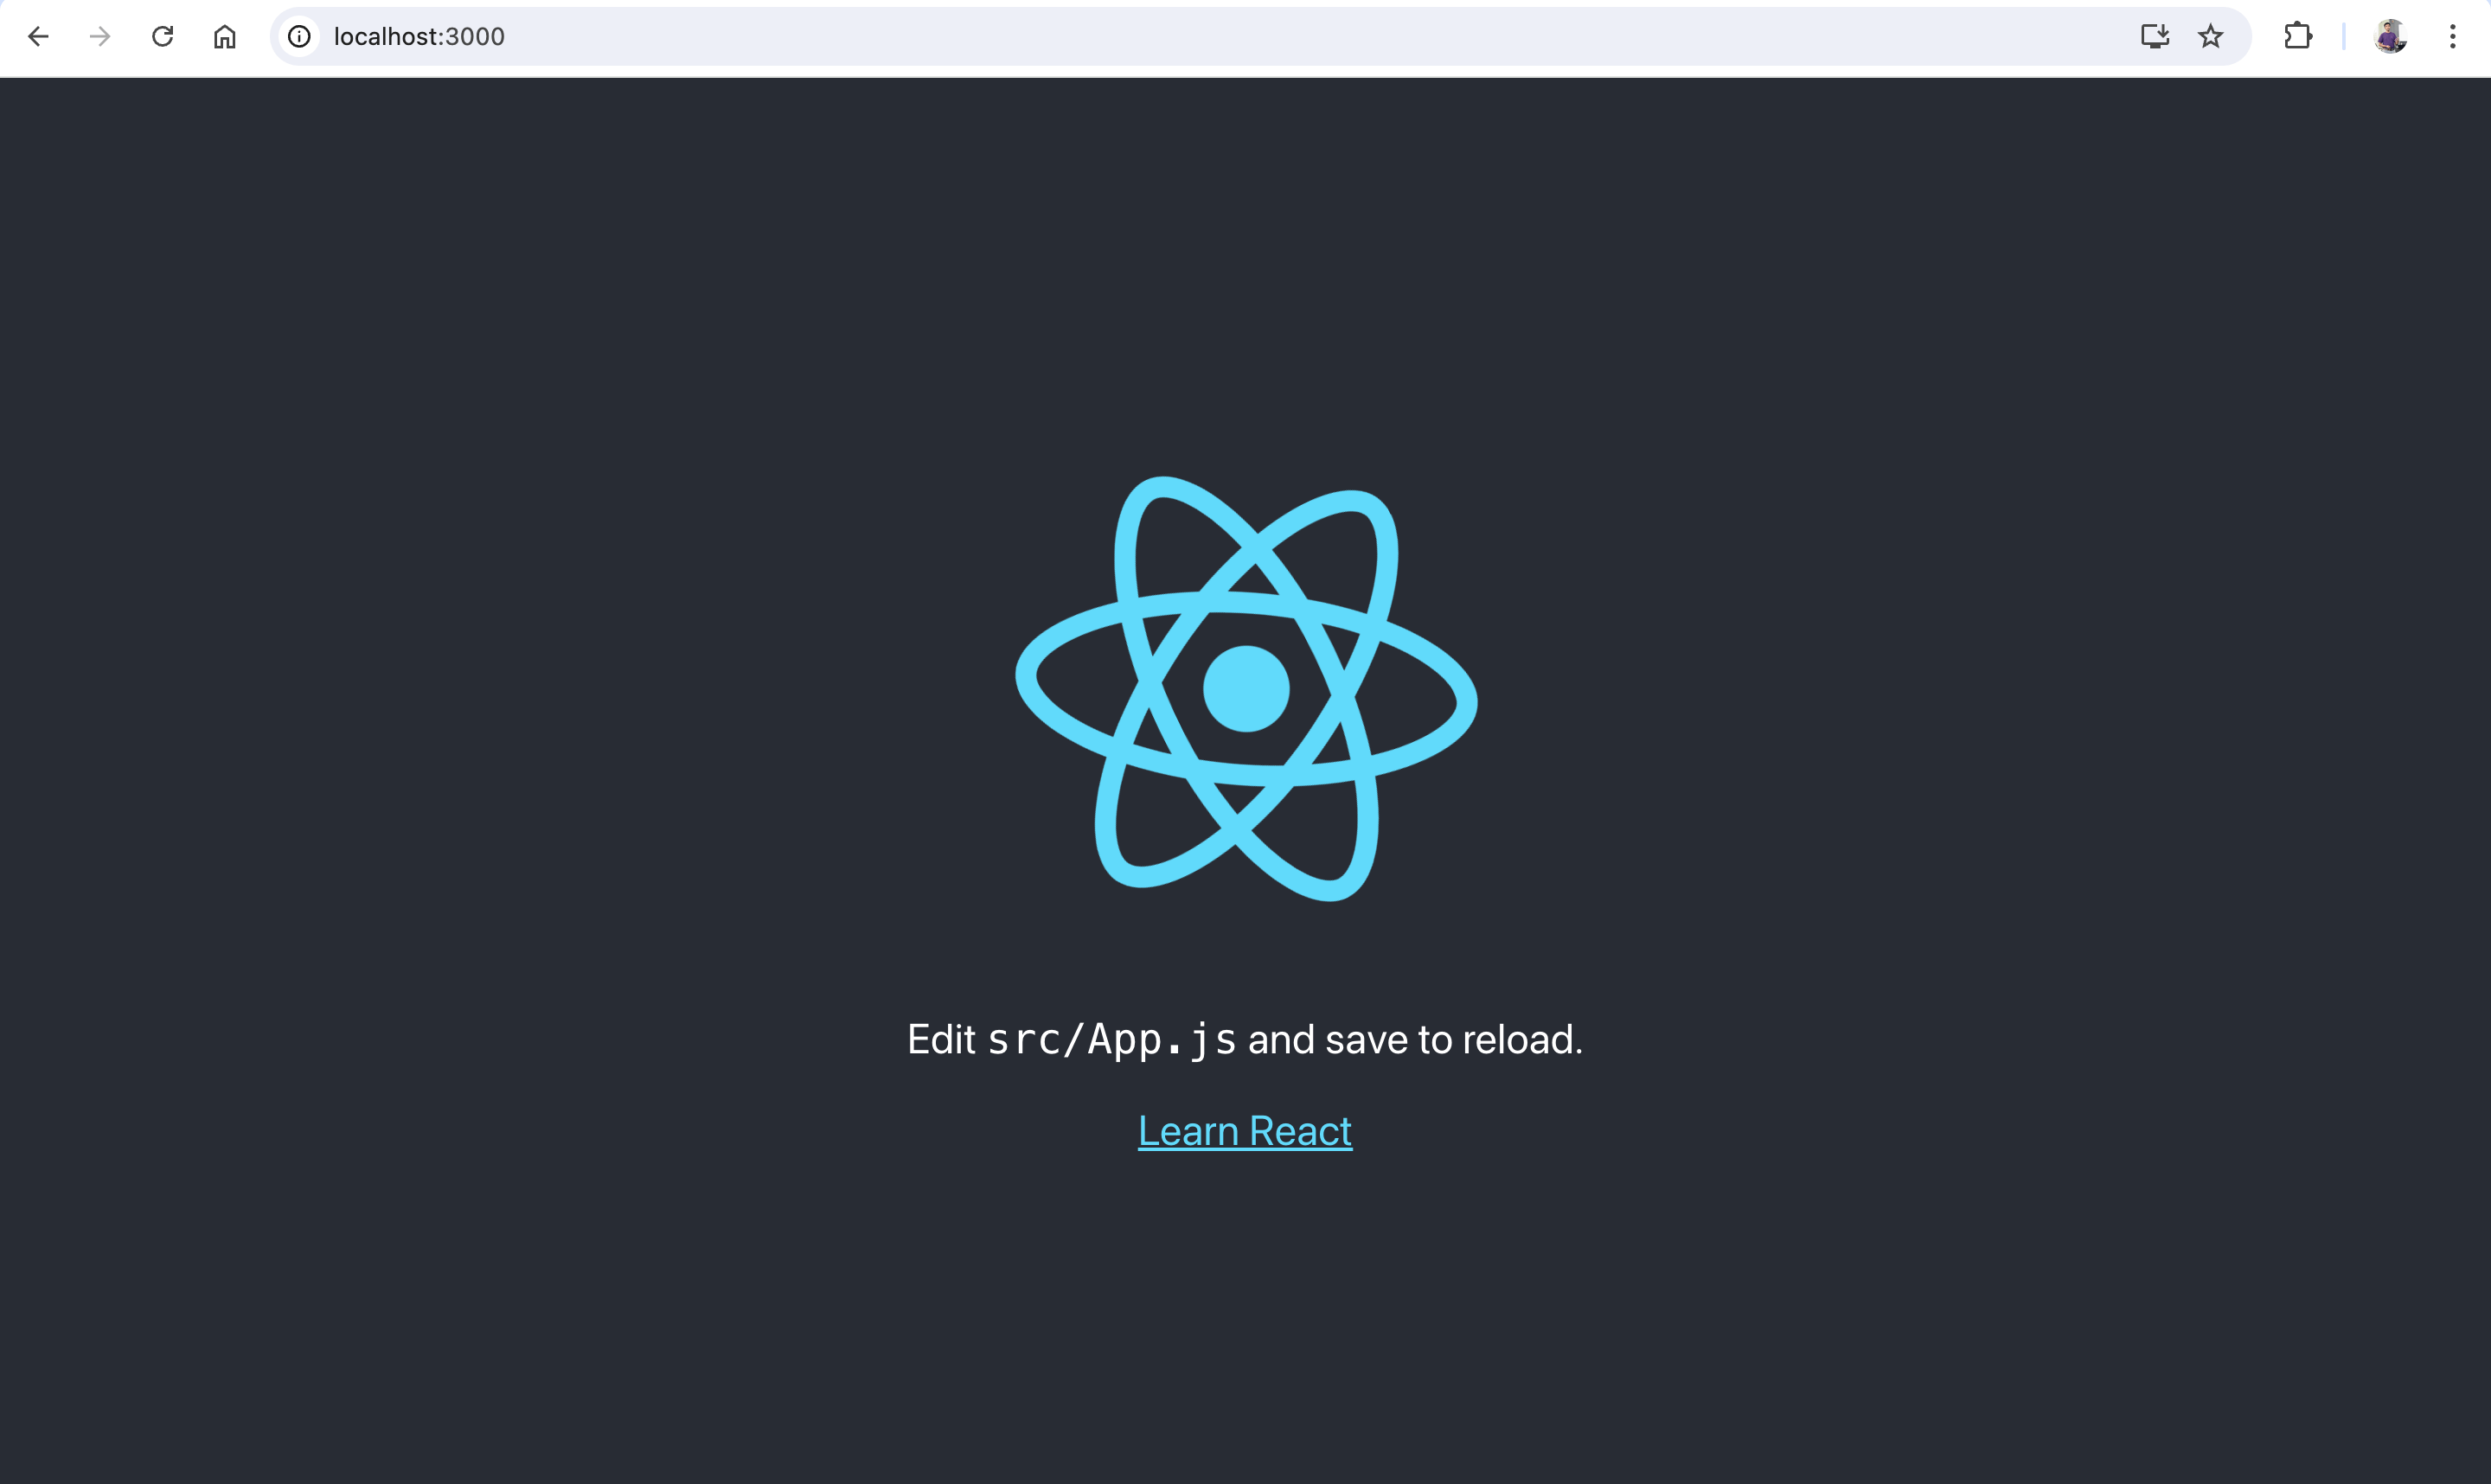
npm startYou will see an output indicating that the app is running.
 If you’ve reached this point, you’re ready to start deploying!
Step 2: Creating a GitHub repository
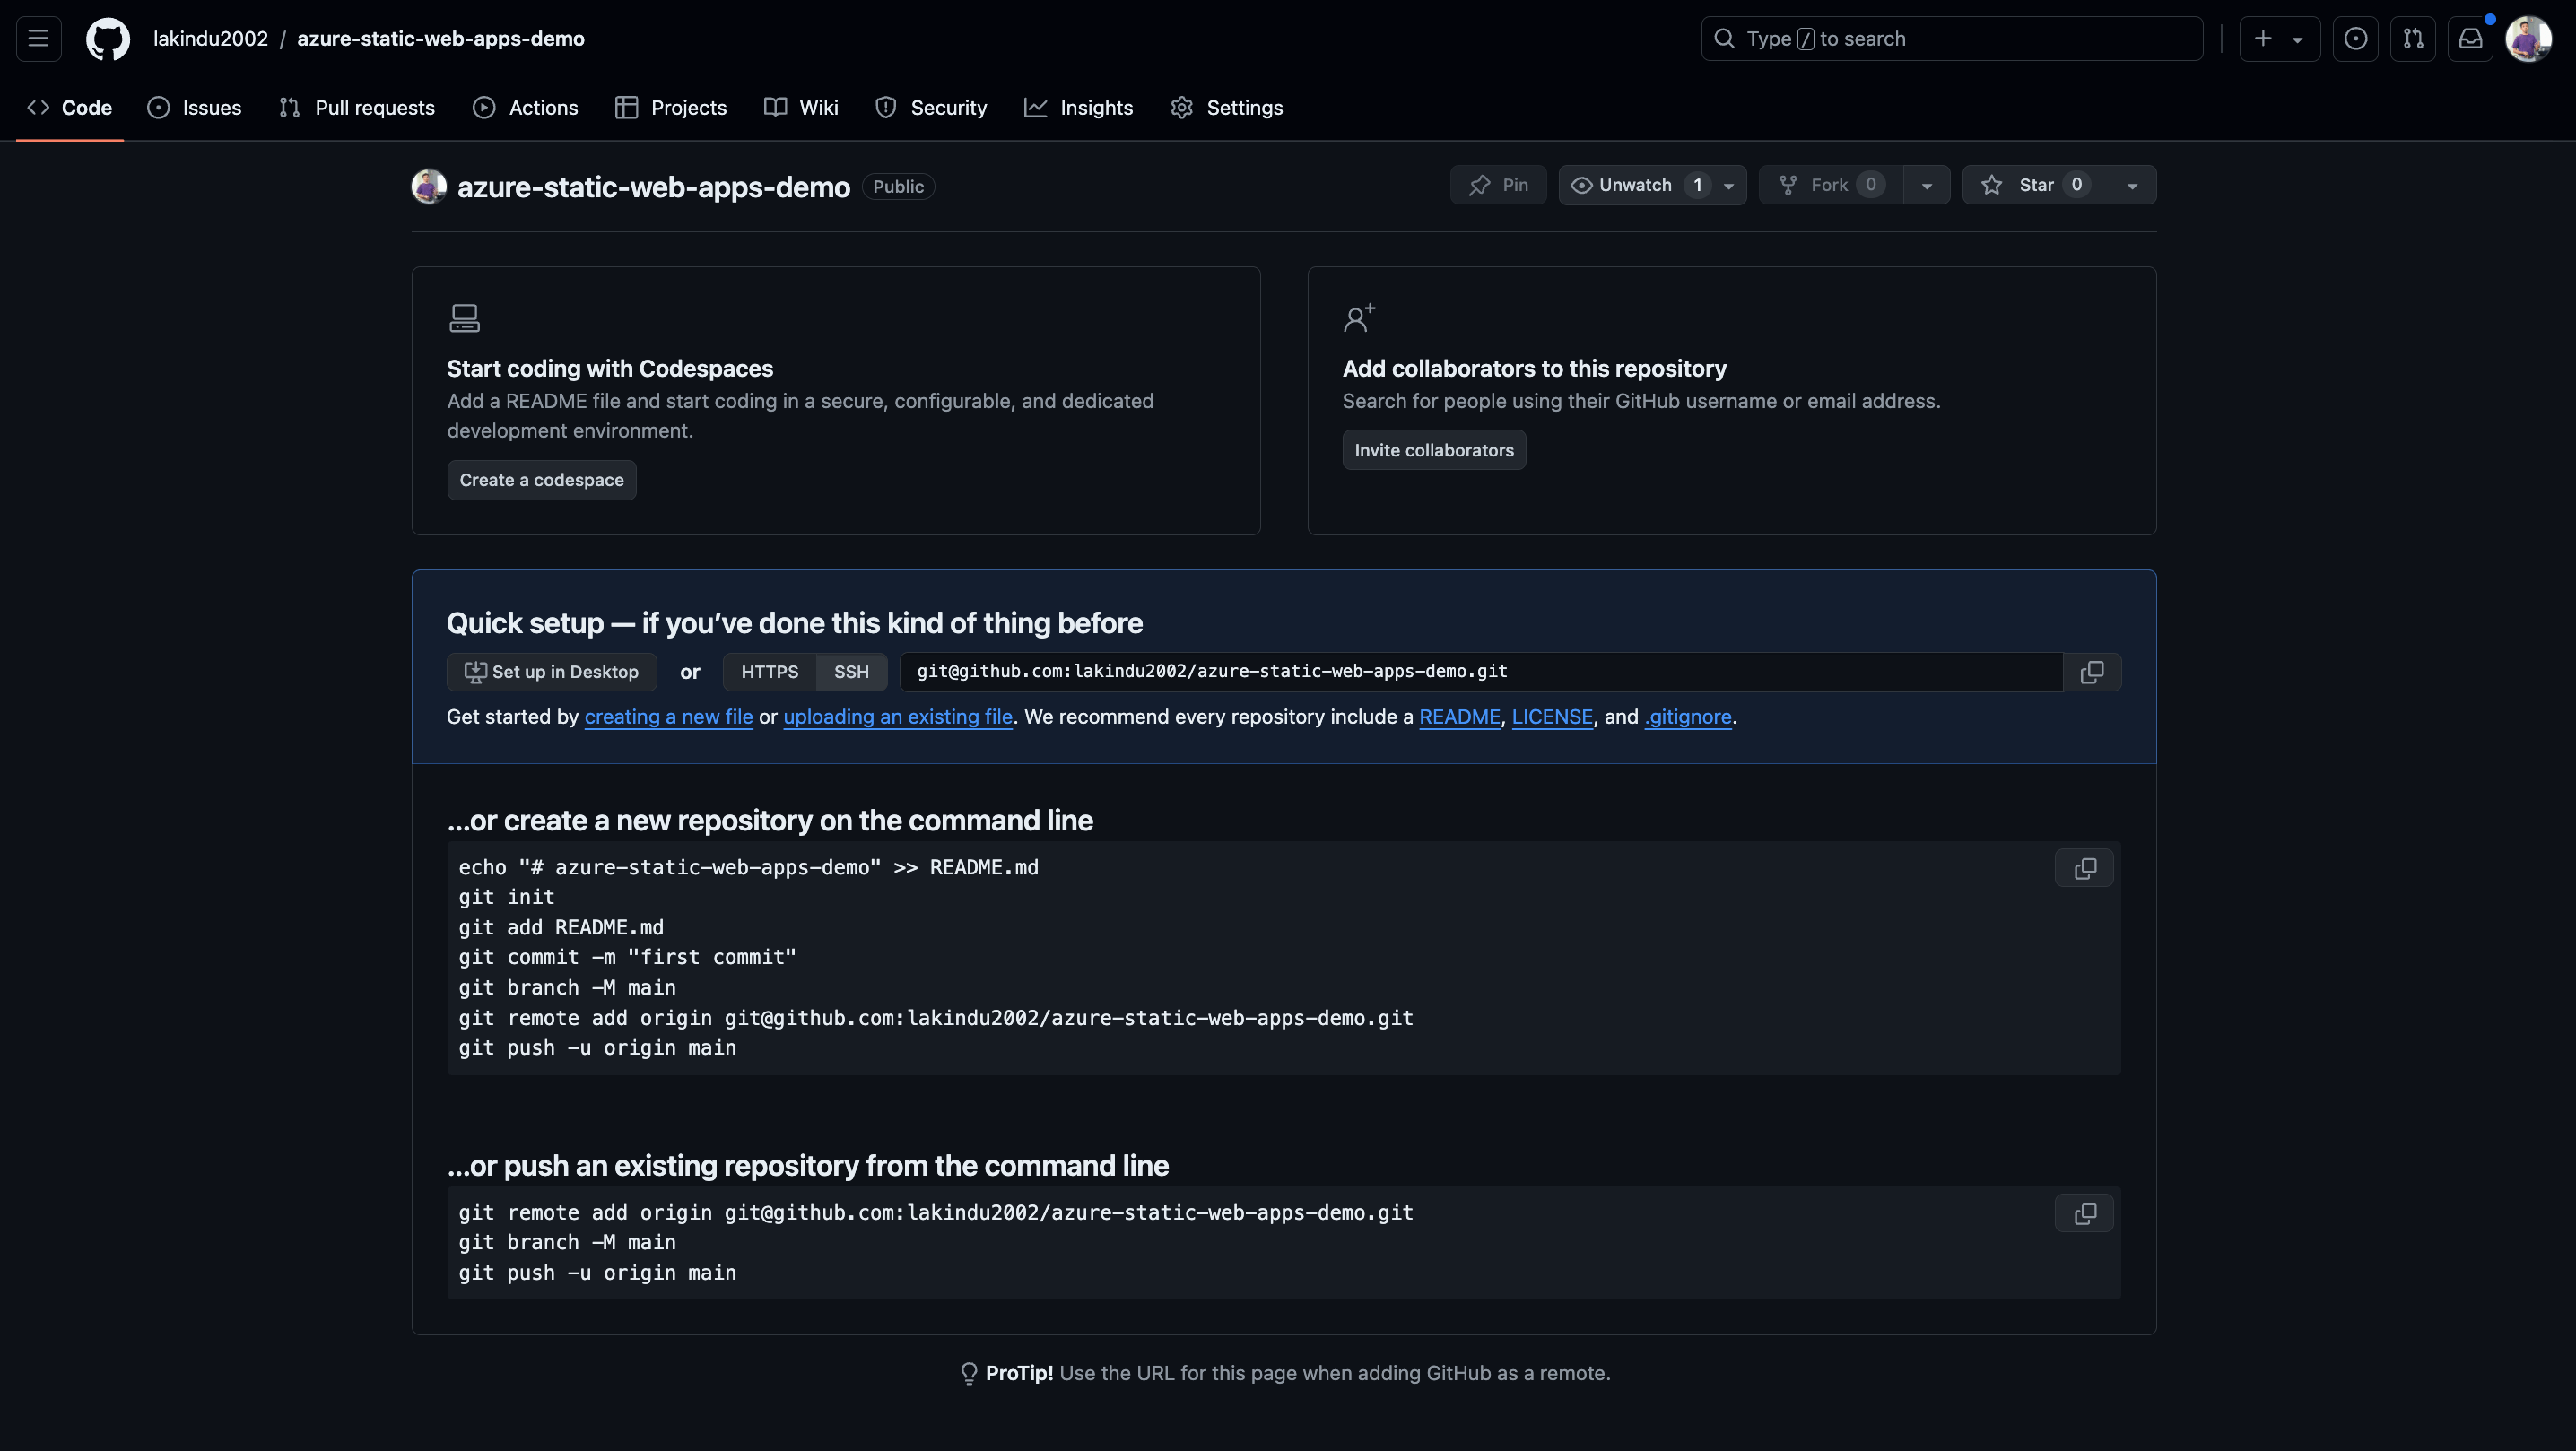
Create a central version control system for monitoring Azure Static Web Apps. For simplicity, we’ll use GitHub, but you’re free to use Azure DevOps Pipelines, as well. Once you create the GitHub repository, you will see an empty repository.
 Next, we can push the initial commit to the repository with the following commands.
git remote add origin <<url>> // configure origin
git push origin main // push to branch
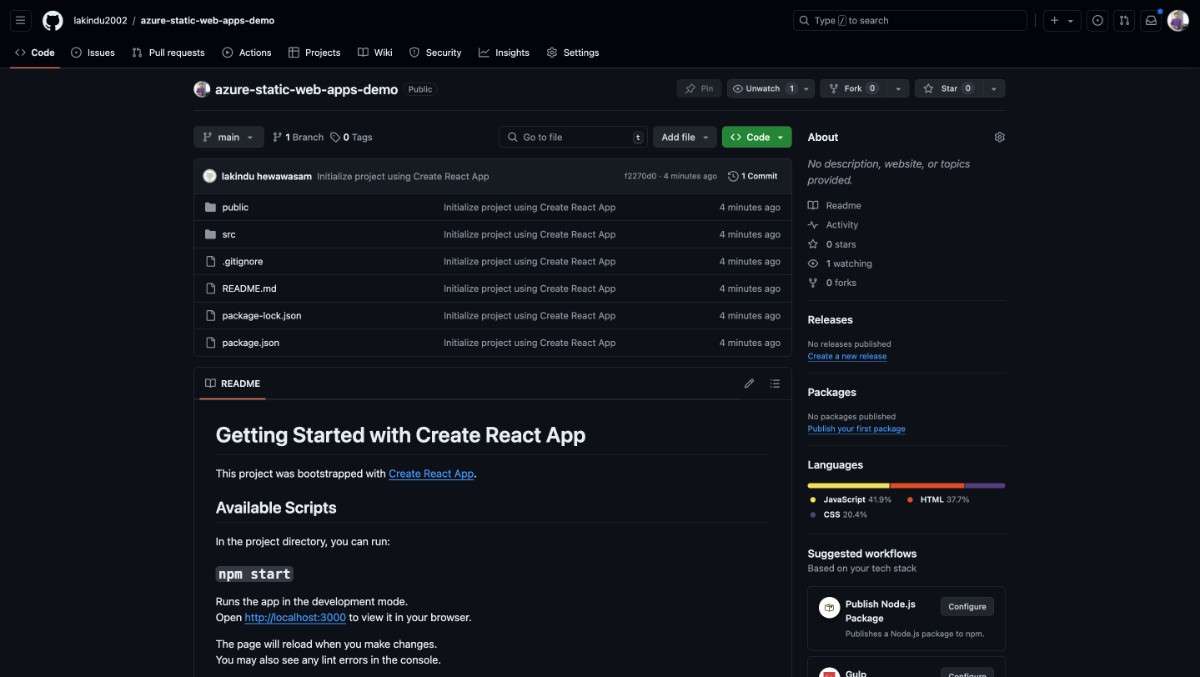
After executing these commands, you will see your code on GitHub.
Step 4: Configuring Azure Static Web Apps
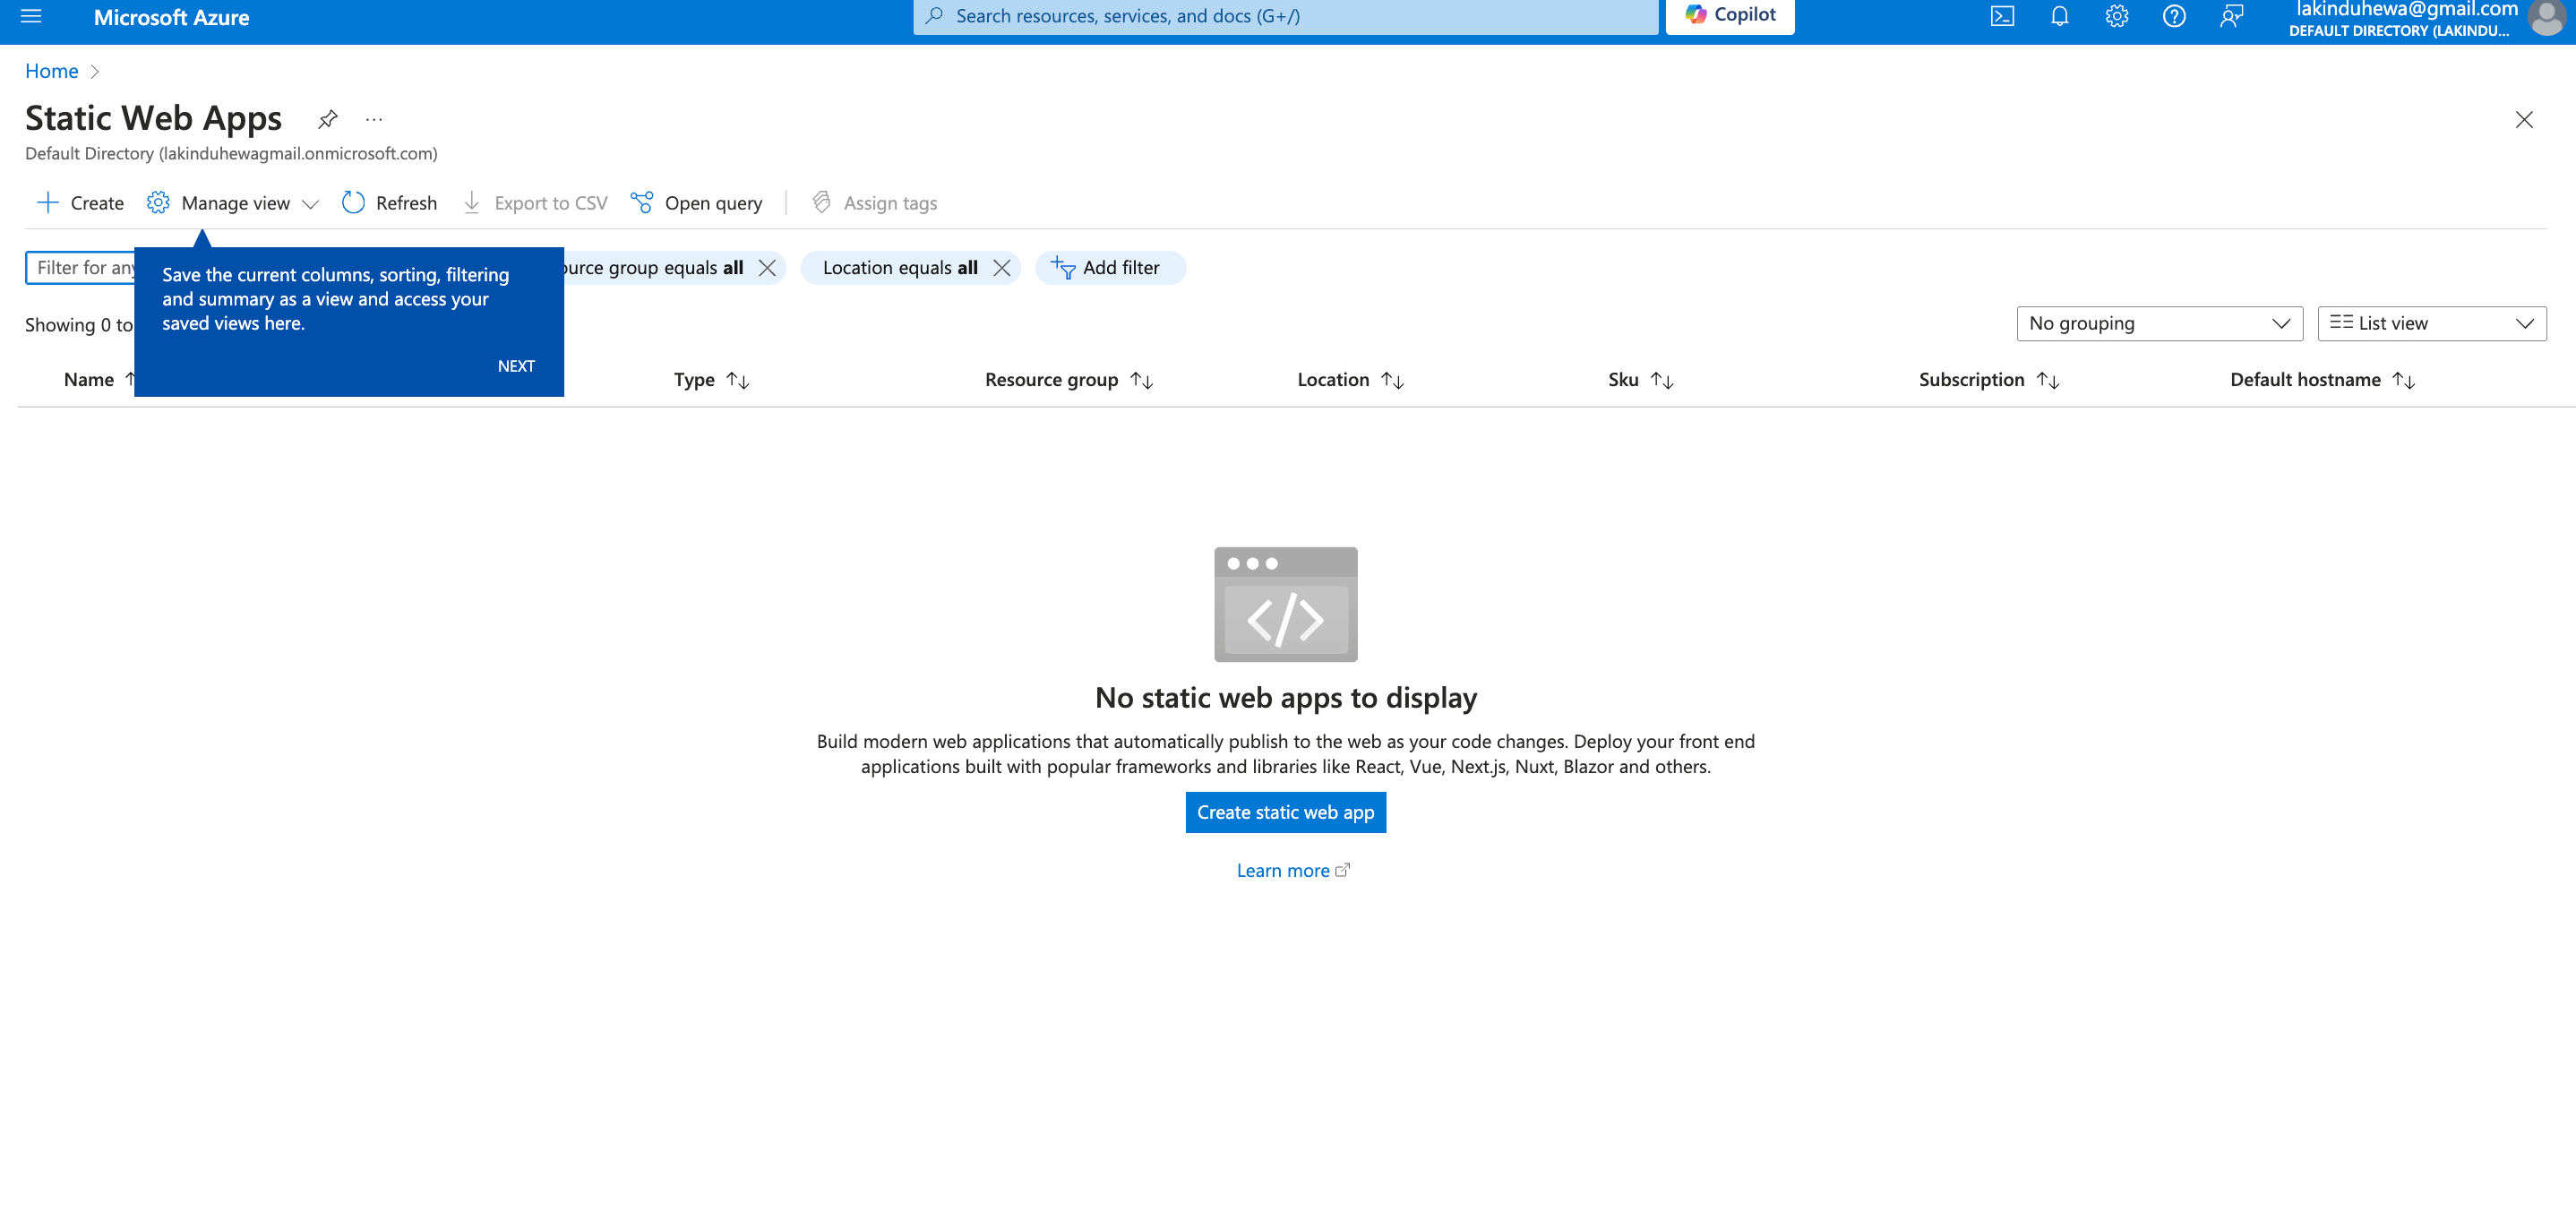
First, go to your Azure Console and search for Static Web Apps. The service will appear as follows.
 Next, click Create Static Web App.
 You can select the subscription to place the Static Web App under. For this demo, I’m using the Learning subscription, but you’re free to create a new or use an existing subscription. Next, sign in with GitHub to set up a continuous deployment pipeline by clicking on Click Here to login.
After logging in, a pane will appear, allowing the customization of the GitHub repository and branch. This setup enables different Static Web Apps for various branches of the deployment, such as development and release branches.
 For this demo, we’ll select the Main branch. The GitHub configuration will look something like the following image.
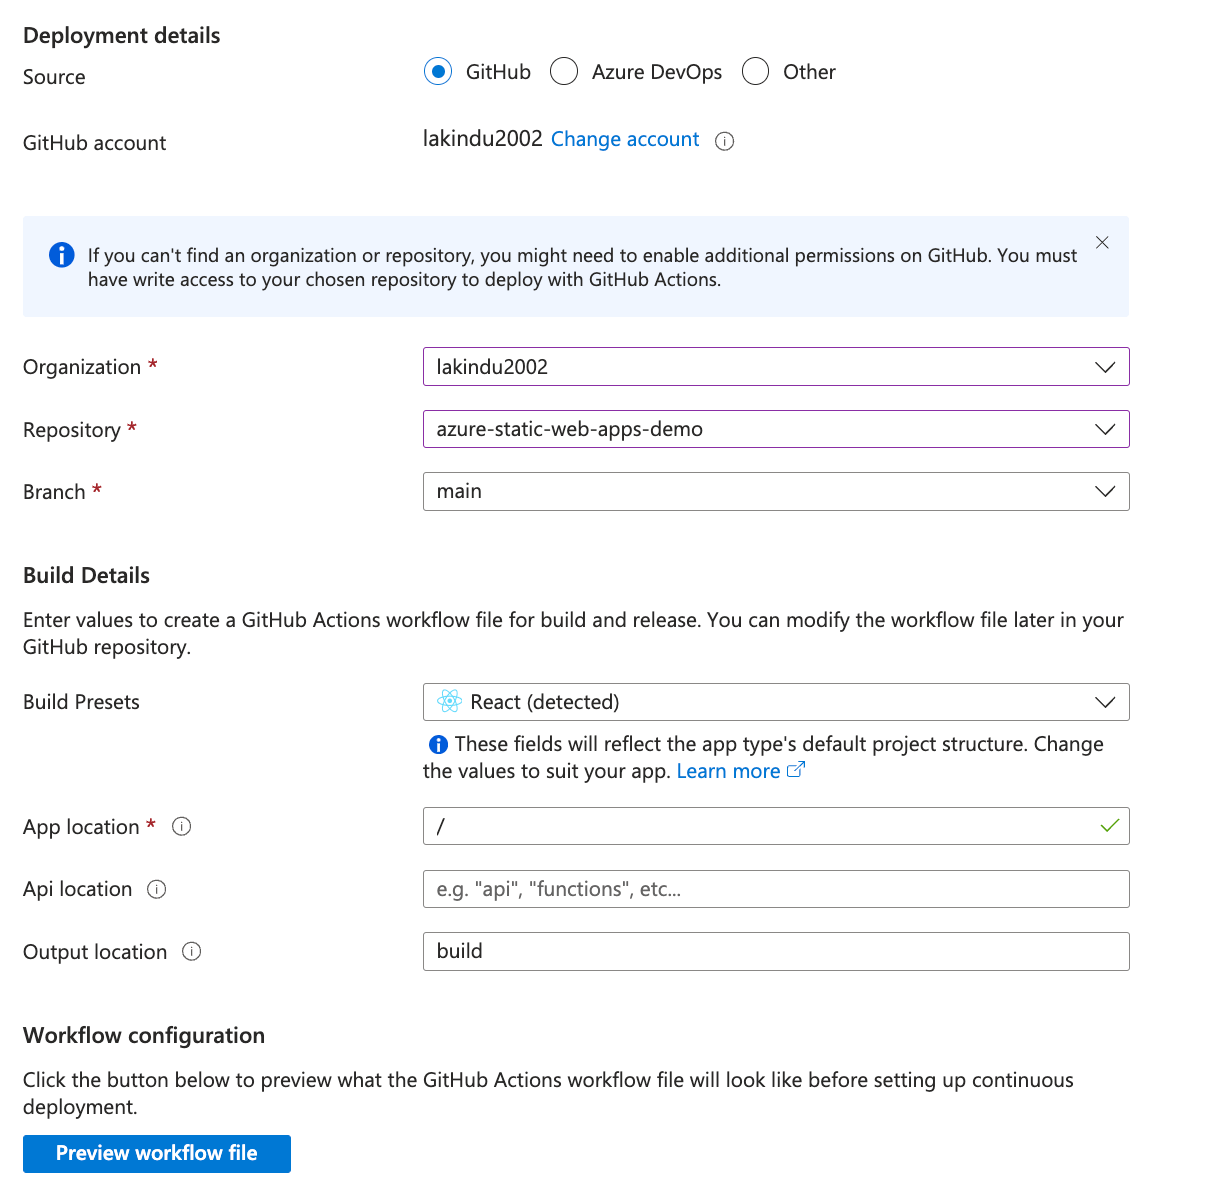 As you can see, the configuration is set to use the main branch of the newly created repository. Additionally, Azure Static Web Apps automatically detects the framework in use and creates a workflow file that GitHub Actions will execute to deploy on Azure Static Web Apps.
The workflow will look like this:
name: Azure Static Web Apps CI/CD

on:
  push:
    branches:
      - main
  pull_request:
    types: [opened, synchronize, reopened, closed]
    branches:
      - main

jobs:
  build_and_deploy_job:
    if: github.event_name == 'push' || (github.event_name == 'pull_request' && github.event.action != 'closed')
    runs-on: ubuntu-latest
    name: Build and Deploy Job
    steps:
      - uses: actions/checkout@v3
        with:
          submodules: true
          lfs: false
      - name: Build And Deploy
        id: builddeploy
        uses: Azure/static-web-apps-deploy@v1
        with:
          azure_static_web_apps_api_token: ${{ secrets.AZURE_STATIC_WEB_APPS_API_TOKEN_ }}
          repo_token: ${{ secrets.GITHUB_TOKEN }} # Used for Github integrations (i.e. PR comments)
          action: "upload"
          ###### Repository/Build Configurations - These values can be configured to match your app requirements. ######
          # For more information regarding Static Web App workflow configurations, please visit: https://aka.ms/swaworkflowconfig
          app_location: "/" # App source code path
          api_location: "" # Api source code path - optional
          output_location: "build" # Built app content directory - optional
          ###### End of Repository/Build Configurations ######

  close_pull_request_job:
    if: github.event_name == 'pull_request' && github.event.action == 'closed'
    runs-on: ubuntu-latest
    name: Close Pull Request Job
    steps:
      - name: Close Pull Request
        id: closepullrequest
        uses: Azure/static-web-apps-deploy@v1
        with:
          azure_static_web_apps_api_token: ${{ secrets.AZURE_STATIC_WEB_APPS_API_TOKEN_ }}
          action: "close"
This workflow enables GitHub Actions to run a job for every pull request opened or pushed, triggering a deployment job to Azure Static Web Apps. Next, click on Review and Create to verify the information.
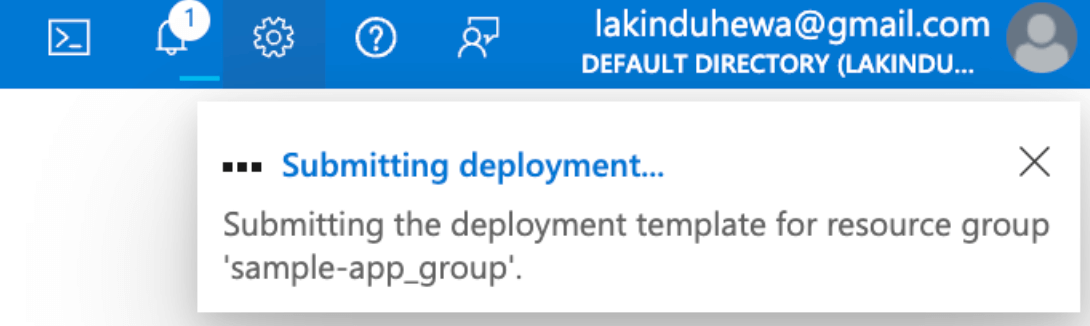
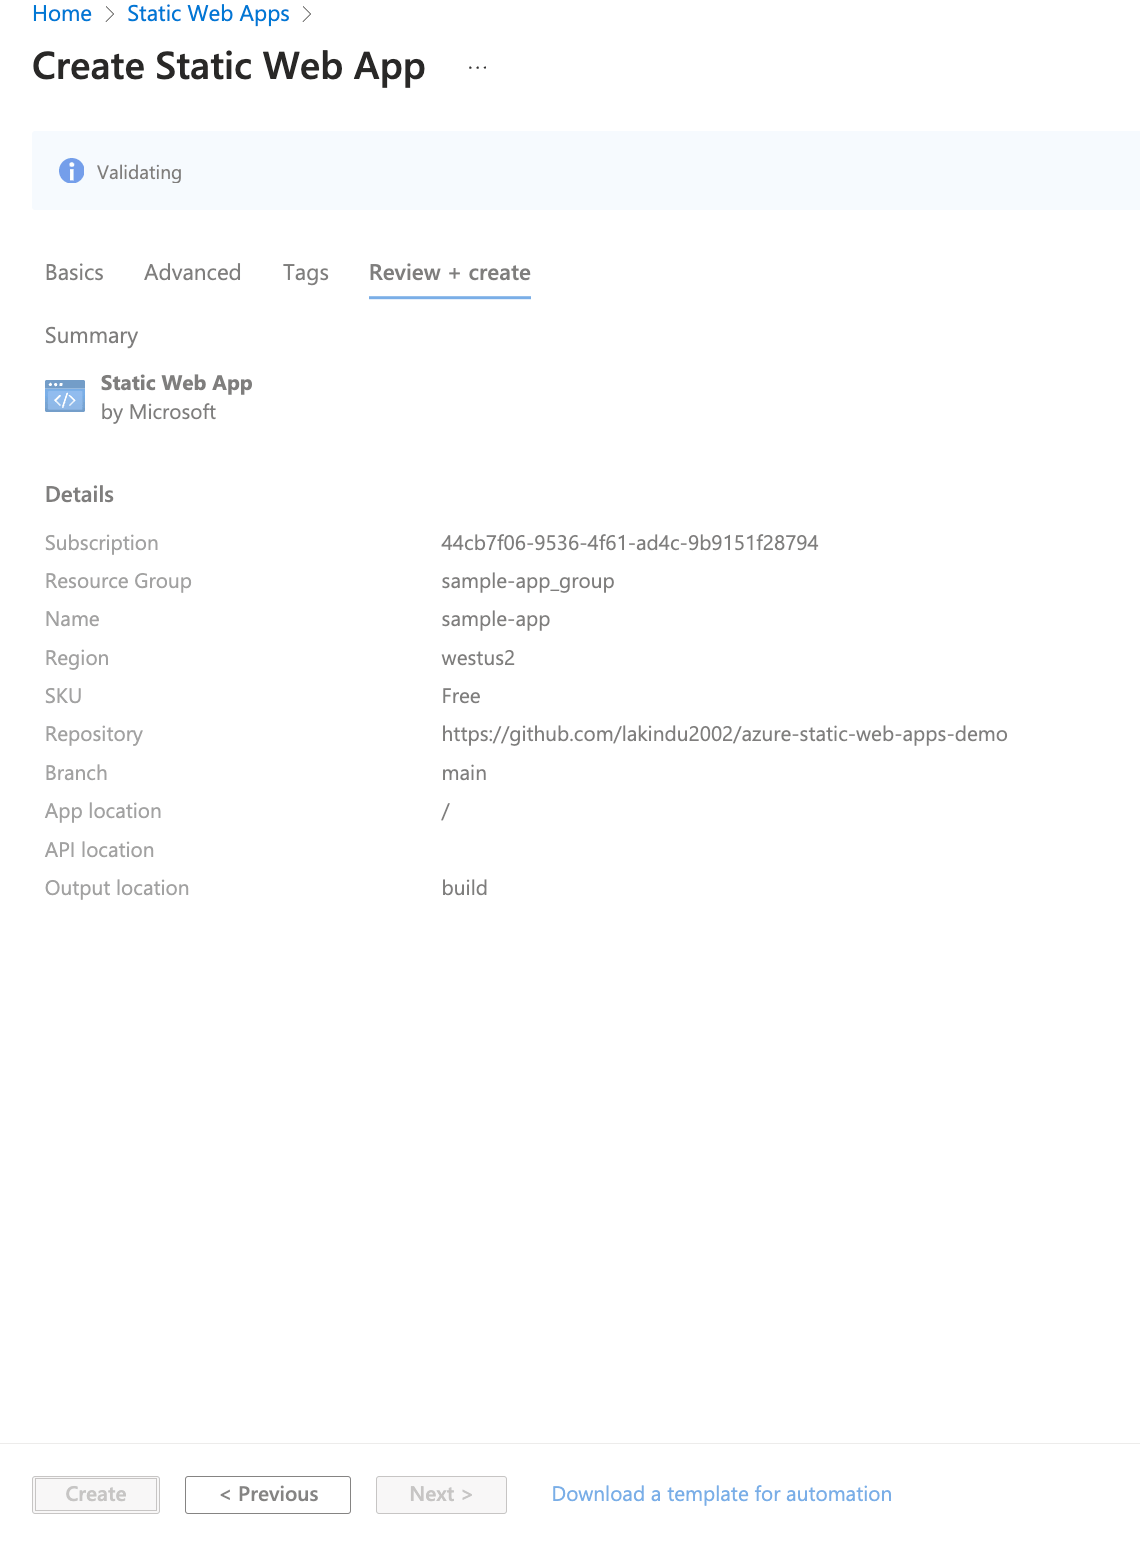 When all the details are correct, click Create to initiate the deployment process for your app, as follows.
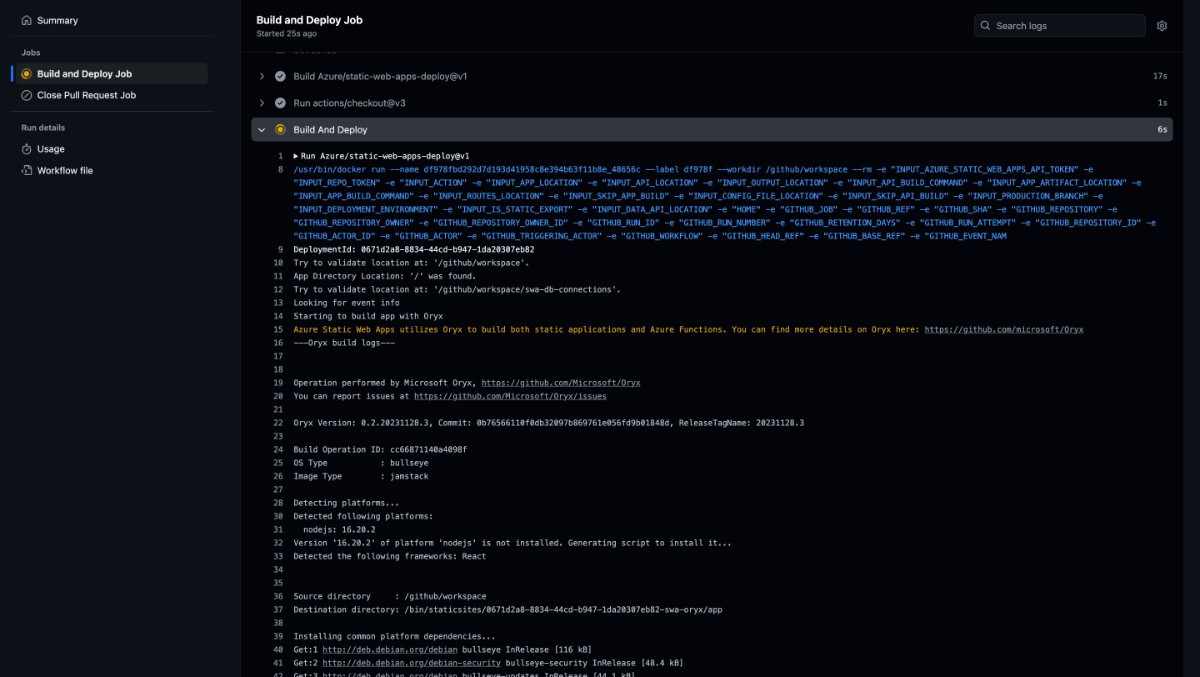
 Next, visit your GitHub repository to monitor the deployment in progress, as follows.
After the deployment is complete, return to your Azure console to view the resource in action.
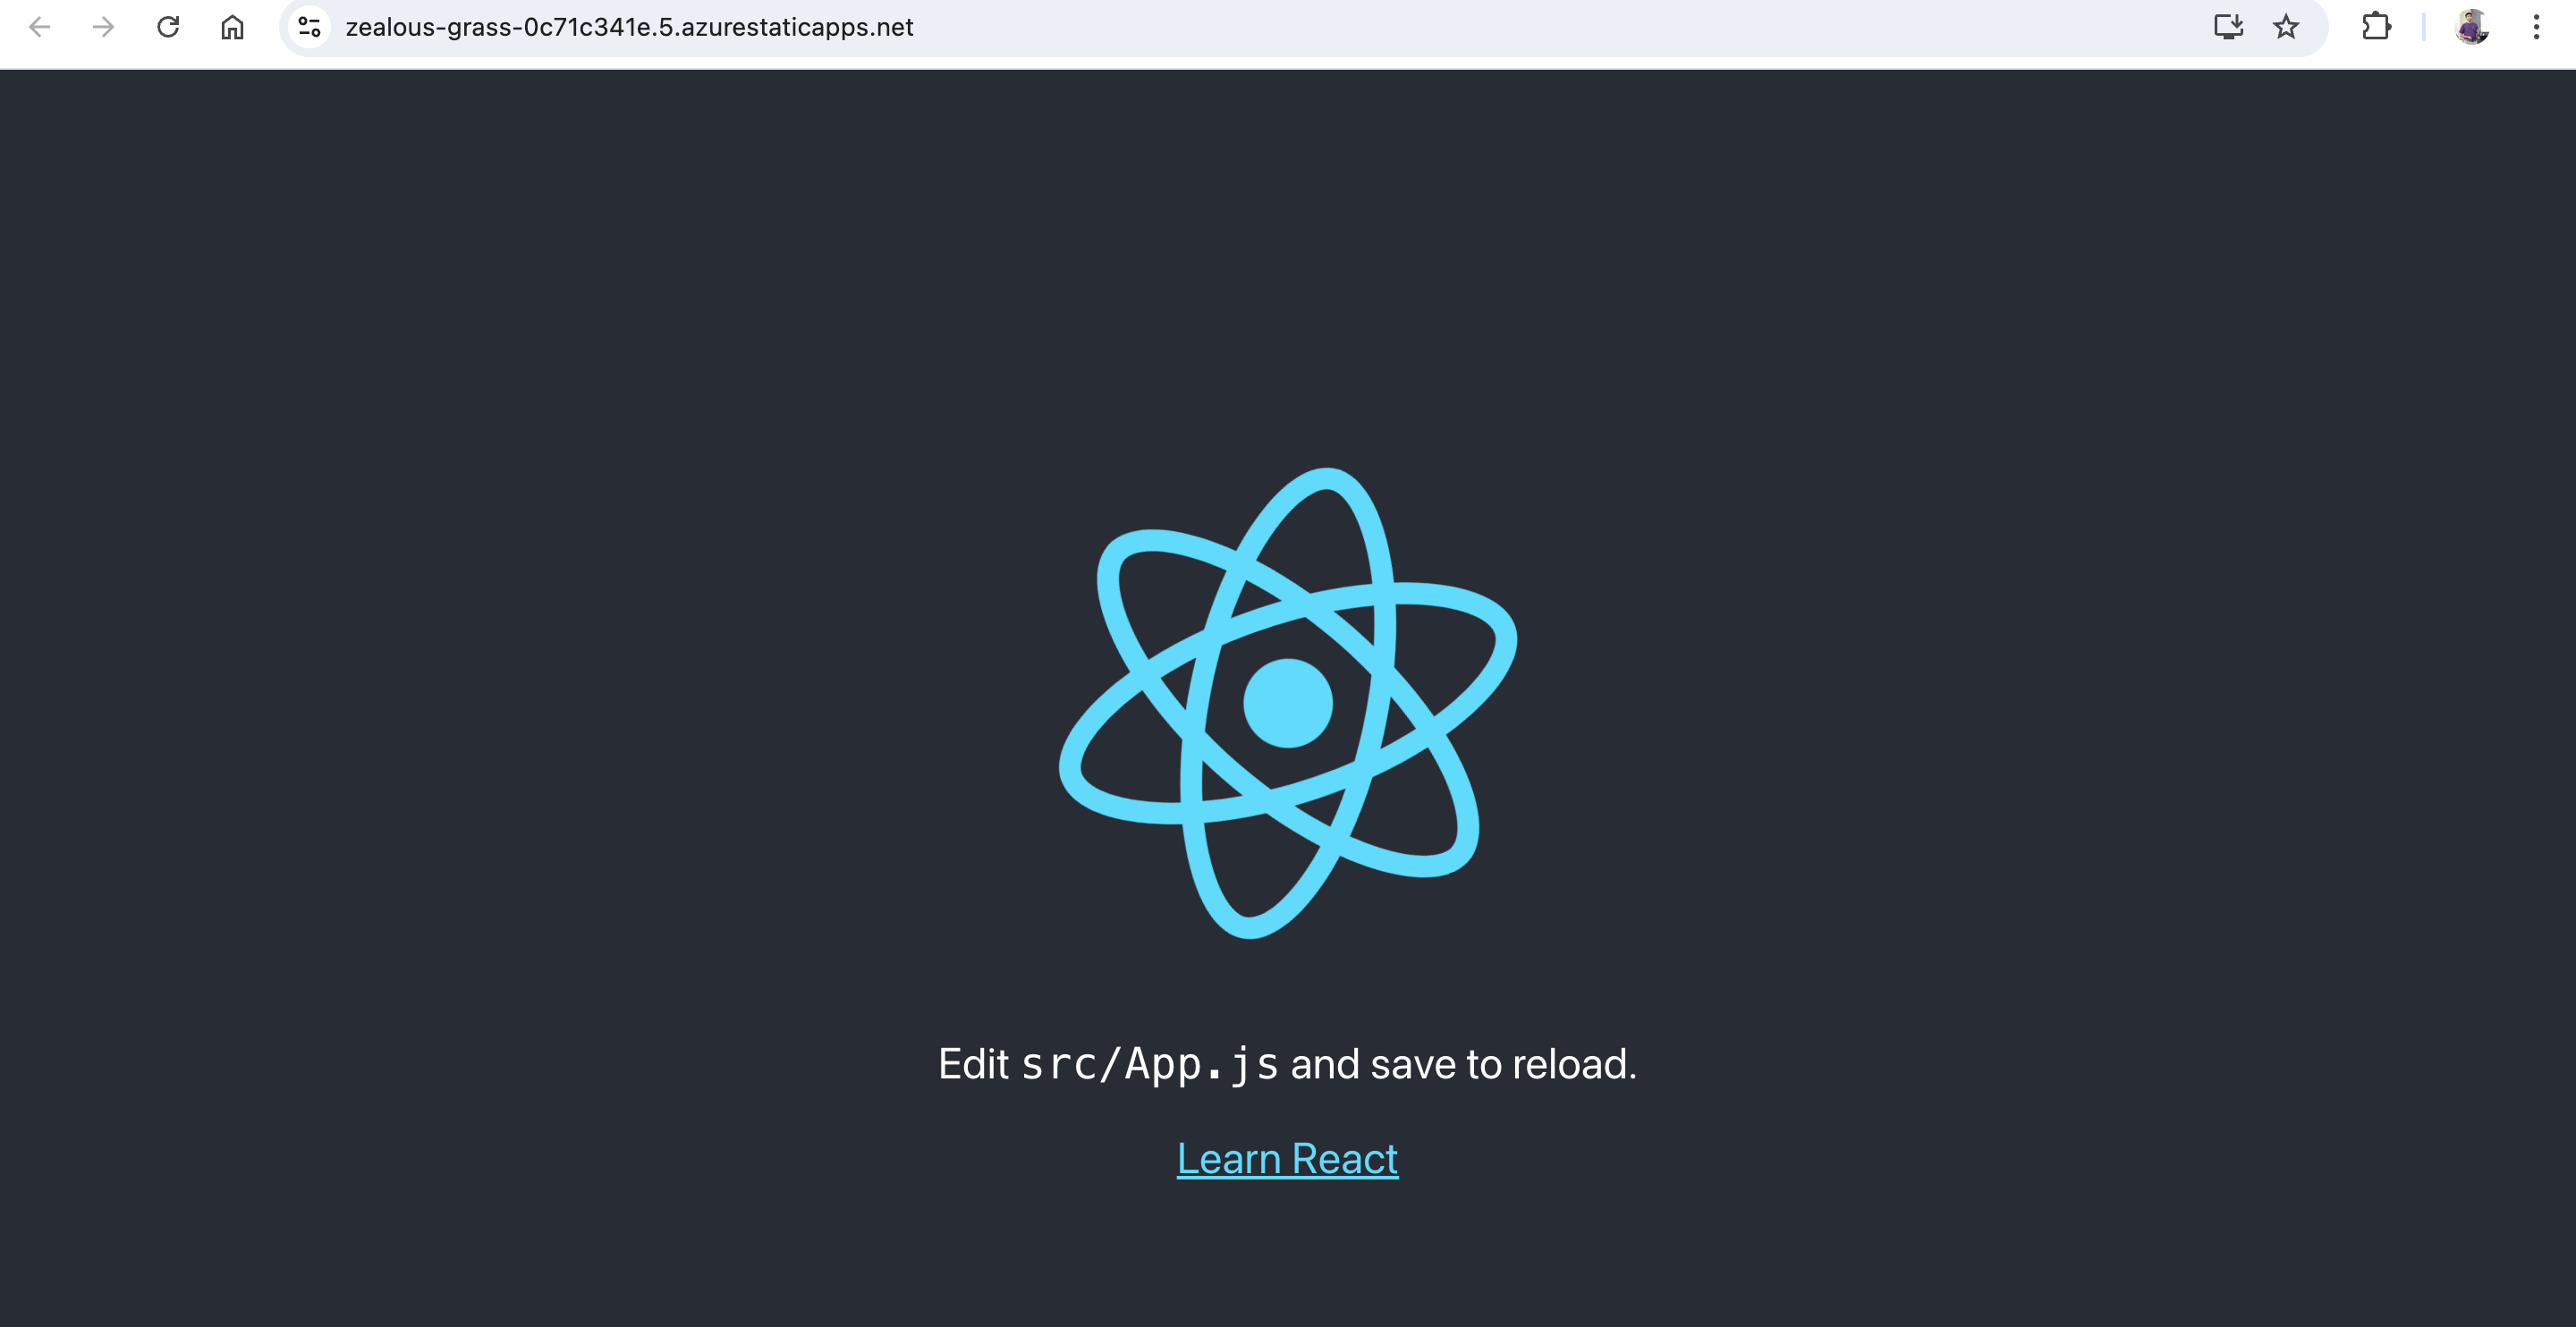
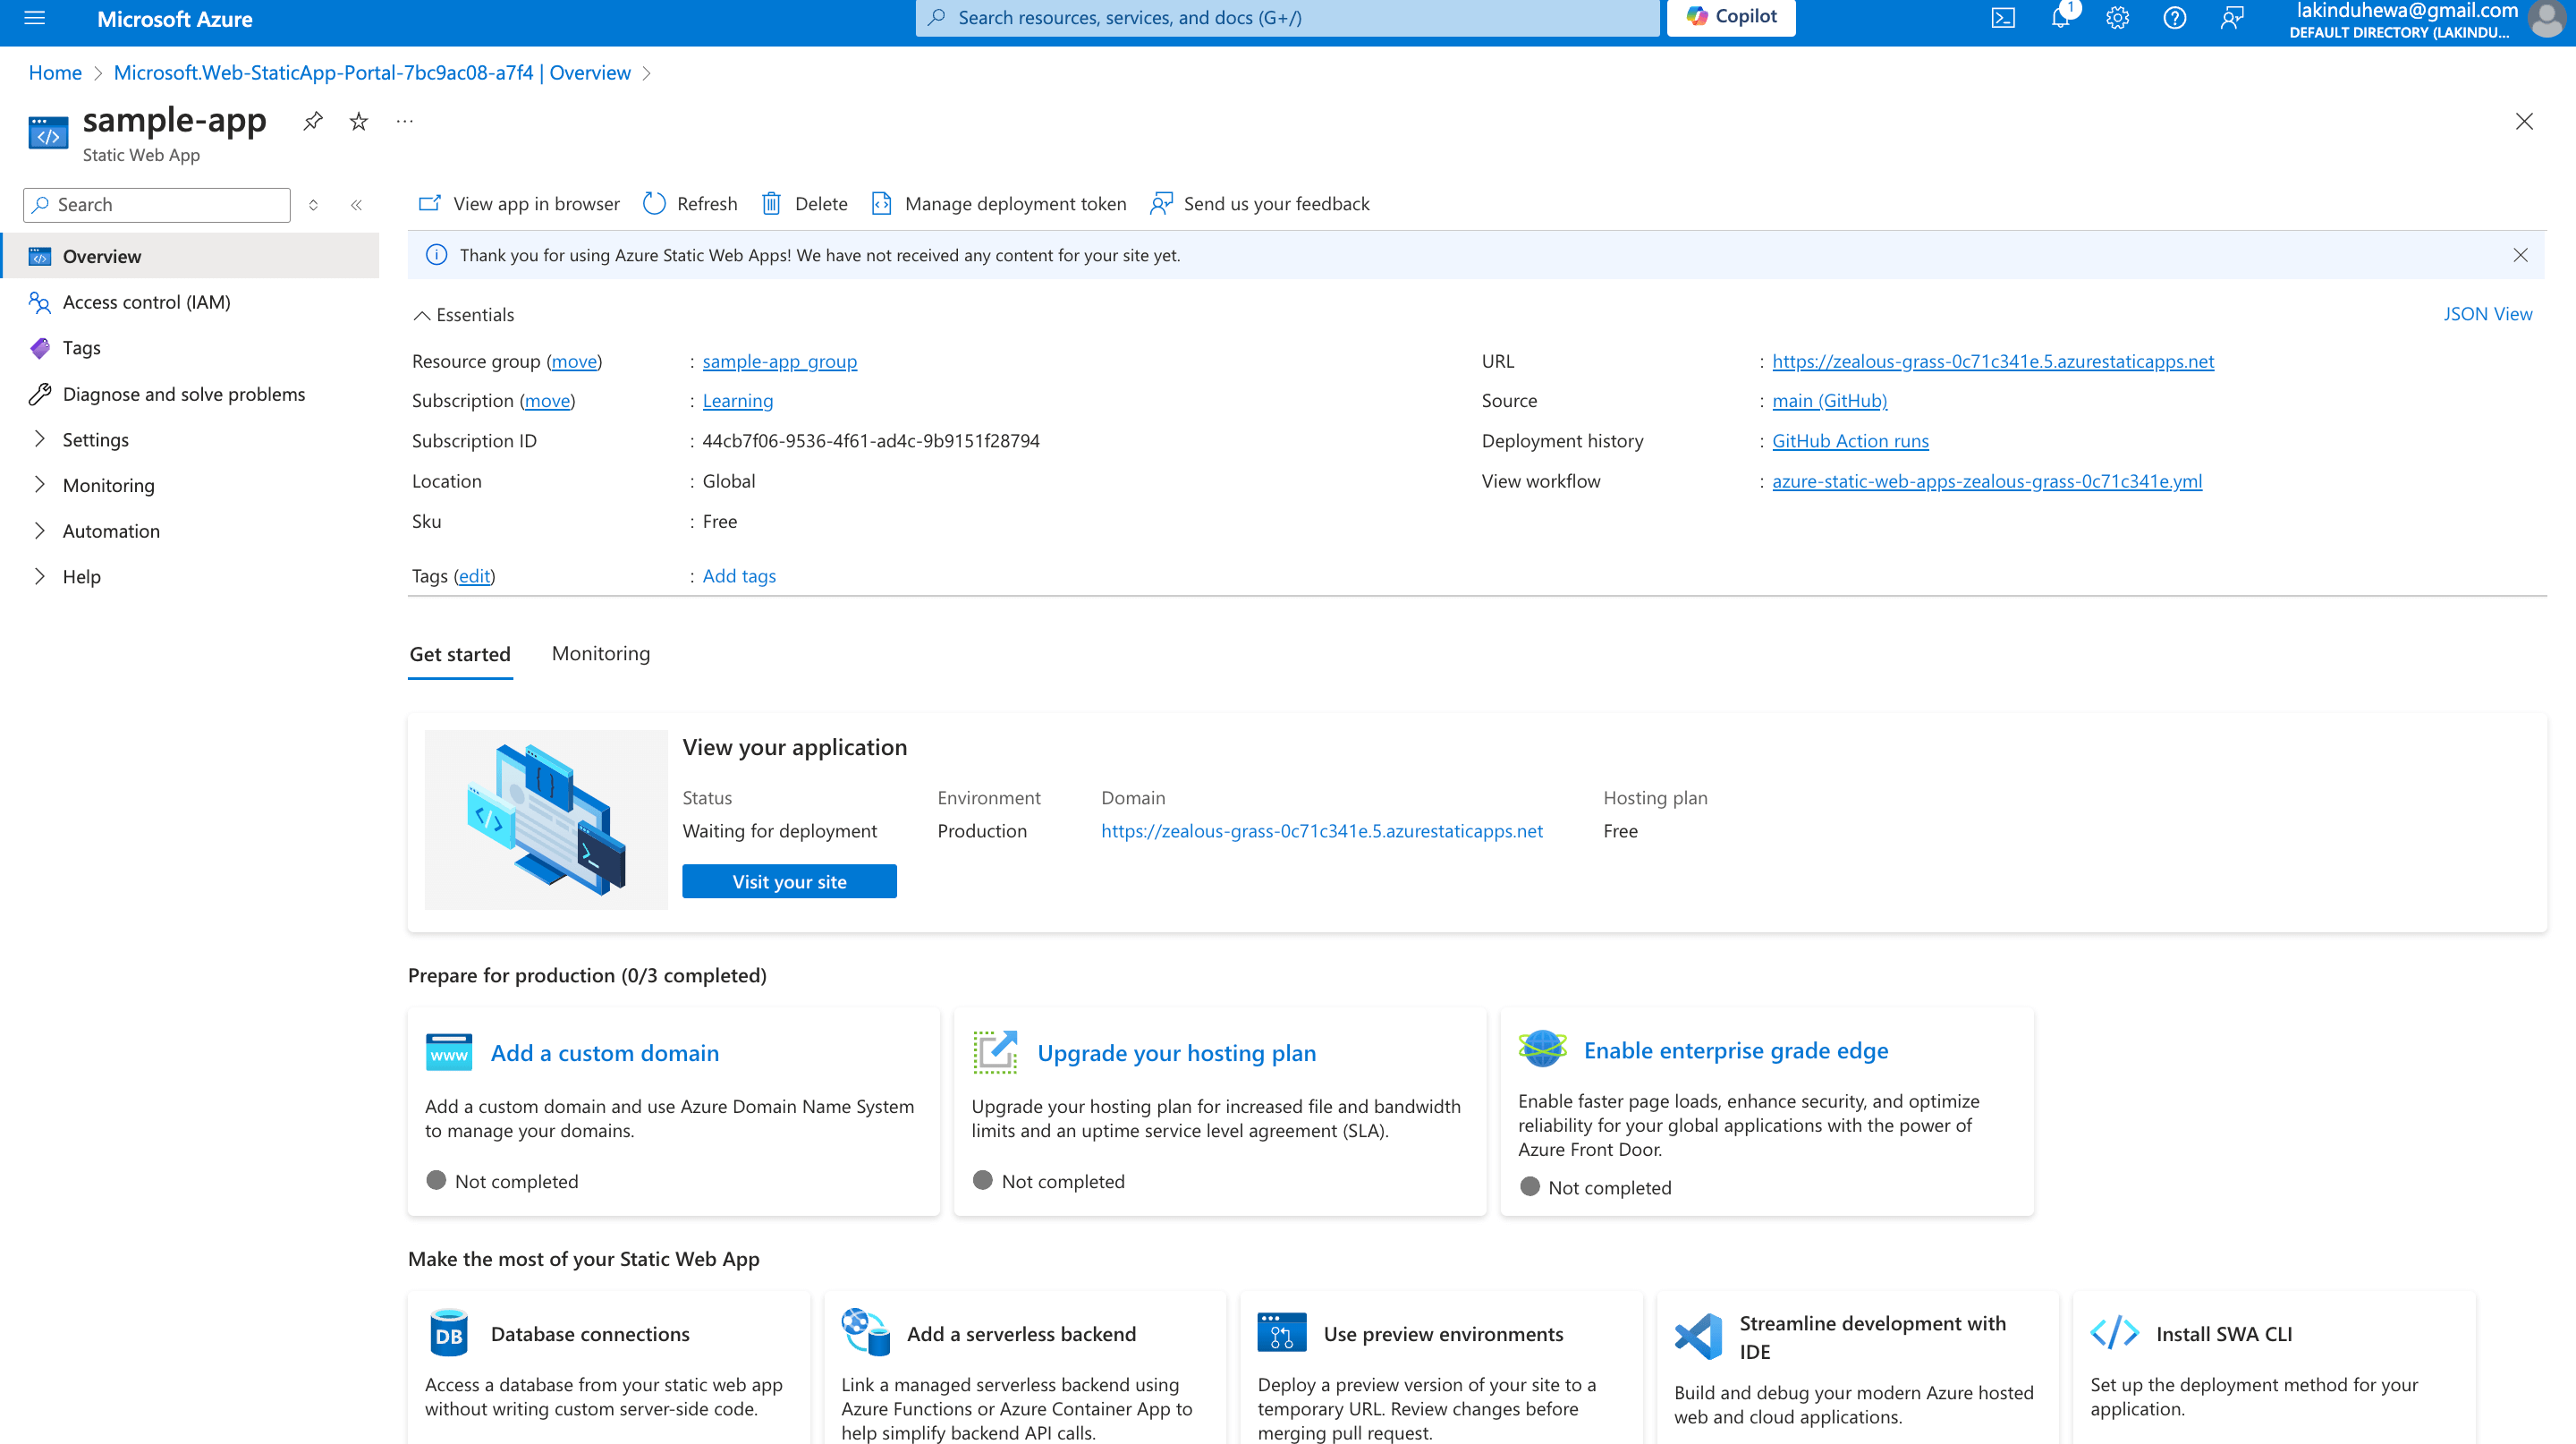 If you look closely, it shows a Production URL that you can access your site on. Once you click on it, you can see the site that we bootstrapped earlier.
GitHub reference
For more details, refer to the Azure Static Web Apps GitHub demo and live site link.
Concluding thoughts
Thanks for reading this article! We’ve seen how to set up a workflow that automatically deploys changes from your Git repository to the production link using GitHub Actions and Azure Static Web Apps. By choosing the free deployment plan, you can accomplish this with no additional cost.
I hope you found this information helpful. If you have any questions, please feel free to leave them in the comments section.
 No spam, just valuable updates.