
TL;DR: Angular’s key features for creating dynamic web apps include TypeScript integration, data binding, and directives. This blog lists Angular’s advantages and some real-world applications.
Angular, a project of Google, is one of the leading technologies for developing dynamic and enhanced web applications. Its solid structure and wide range of functionalities make it a great option for creating interactive and efficient web interfaces.
As a TypeScript-based, open-source, front-end web application framework, Angular simplifies application development and testing by using client-side MVC and MVVM architectures with feature-rich components.
One significant problem Angular solves is HTML’s limitation in supporting dynamic views. With Angular, developers can enhance HTML features for application development, allowing for more dynamic and interactive web pages. This flexibility makes Angular one of the most preferred front-end web development frameworks.


Core features of Angular
TypeScript
TypeScript is a language that introduces types to JavaScript, enabling developers to write clear and comprehensible code. All TypeScript code is transpiled into JavaScript, ensuring seamless execution across any platform.
Although TypeScript is not mandatory for Angular projects, it is strongly recommended. The improved syntax and type-checking features make the codebase easier to understand and maintain, leading to more robust and error-free apps.
Let’s look at a TypeScript example to see how it can improve code clarity and safety.
// TypeScript example demonstrating type annotations and interfaces.

// Define an interface for a Computer.
interface Computer {
    brand: string;
    model: string;
    year: number;
    isType: boolean;
    // Optional property

  color?: string;
}

// Function to create a Computer object.
function createComputer(brand: string, model: string, year: number, isType: boolean): Computer {
    // TypeScript ensures that all required properties are provided correctly.
    return {
        brand,
        model,
        year,
        isType
    };
}

// Displaying information about a Computer.
function displayComputerInfo(Computer: Computer) {
    console.log(`Computer: ${Computer.brand} ${Computer.model} (${Computer.year})`);
    console.log(`Type: ${Computer.isType}`);
    if (Computer.color) {
        console.log(`Color: ${Computer.color}`);
    }
}

// Creating a new Computer object.
let myComputer = createComputer('LG', 'Gram', 2023, false);
// Uncomment the line below to see TypeScript error due to missing properties.
let myComputer = createComputer('LG', 'Gram');

// Displaying Computer information.
displayComputerInfo(myComputer);
Explanations
In the previous code example, several key features of TypeScript are demonstrated.
Interface definition—Computer
In TypeScript, interfaces define the shape of objects. Here, the Computer interface specifies the structure of a computer object, including required properties like brand, model, year, and isType, as well as an optional color property. This helps in defining clear contracts within your codebase.
Function—createComputer
The createComputer function takes parameters like brand, model, year, and isType, and returns an object that conforms to the Computer interface. TypeScript ensures that all the required properties are included and correctly typed.
Function—displayComputerInfo
The displayComputerInfo function takes an object of type Computer as a parameter and displays all the related information about the Computer. TypeScript ensures that only properties defined in the Computer interface, including brand, model, year, isType, and color are accessed, preventing errors from incorrect property usage.
Type safety
TypeScript offers static type checking, catching errors such as assigning a string to a number like for myComputer.year = ‘2023’. This helps prevent runtime errors and improves code reliability.
Data binding
Angular offers one-way and two-way methods for data binding. This feature makes synchronization easy between the view and model, eliminating the need for maintaining two separate code sets. The modification of the user interface applies the changes to the application objects, and vice versa.
With Angular, developers can easily bind HTML control data to application data with a few lines of code. It has strong data-binding features that help the automatic synchronization of the model and view components. Thus, there’s no need for manual DOM manipulation. This feature makes the data synchronization process between the model and view components easy.
Refer to the following code example.
// app.component.ts (Angular component)
import { Component } from '@angular/core';

@Component({
  selector: 'app-root',
  template: `
    <h2>One-Way Binding Example</h2>
    <!-- Example of one-way binding: displaying data from the component -->
    <p>Name: {{ name }}</p>
    <h2>Two-Way Binding Example</h2>
    <!-- Example of two-way binding: updating data in both directions -->
    <input type="text" [(ngModel)]="message">
    <p>Message: {{ message }}</p>
    <button (click)="changeMessage()">Change Message</button>
  `,
  styles: []
})
export class AppComponent {
  name: string = 'Robert';
  message: string = 'Welcome To Angular Development!';

  changeMessage() {
    this.message = 'Updated message!';
  }
}
Explanations
Angular setup
The previous example assumes you have set up an Angular app with the necessary Angular CLI and dependencies like @angular/core and @angular/forms for ngModel.
One-way binding
The {{ name }} inside the <p> tags is an example of one-way binding. The value of the name from the Angular component, AppComponent, is automatically displayed in the view ({{ name }}). Any changes to this name in the component will immediately reflect in the view section.
Two-way binding
The <input type=”text” [(ngModel)]=”message”> shows an input field bound with using [(ngModel)]=”message”. This creates a two-way binding between the input field and the message property in the component. Changes made in the input field update the message in the component, due to Angular’s two-way data binding.
Component (AppComponent)
In Angular components, name and message are defined as component properties of type string. These properties are automatically synchronized with their corresponding bindings ({{ name }} and {{ message }}) in the template (template property of @Component decorator).
Event handling
The click event binding on the <button> element triggers the changeMessage() method defined in the component when the button is clicked. This method updates the message property, demonstrating how Angular handles events and updates the view automatically.
Directives
Angular is a framework that enriches the HTML by creating built-in directives, which are the indicators of DOM elements, enabling developers to give specific functionalities to the markup. These enhancements make HTML more useful for clients, and thus, it becomes the choice for client-side, dynamic apps.
Angular also provides the possibility for directives to be self-triggered, which in turn boosts web app efficiency and adaptability. The store structural directives can adjust the DOM layout, while the attribute directives can alter the appearance or the behavior of elements, components, or other directives.
Refer to the following code example.
import { Component } from '@angular/core';

@Component({
  selector: 'app-root',
  template: `
    <h2>Example for Angular Directives</h2>
    <!-- Structural Directive Example (ngIf) -->
    <div *ngIf="isLoggedin; else loginTemplate">
      <p>Welcome, {{ name }}!</p>
      <button (click)="logout()">Logout</button>
    </div>
    <ng-template #loginTemplate>
      <p>Please login to continue.</p>
      <button (click)="login()">Login</button>
    </ng-template>

    <!-- Attribute Directive Example (ngClass) -->
    <h3 [ngClass]="{ 'highlight': isHighlighted, 'italic': isItalic }">Styled Heading</h3>
    <button (click)="toggleStyles()">Toggle Styles</button>
  `,
  styles: [
    `
      .highlight {
        color: blue;
        font-weight: bold;
      }
      .italic {
        font-style: italic;
      }
    `
  ]
})
export class AppComponent {
  isLoggedin: boolean = false;
  name: string = '';
  isHighlighted: boolean = false;
  isItalic: boolean = false;

  login() {
    this.isLoggedin = true;
    this.name = 'John Robert'; // Example name
  }

  logout() {
    this.isLoggedin = false;
    this.name = '';
  }

  toggleStyles() {
    this.isHighlighted = !this.isHighlighted;
    this.isItalic = !this.isItalic;
  }
}
Explanations
Angular setup
This previous example shows that you have an Angular app set up with Angular CLI and dependencies like @angular/core.
Structural directive
The <div *ngIf=”isLoggedIn; else loginTemplate”> is a structural directive (*ngIf). Depending on the value of isLoggedIn, Angular either renders the content inside the <div> (if isLoggedIn is true) or switches to the <ng-template #loginTemplate> (if isLoggedIn is false). This allows conditional rendering of DOM elements based on app state.
Attribute directive
Here, the <h3 [ngClass]=”{‘highlight’: isHighlighted, ‘italic’: isItalic}”> uses the attribute directive [ngClass]. It dynamically applies CSS classes (highlight and italic) to the <h3> element based on the Boolean properties isHighlighted and isItalic in the component. This enables the dynamic styling of elements based on the component state.
Event handling
The (click)=”logout()” and (click)=”login()” on the buttons triggers methods in the component (logout() and login()). These methods update the component’s state (isLoggedIn and name), which triggers changes in the DOM due to Angular’s data-binding and directive functionalities.
CSS styling
The styles defined in the styles array of the @Component decorator (highlight and italic) are applied conditionally to the <h3> element based on the values of isHighlighted and isItalic.
Note: For more details, read more about building custom structural and attribute directives in Angular.
Dependency injection
Angular uses the dependency injection design pattern, which allows the classes, components, and modules to be interdependent while also keeping uniformity. This lowers the requirement to create dependent objects outside of a class. There are three types of classes:
- Client class,
- Service class, and
- Injector class.
Dependency injections, which include the constructor, setter, and interface injections, are part of Angular. These injections permit the creation of objects that belong to the dependent class outside of the class; subsequently, the client class takes these objects.
Refer to the following code example.
app.module.ts (Angular module)
import { NgModule } from '@angular/core';
import { BrowserModule } from '@angular/platform-browser';
import { AppComponent } from './app.component';
import { UserService } from './user.service'; // Example of a Service Class

@NgModule({
  declarations: [
    AppComponent
  ],
  imports: [
    BrowserModule
  ],
  providers: [
    UserService
  ],
  bootstrap: [AppComponent]
})
export class AppModule {}

// user.service.ts (Service Class)

import { Injectable } from '@angular/core';

@Injectable({
  providedIn: 'root'
})
export class UserService {
  getUsers(): string[] {
    return ['Robert', 'Tom', 'Dave'];
  }
}


//app.component.ts (Client Class)

import { Component } from '@angular/core';
import { UserService } from './user.service';

@Component({
  selector: 'app-root',
  template: `
    <h2>User's List</h2>
    <ul>
      <li *ngFor="let user of users">{{ user }}</li>
    </ul>
  `
})
export class AppComponent {
  users: string[] = [];

  constructor(private userService: UserService) {
    // Using constructor injection to inject User Service
    this.users = this.userService.getUsers();
  }
}
Explanations
Angular module
The AppModule is the root module of the Angular app. It helps in importing necessary modules like BrowserModule and declares components like AppComponent. By using the providers array, it also registers providers (UserService). This makes Angular aware of the UserService and allows it to inject instances of UserService wherever required.
Service class (UserService)
The UserService is a service class in Angular. It is accompanied by @Injectable() to indicate that it can be injected into other components or services. The getUsers() method provides a list of users.
Client class (AppComponent)
The AppComponent is an Angular component that uses dependency injection. It declares a dependency on UserService in its constructor (constructor(private userService: UserService)). When AppComponent is created, Angular automatically injects an instance of UserService into the component.
Template (AppComponent)
The template of AppComponent (template property in @Component) displays a list of users fetched from UserService using the *ngFor directive.
Note: For more details, refer to Angular dependency injection.
Routing
Angular’s routing is crucial for creating single page apps (SPAs), which dynamically add content to pages, providing users with a seamless experience similar to desktop apps. Examples of SPAs include popular sites like Google, Facebook, Twitter, and Gmail.
SPAs are super quick and give a desktop-like feel because they improve the load time. Navigation is usually made up of a forward slash and the path that has to be followed to create something new.
Refer to the following code example.
import { NgModule } from '@angular/core';
import { BrowserModule } from '@angular/platform-browser';
import { RouterModule, Routes } from '@angular/router';
import { AppComponent } from './app.component';
import { HomeComponent } from './home.component';
import { AboutComponent } from './about.component';
import { ContactComponent } from './contact.component';

// Define routes
const routes: Routes = [
  { path: '', component: HomeComponent }, // Home route.
  { path: 'about', component: AboutComponent }, // About route.
  { path: 'contact', component: ContactComponent }, // Contact route.
  { path: '**', redirectTo: '' } // Redirect to home page for any unknown routes.
];

@NgModule({
  declarations: [
    AppComponent,
    HomeComponent,
    AboutComponent,
    ContactComponent
  ],
  imports: [
    BrowserModule,
    RouterModule.forRoot(routes) // Configure Angular router with defined routes.
  ],
  providers: [],
  bootstrap: [AppComponent]
})
export class AppModule { }
Explanations
In the previous example:
- RouterModule and Routes are imported from @angular/router, which are essential for Angular routing.
- Three components (HomeComponent, AboutComponent, and ContactComponent) are defined and mapped to specific paths using the Routes array.
- The RouterModule.forRoot(routes) method configures the app’s root-level route configuration with the defined routes.
- If a user navigates to /, they will see the HomeComponent. Similarly, /about will display the AboutComponent, and /contact will display the ContactComponent.
- If a user navigates to any route that is not defined (**), they will be redirected to the home page (”).
Note: For more details, read more about Implementing Route Protection in Angular using CanActivate.
Forms
An application of Angular forms is the most important aspect of web apps. It’s used for login, profile updates, and data-entry tasks. There are two types: template-driven and reactive.
The template-driven mechanism uses a normalized form tag, embeds the control with NGModel, and produces form values. Reactive forms are code-driven and can manage data flows between form controls and models. They are usually synchronous and support unit testing using synchronous programming techniques.
Reactive forms in Angular are more preferred for their scalability, explicit form control, and the synchronous programming capabilities. Unlike the template-driven forms, reactive forms offer better validation as well as testing support, which makes them suitable for complex, dynamic form requirements. The reactive form capabilities give precise control over data flow and validation logic. The reactive-forms approach enhances maintainability and robustness in large-scale apps.
Refer to the following code for an example of template-driven forms.
App.component.html
<h2>Template-Driven Profile Form</h2>
<form #profileForm="ngForm" (ngSubmit)="onSubmit(profileForm)">
  <div>
    <label for="name">Name</label>
    <input type="text" id="name" name="name" ngModel>
  </div>
  <div>
    <label for="email">Email</label>
    <input type="email" id="email" name="email" ngModel>
  </div>
  <button type="submit">Submit</button>
</form>
app.component.ts
import { Component } from '@angular/core';

@Component({
  selector: 'app-root',
  templateUrl: './app.component.html'
})
export class AppComponent {
  onSubmit(form: any) {
    console.log('Template-Driven Form Data:', form. Value);
  }
}
Explanations
- Uses the ngModel directive to bind form controls.
- Form validation and state management are implicitly handled.
- Suitable for simple forms with less complex validation logic.
Refer to the following code for an example of reactive forms.
app.module.ts
import { NgModule } from '@angular/core';
import { BrowserModule } from '@angular/platform-browser';
import { ReactiveFormsModule } from '@angular/forms'; // Fixed the import statement
import { AppComponent } from './app.component';

@NgModule({
  declarations: [ AppComponent ],
  imports: [
    BrowserModule,
    ReactiveFormsModule // Added the ReactiveFormsModule
  ],
  providers: [],
  bootstrap: [AppComponent]
})
export class AppModule {}
app.component.html
<<h2>Reactive Profile Form</h2>
<form [formGroup]="profileForm" (ngSubmit)="onSubmit()">
  <div>
    <label for="name">Name</label>
    <input id="name" formControlName="name">
  </div>
  <div>
    <label for="email">Email</label>
    <input id="email" formControlName="email">
  </div>
  <button type="submit">Submit</button>
</form>
app.component.ts
import { Component, OnInit } from '@angular/core';
import { FormBuilder, FormGroup } from '@angular/forms';

@Component({
  selector: 'app-root',
  templateUrl: './app.component.html' // Fixed the path
})
export class AppComponent implements OnInit {
  profileForm: FormGroup;

  constructor(private fb: FormBuilder) {}

  ngOnInit() {
    this.profileForm = this.fb.group({
      name: [''], // Fixed the initial value
      email: [''] // Fixed the initial value
    });
  }

  onSubmit() {
    console.log('Reactive Form Data:', this.profileForm.value);
  }
}
Explanation
- Uses explicit FormGroup and FormControl
- Provides greater control over form state and validation logic.
- Supports synchronous programming techniques, making it ideal for unit testing and more complex form validation.
Note: Read more about Angular Template-Driven vs. Reactive Forms for more details.
Advantages of using Angular
- Custom and reusable components: With Angular, developers can create modular, reusable components that can be nested and combined. This framework allows the development of complex apps to be more flexible.
- Use of TypeScript’s data types: Angular’s integration with TypeScript made the data interaction robust, which in turn increased the predictability and reliability of the code. This system makes it easy to integrate third-party libraries, making the development process smoother.
- Productivity and code consistency: The architecture of Angular enables developers to build apps quickly while at the same time maintaining the quality and uniformity of the architecture. The project’s regulations and code of conduct guarantee that apps are created faster and the quality remains unchanged.
- Easy testing: Angular provides a full-featured environment for unit and end-to-end testing. Thus, all app parts can be checked for correctness before deployment. Its testing tools are scalable and can handle tests for apps of any size.
- Code reduction and good maintainability: Angular’s object-oriented programming strategy has made the code minimal, resulting in better maintenance and decreasing the probability of bugs.
- High compatibility: Angular’s platform independence and compatibility with all major browsers make it suitable for businesses that want to develop scalable and maintainable web apps.
Real-world applications of Angular
Angular is employed in various sectors, such as enterprise-level applications for e-commerce and content management. Some prominent examples follow.
T-Mobile Website

Angular is the main technology the company employs for its website, which shows its ability to handle complex functionalities and a large number of user interactions.
Upwork

With Angular, Upwork publishes a dynamic single-page application (SPA). It helps users view and manage job listings in real time. Since it is an SPA, users can easily switch between the different types of bids.
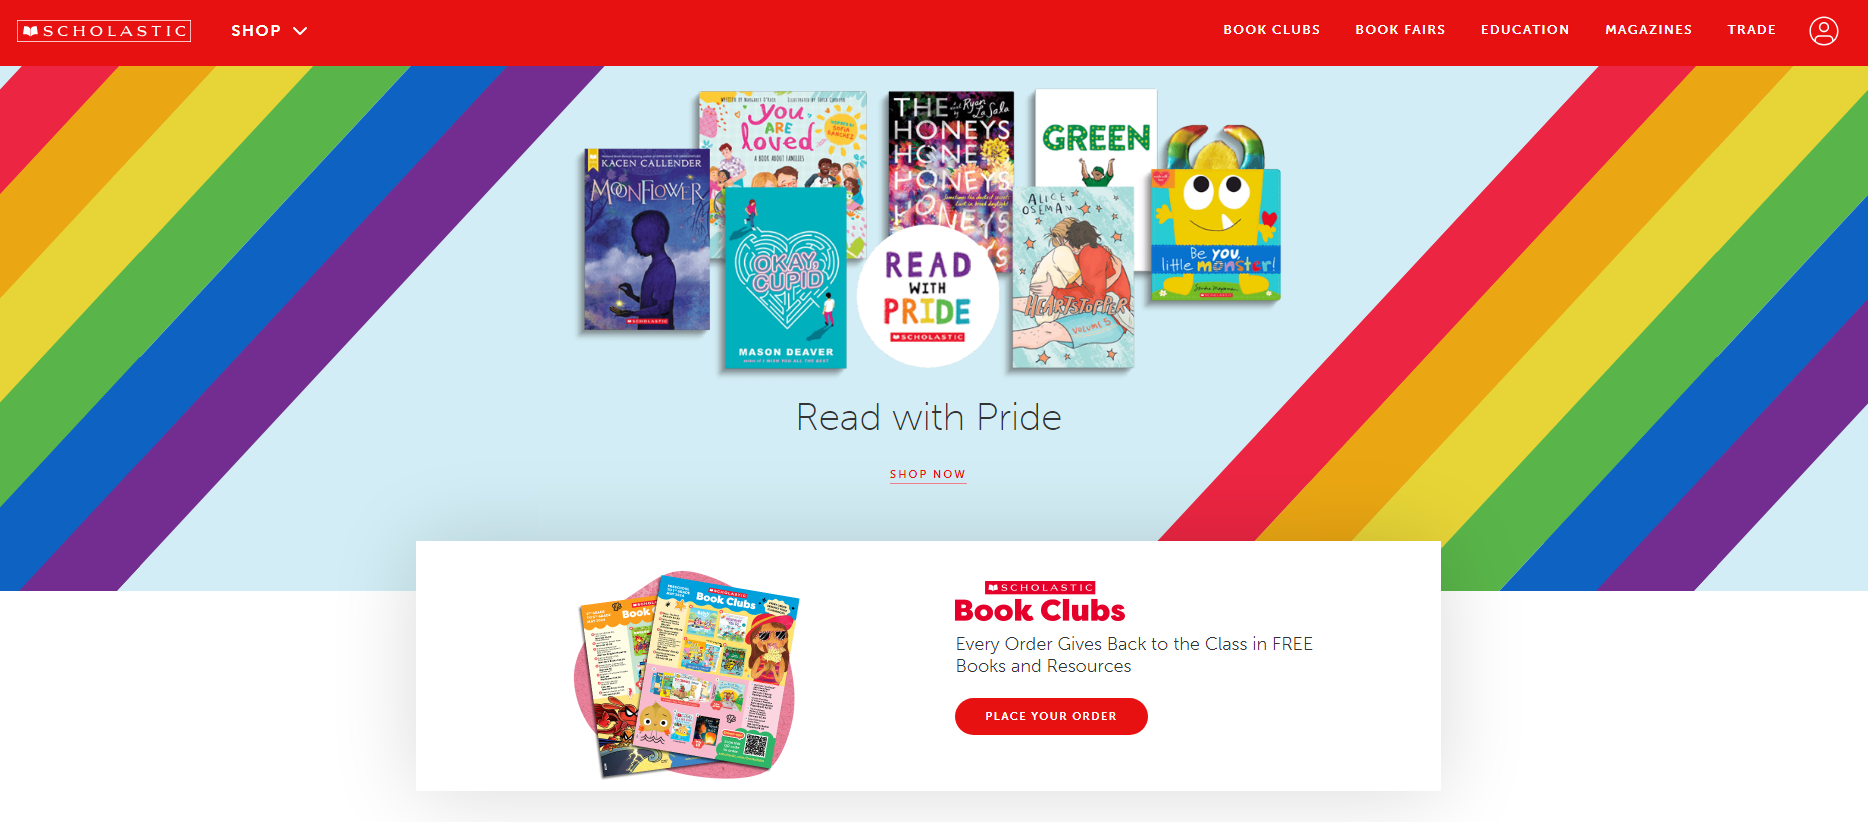
Scholastic
Through Angular, Scholastic amplifies its online presence, dynamically changing its content management system, which updates in real-time.
Weather.com

This weather app is designed to be mobile-friendly and run smoothly in a responsive web environment. It coordinates and visualizes the data sets and manages the high user interaction levels.
Forbes

The dynamic content updates of the Forbes magazine website are done very efficiently.
PayPal

PayPal enhances the security and responsiveness of its web applications with Angular. Angular aids in its form-based transactions; however, security is ensured by its authentication service.
Conclusion
Thanks for reading. In this article, you have explored the core features of Angular and gained insights into its advantages and real-world applications. Angular’s comprehensive framework and capabilities make it a powerful tool for building dynamic, scalable web applications, from single-page applications to complex enterprise solutions.
For Angular developers who don’t want to develop everything in their apps for scratch, there’s the Essential Studio® for Angular component suite. It contains over 80 components, from simple buttons to complex charts and grids, to make your job easier.
For existing customers, the newest version of Essential Studio® is available for download from the License and Downloads page. If you are not a Syncfusion customer, try our 30-day free trial to check out its features. Also, check out our demos on GitHub.
If you have questions, you can contact us through our support forums, support portal, or feedback portal. We are always happy to assist you!