Follow the step-by-step procedure below to create a Blazor WebAssembly (client-side) application in Visual Studio 2019.
Download and install Visual Studio 2019
Download and install the latest version of Visual Studio 2019 with the ASP.NET and web development workload.
Create a new project
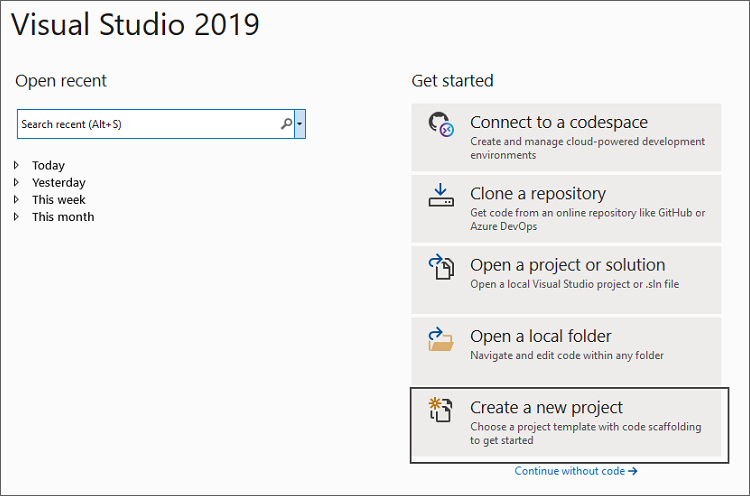
Open Visual Studio 2019 and select Create a new project.
Select Blazor app from the template
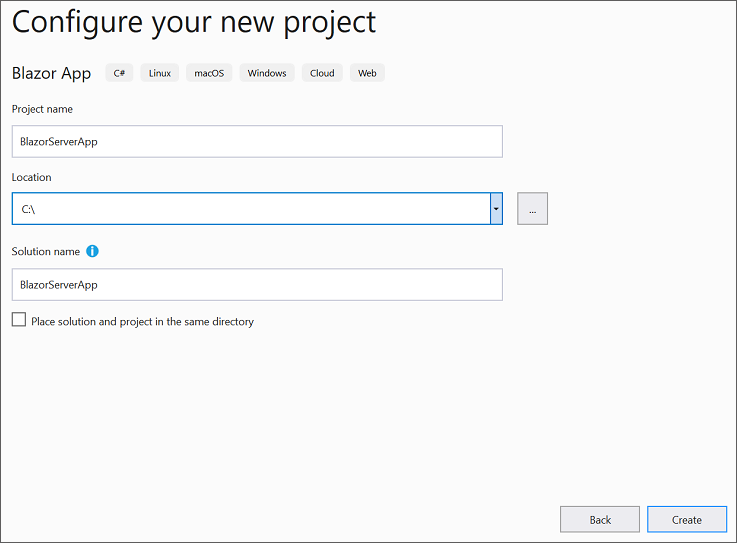
Select Blazor App from the template list and click the Next.
Choose Blazor WebAssembly App
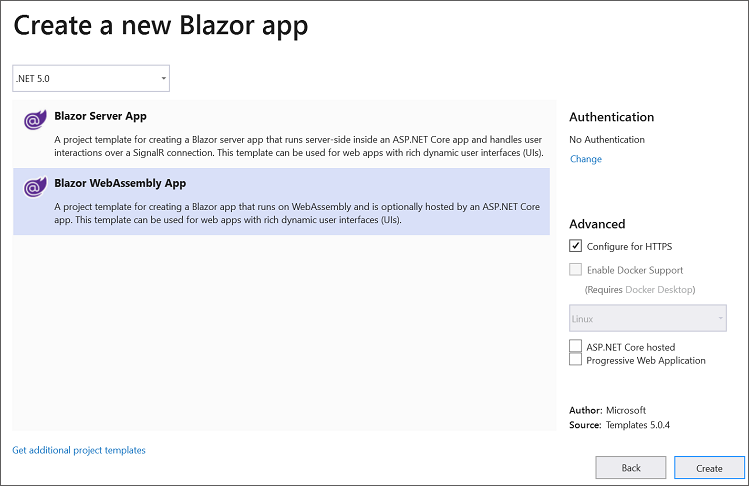
Select a target framework based on your requirements, choose Blazor WebAssembly App from the dashboard, and then click Create to create a new Blazor WebAssembly application.
Blazor WebAssembly App structure
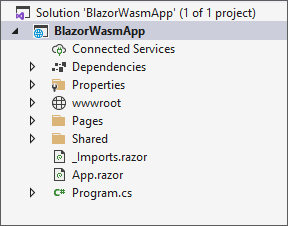
Now the Blazor WebAssemblyApp is created, and the structure look like in the below image.
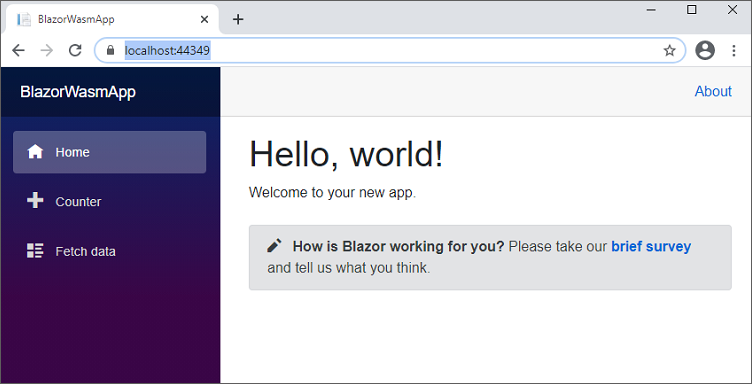
Run the application.
Press ctrl + F5 to run the application and see the below output in default browser.
Refer to this link for more details.


Share with