From the 2021 Essential Studio® Volume 2 release, the WPF PDF Viewer comes with exciting support for drawing cloud shapes in PDF files. As per the PDF specification, cloud shapes are nothing but a polygon or rectangle annotation with a cloud border style. You can view, add, remove, and modify cloud shapes in PDF files interactively using the WPF PDF Viewer.
In this blog, we will look at the procedure to handle cloud shapes in PDF files using the WPF PDF Viewer.

Getting started
First things first:
- Create a new WPF project and install the WPF PDF Viewer NuGet package.
- Then, include the following code in your XAML page to add the PDF Viewer as a child to the window.
<Window x:Class="PdfViewer.MainWindow"
        xmlns:pdfviewer="clr-namespace:Syncfusion.Windows.PdfViewer;assembly=Syncfusion.PdfViewer.WPF">
    <pdfviewer:PdfViewerControl x:Name="pdfViewer"/>
</Window>
Add cloud shapes from the UI
Using the PdfViewerControl, you can directly add cloud shapes by selecting the cloud from the shapes in the built-in toolbar.
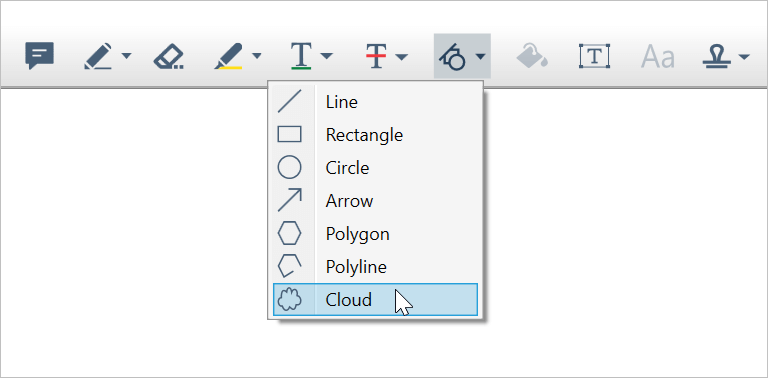
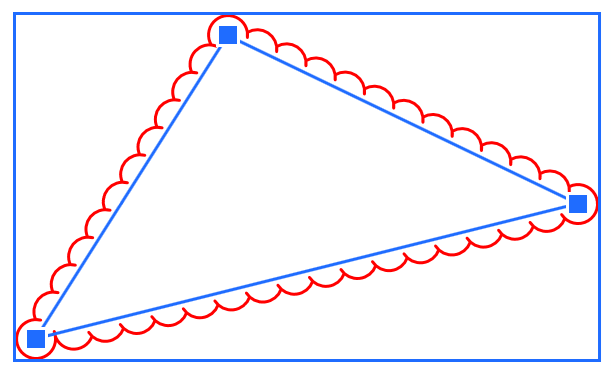
Once the cloud is chosen from the toolbar, click on the page to start creating a cloud. Move the pointer where you want them and click to create each segment. To finish drawing the cloud, double-click to end the cloud shape. Later, you can select and move them to adjust their location, or resize the cloud using its segment connection points to adjust its size.
The following image illustrates the appearance of a selected cloud and its segment connected points.
Note: For complex cloud polygons, the cloud border-style appearance might differ from other PDF readers like Adobe.
Enable cloud-shape drawing mode programmatically
If you are using the PdfDocumentView control and need to switch to the cloud-shape drawing mode, you need to set the AnnotationMode to Polygon or Rectangle, and the BorderEffect settings to Cloudy.
Refer to the following code example to enable cloud-shape drawing mode.
public void EnableCloudDrawingMode()
{
   pdfViewer.AnnotationMode = PdfViewerAnnotationMode.Polygon;
   pdfViewer.PolygonAnnotationSettings.BorderEffect = BorderEffect.Cloudy;
}
Remove cloud shapes
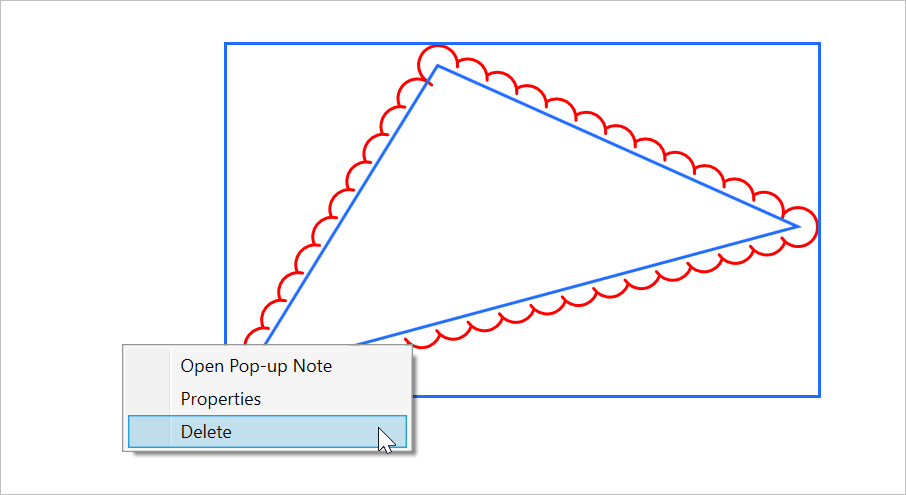
You can remove a cloud annotation by selecting and right-clicking the cloud shape. Choose Delete from the context menu. You can also delete the selected annotation using the DELETE keyboard key.
Customize the properties of cloud shapes
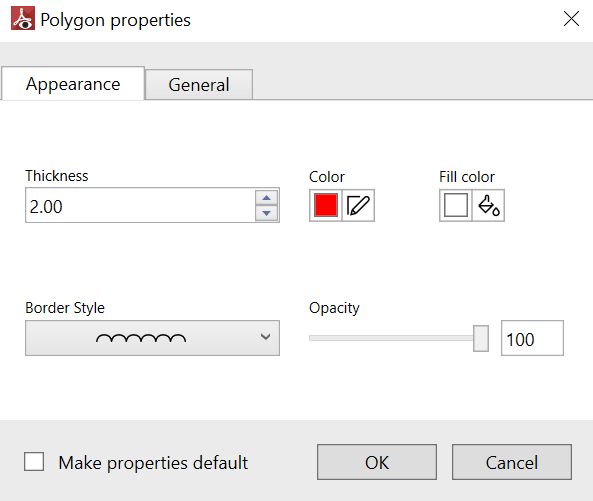
You can customize the shape appearance, such as its color, thickness, opacity, and border style, using the properties window of the annotation. You can also modify the subject and author information of the annotation. To do so, open the properties window by selecting and right-clicking on the cloud shape, then choose the Properties from the context menu.
Customize the default appearance
If you need to create cloud shapes with a customized appearance, you can customize the default appearance using the PolygonSettings of PDF Viewer.
Refer to the following code example to customize the default appearance of a cloud shape.
public void EnableDefaultCloudSettings()
{
    pdfViewer.AnnotationMode = PdfViewerAnnotationMode.Polygon;
    pdfViewer.PolygonAnnotationSettings.BorderEffect = BorderEffect.Cloudy;

    // Set the default appearance of the cloud.
    pdfViewer.PolygonAnnotationSettings.StrokeColor = Colors.Red;
    pdfViewer.PolygonAnnotationSettings.FillColor = Colors.White;
    pdfViewer.PolygonAnnotationSettings.Thickness = 2;
    pdfViewer.PolygonAnnotationSettings.Opacity = 0.5f;

}
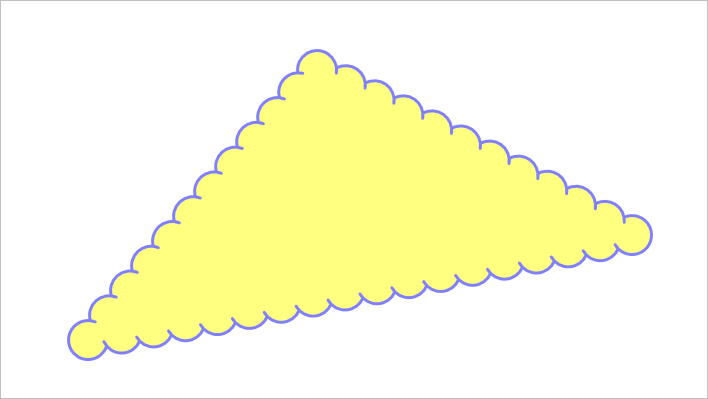
The following image illustrates the customized appearance of a cloud shape.
Pop-up note
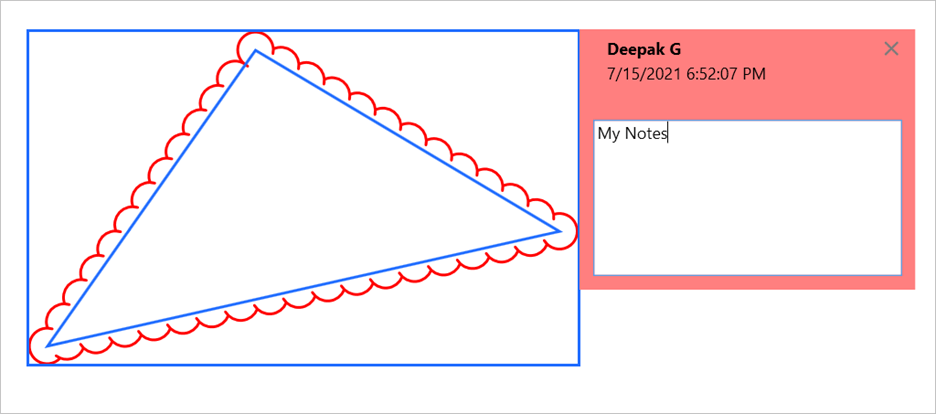
Also, you can write custom notes for the annotation by using the pop-up note associated with the annotation. The pop-up note of the cloud annotation can be opened by selecting and right-clicking on the cloud shape and then choosing Open Pop-up Note from the context menu.
Keyboard shortcuts summary
The following shortcut keys can be used with the cloud shape annotations:
- CTRL + Z: Undo the changes.
- CTRL + Y: Redo the changes.
- ESCAPE: Cancel the current cloud-shape drawing, which is in progress; (or) deselect the annotation if it is selected; (or) reset the cloud annotation mode; (or) close the properties window or pop-up note if it is open. One of these operations will be performed based on the priority order.
- Up, down, right, left (direction keys): Move the cloud up, down, right, and left, respectively.
- Delete: Delete the selected annotation.
Resource
For more information, refer to cloud shape annotations in WPF PDF Viewer.
Conclusion
Thank you for reading this blog. I hope that you enjoyed learning about how to add, remove, and modify cloud shapes in your PDF files using the Syncfusion WPF PDF Viewer. Try using our PDF Viewer in your application and let us know what you think in the comment section below. This feature is available in our 2021 Volume 2 release. To see all the updates in this release, please check out our Release Notes and What’s New pages.
If you are not a customer yet, you can start a 30-day free trial to check out these features.
If you wish to send us feedback or would like to submit any questions, you can contact us through our support forum, feedback portal, or Direct-Trac support system. We are always happy to assist you!

