This guest blog was written by Brandon Minnick, a Developer Advocate at Microsoft, specializing in Xamarin and Azure.
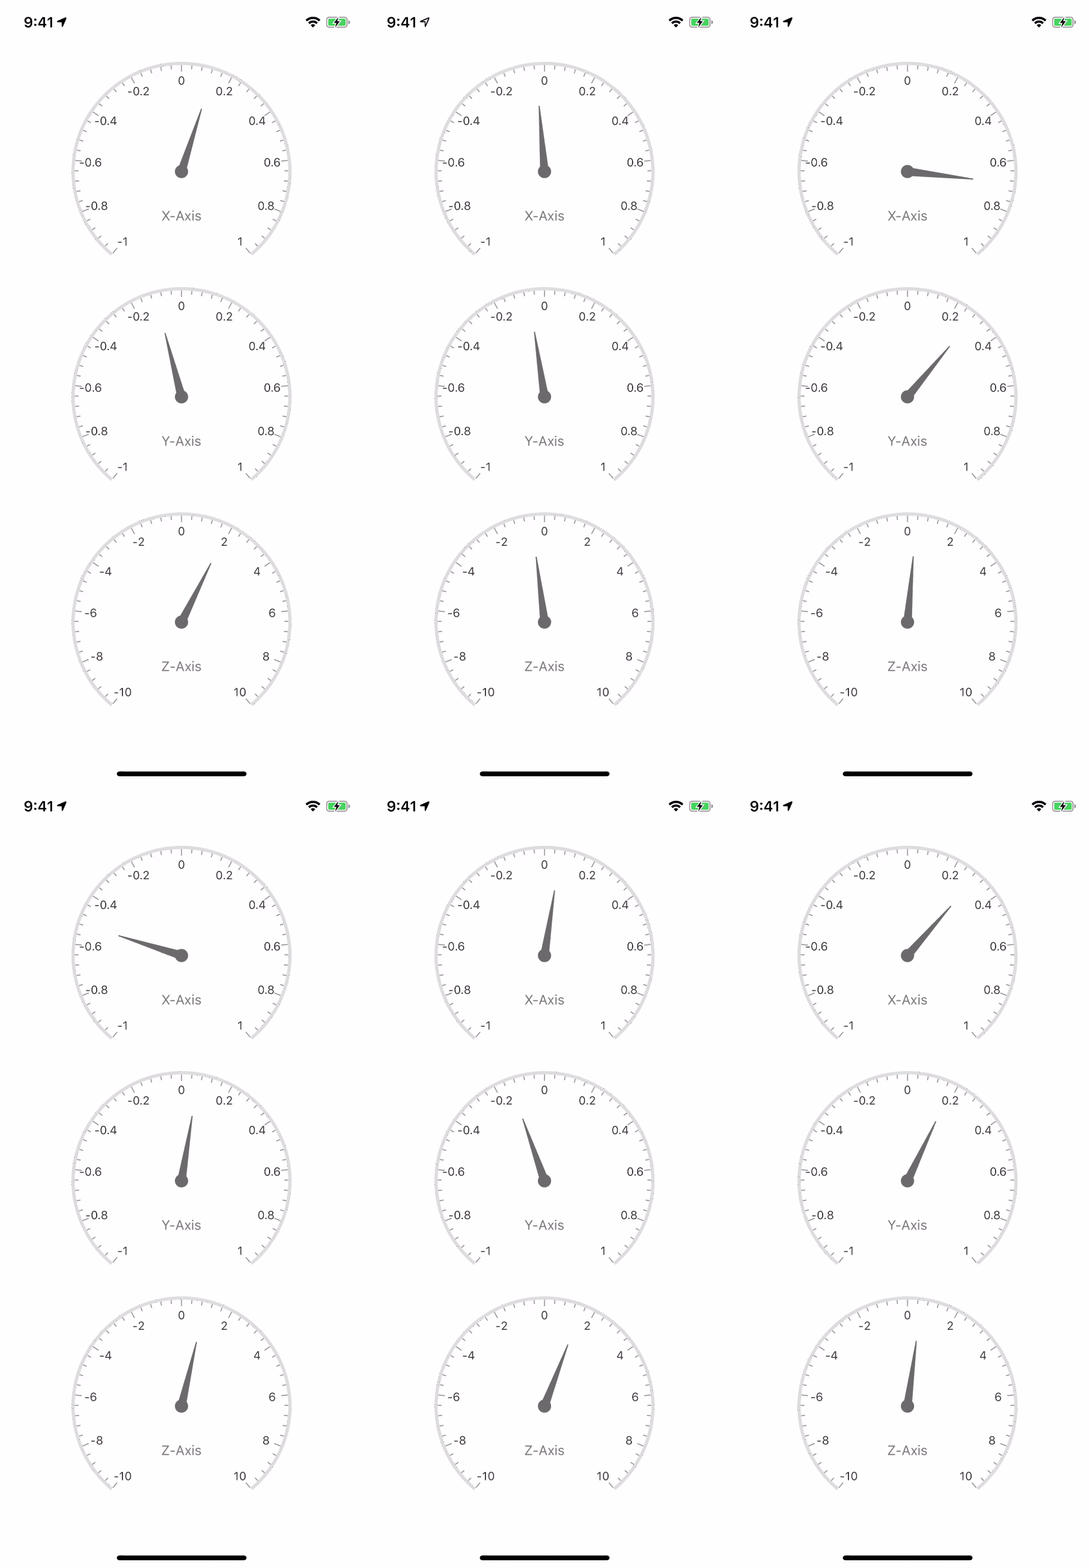
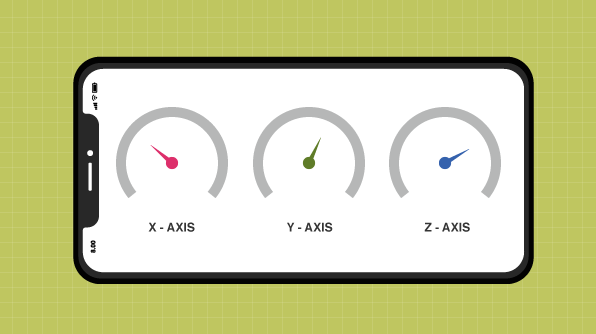
Thanks to Xamarin.Essentials and Syncfusion’s circular gauge control, creating a mobile app that monitors accelerometer data has never been easier!
Let’s take a look at how to implement this control in a Xamarin.Forms app.

Walkthrough
1. Install NuGet Packages
- Install the Syncfusion.Xamarin.SfGauge NuGet Package into each project, this includes the Xamarin.iOS, Xamarin.Android, and the .NET Standard Project (if one is being used).
- Install the Xamarin.Essentials NuGet Package into each project, this includes the Xamarin.iOS, Xamarin.Android, and the .NET Standard Project (if one is being used).
2. Initialize Syncfusion on iOS
To utilize the Syncfusion circular gauge, we first need to initialize it in AppDelegate.FinishedLaunching.
public partial class AppDelegate : global::Xamarin.Forms.Platform.iOS.FormsApplicationDelegate
{
    ...

    public override bool FinishedLaunching(UIApplication uiApplication, NSDictionary launchOptions)
    {
        ...

        Syncfusion.SfGauge.XForms.iOS.SfGaugeRenderer.Init();
        Syncfusion.Licensing.SyncfusionLicenseProvider.RegisterLicense("Your SyncFusion License Key");

        ...
    }
}
3. Initialize Syncfusion on Android
To utilize the Syncfusion circular gauge, we first need to initialize it in MainActivity.OnCreate:
public class MainActivity : global::Xamarin.Forms.Platform.Android.FormsAppCompatActivity
{
    ...

    protected override void OnCreate(Bundle savedInstanceState)
    {
        ...

        Syncfusion.Licensing.SyncfusionLicenseProvider.RegisterLicense("Your SyncFusion License Key");

        ...
    }
}
4. Reference Mono.Android.Export
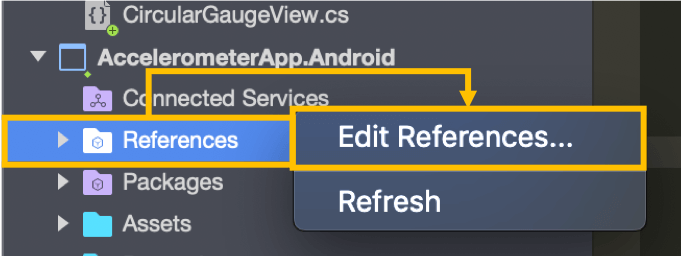
- In the Solution Explorer in the Android project, right-click on References.
- In the References menu, select Edit References.

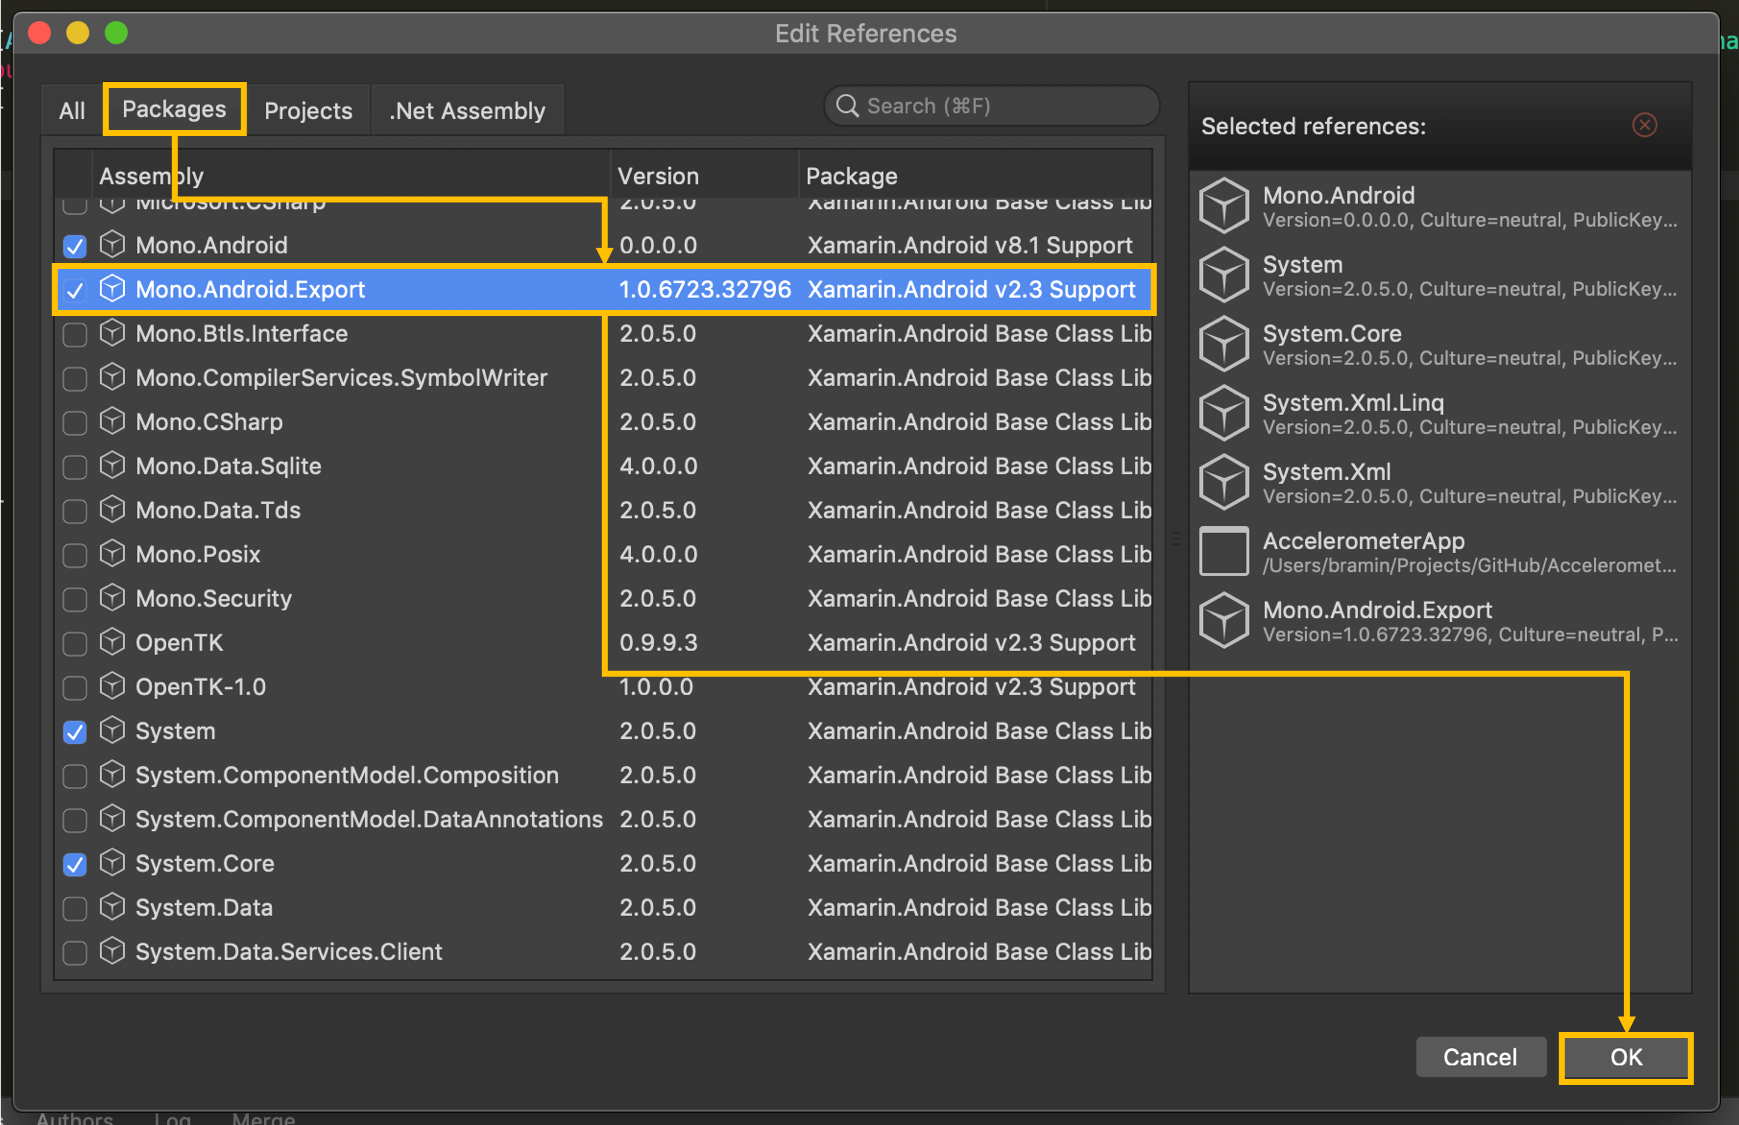
- In the Edit References window, select the Packages tab.
- In the Packages tab, locate Mono.Android.Export.
- In the Packages tab, ensure Mono.Android.Export is checked.
- In the Edit References window, click OK.

5. Implement SfCircularGauge in Xamarin.Forms
This app requires three instances of the circular gauge control in our app, so let’s start by creating an implementation of SfCircularGauge.
public class CircularGaugeView : SfCircularGauge
{
    public CircularGaugeView(string headerText, double startValue, double endValue)
    {
        Pointer = new NeedlePointer { AnimationDuration = 0.5 };

        var header = new Header
        {
            Text = headerText,
            ForegroundColor = Color.Gray
        };

        var circularGaugeScale = new Scale
        {
            Interval = (endValue - startValue) / 10,
            StartValue = startValue,
            EndValue = endValue,
            ShowTicks = true,
            ShowLabels = true,
            Pointers = { Pointer },
            MinorTicksPerInterval = 4,
        };

        Scales = new ObservableCollection<Scale> { circularGaugeScale };
        Headers = new ObservableCollection<Header> { header };
    }

    public NeedlePointer Pointer { get; }
}
6. Create Accelerometer Page
In the Xamarin.Forms project, create a new class, AccelerometerPage.cs:
public class AccelerometerPage : ContentPage
{
    readonly CircularGaugeView xCircularGauge, yCircularGauge, zCircularGauge;

    public AccelerometerPage()
    {
        Icon = "Accelerometer";
        Title = "Accelerometer";

        xCircularGauge = new CircularGaugeView("X-Axis", -1, 1);
        yCircularGauge = new CircularGaugeView("Y-Axis", -1, 1);
        zCircularGauge = new CircularGaugeView("Z-Axis", -10, 10);

        var grid = new Grid
        {
            Margin = new Thickness(0, 20),
            RowDefinitions = {
                new RowDefinition { Height = new GridLength(1, GridUnitType.Star) },
                new RowDefinition { Height = new GridLength(1, GridUnitType.Star) },
                new RowDefinition { Height = new GridLength(1, GridUnitType.Star) },
            },
            ColumnDefinitions = {
                new ColumnDefinition { Width = new GridLength(1, GridUnitType.Star) }
            }
        };
        grid.Children.Add(xCircularGauge, 0, 0);
        grid.Children.Add(yCircularGauge, 0, 1);
        grid.Children.Add(zCircularGauge, 0, 2);

        Content = grid;

        On<Xamarin.Forms.PlatformConfiguration.iOS>().SetUseSafeArea(true);
    }

    protected override void OnAppearing()
    {
        base.OnAppearing();

        InitializeAccelerometer();
    }

    void InitializeAccelerometer()
    {
        try
        {
            Accelerometer.Start(SensorSpeed.Normal);
            Accelerometer.ReadingChanged += HandleAccelerometerReadingChanged;
        }
        catch (FeatureNotSupportedException)
        {
            Debug.WriteLine("Accelerometer Unavailable");
        }
    }

    void HandleAccelerometerReadingChanged(AccelerometerChangedEventArgs e)
    {
        Device.BeginInvokeOnMainThread(() =>
        {
            xCircularGauge.Pointer.Value = e.Reading.Acceleration.X;
            yCircularGauge.Pointer.Value = e.Reading.Acceleration.Y;
            zCircularGauge.Pointer.Value = e.Reading.Acceleration.Z;
        });
    }
}
7. Set AccelerometerPage as the MainPage
In App.cs, ensure that MainPage = new AccelerometerPage();
public class App : Xamarin.Forms.Application
{
    public App()
    {
        MainPage = new AccelerometerPage();
    }
}
8. Launch the app on an iOS or Android Device
About the Author
Brandon Minnick is a Developer Advocate at Microsoft, specializing in Xamarin and Azure. As a Developer Advocate, Brandon works closely with the mobile app community, helping them create 5-star apps and provide their feedback to the Microsoft product teams to help improve our tools and empower every person and every organization on the planet to achieve more.
Resources
If you like this blog post, we think you’ll also like the following free e-books:
Xamarin.Forms Succinctly
Xamarin.Forms for macOS Succinctly
Writing Native Mobile Apps in a Functional Language Succinctly


