Overview
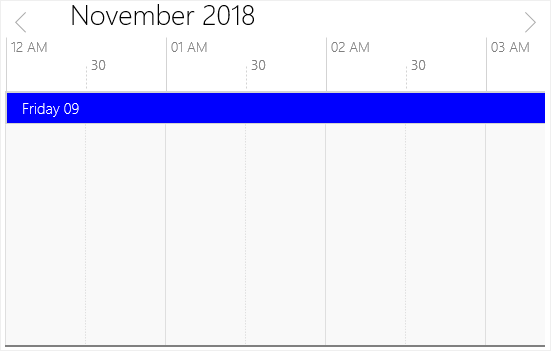
The UWP scheduler supports below configurable view modes to display appointments.
- Day view
- Week view
- Workweek view
- Month view
- Timeline view
Day, Week, and Workweek views
- Appointments on a specific day will be arranged in the time slots based on their duration.
- Appointments can be displayed across multiple days.
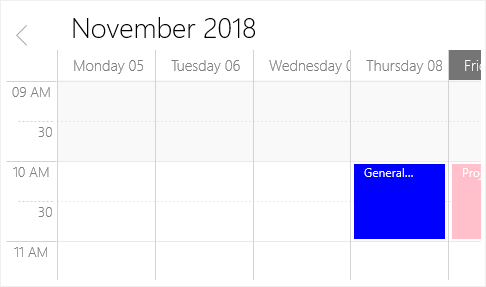
Working hours customization
- Differentiate working hours from nonworking hours by representing with active colors.
- Hide nonworking hours to show only necessary time spans to end users.

Time slot customization
- Change the time interval and time interval height in day, week, and workweek views.
- Customize the vertical and horizontal line strokes.
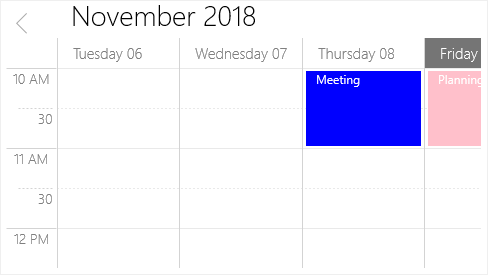
Nonworking days
Change nonworking days in the workweek view according to your application needs.
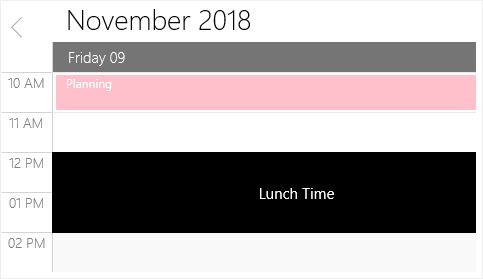
Blocking time slots
Prevent user interactions, such as adding appointments, in specific time slots.
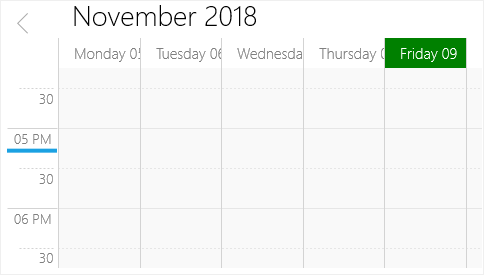
Current date and time customization
- Indicate the current date with a highlighted date header.
- Indicate the current time on the timeline or day. You can also customize the current time indicator through a template.
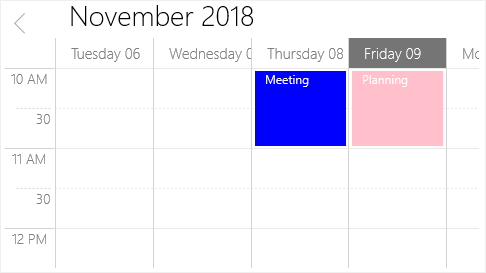
First day of the week
Users can modify the first day of the week based on the application’s culture. The days that follow the specified start day will be displayed in the schedule.
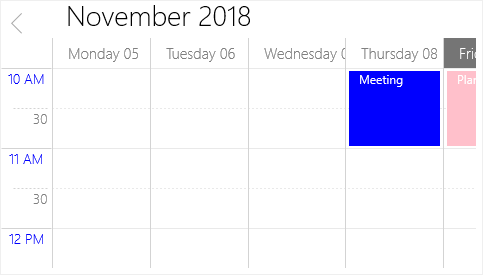
Time label customization
Set different formats for time labels and change their appearance.
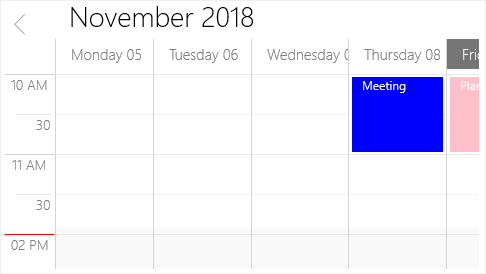
Collapsed hours
Hide a specified time range. You can prevent users from planning appointments during particular times.
Month view
Use a month-based view with horizontal or vertical navigation.
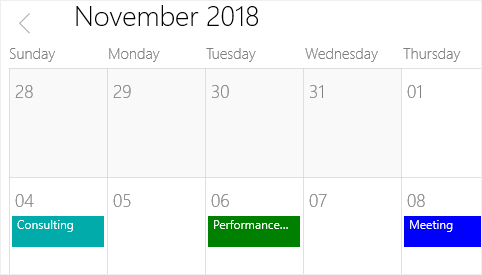
Appointment display
In desktop view, you can display appointments in month cells and they can span across multiple days or weeks. Extra events of each day are represented by a text link indicating the number of total appointments. Clicking on that text indicator will navigate to a day view to show the hidden appointments.
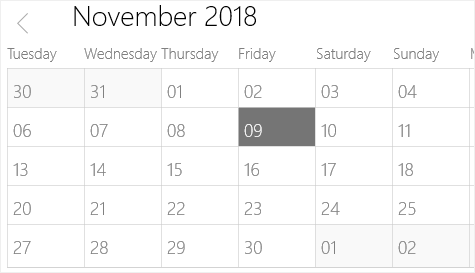
First day of the week
Change the first day of the week based on the application culture. The days that follow the specified start day will be displayed in the schedule.
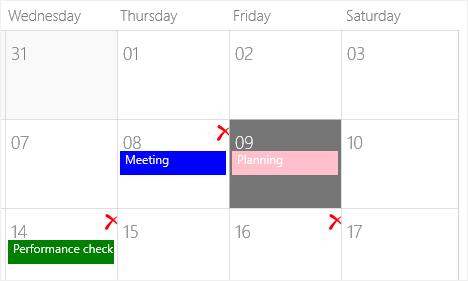
Blackout dates
Disable interactions and selections for certain dates. This is helpful for blocking user interaction during holidays or any other special events.
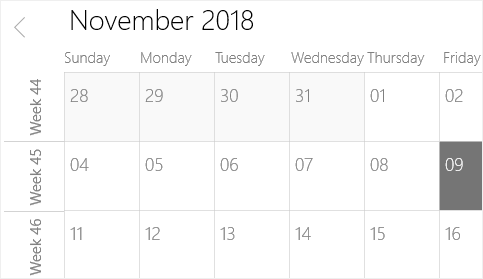
Week number
Display the week number of the year in the month view. You can also customize the week number appearance.

Current date customization
You can customize the current date in month view.
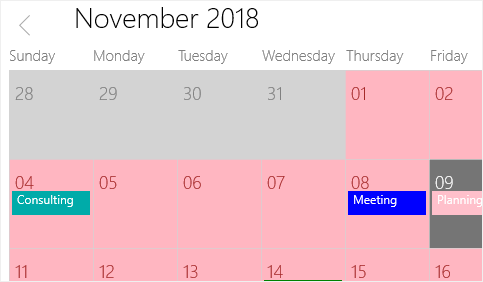
Cell customization
Set different views for month cells to highlight special dates.
Timeline view
You can display a complete timeline for a selected day using timeline view. Also, you can show the appointments across a horizontal time axis for a single day.
Like in day, week, and work week views, the following functionalities are available in a timeline view:
- View header customization
- Working hours customization
- Time slot customization
- Blocked time slots
- Collapsed hours
- Time label customization
