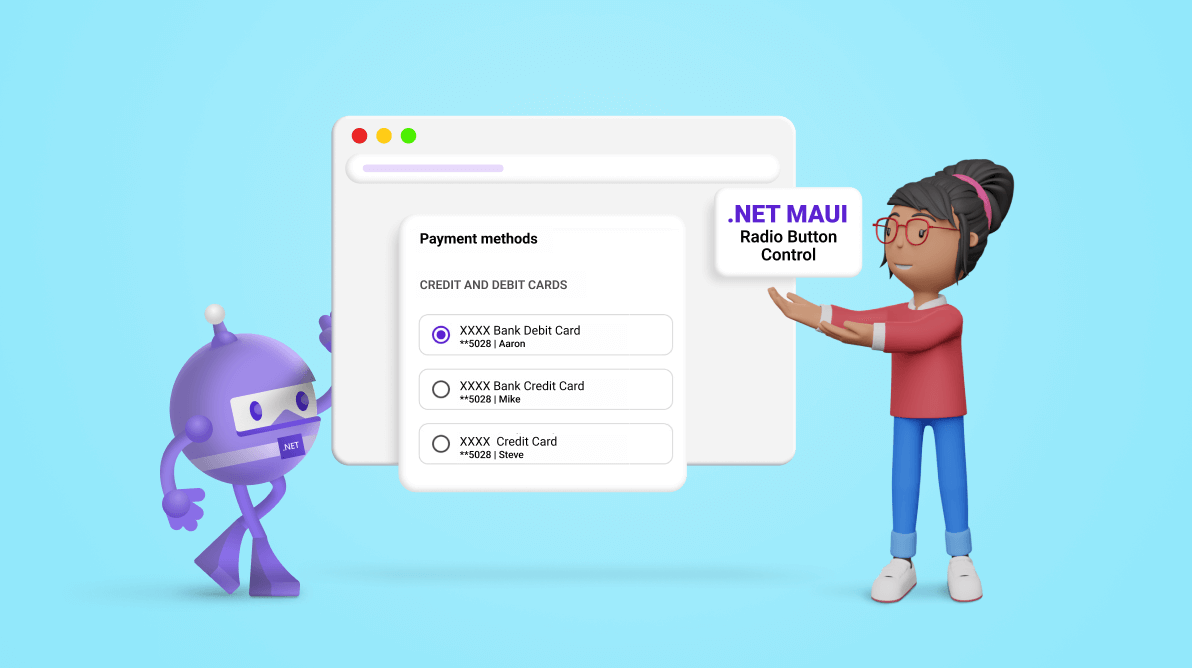
We are happy to introduce the new Syncfusion .NET MAUI Radio Button control in our latest release, Essential Studio® 2023 Volume 3.
In this blog, we’ll explore the key features of the .NET MAUI Radio Button control and the steps to get started with it!
.NET MAUI Radio Button: an overview
The new Syncfusion .NET MAUI Radio Button is a selection control that enables users to choose a single option from a set of predefined choices.
Its key features are:
Let’s delve into the primary characteristics of the control.
States
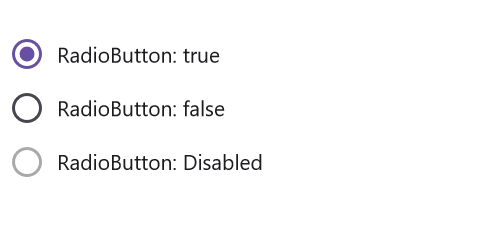
The .NET MAUI Radio Button has two selection states: selected and unselected. If you want to stop the toggling between these states, you can utilize the disabled option.
Grouping
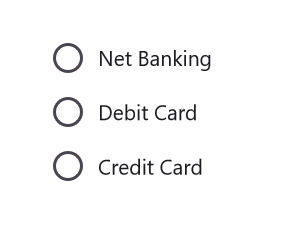
The .NET MAUI Radio Button allows you to group a set of radio buttons present inside any layout.
When you select a radio button in a radio group, all the other items will be automatically deselected. At any given time, you can select only one radio button from the same radio group.
Customizations
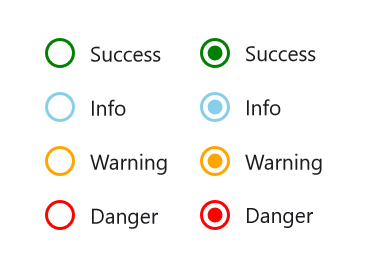
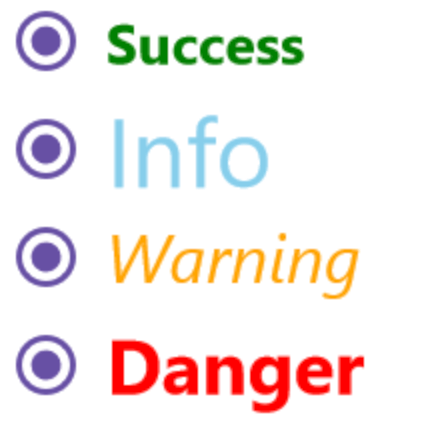
Checked and unchecked color customization
You can apply colours to distinguish the checked and unchecked states in the .NET MAUI Radio Button control.
Stroke thickness customization
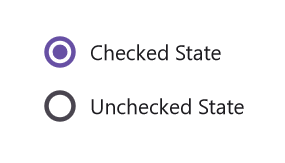
You can easily customize the stroke thickness of the radio button to your preferred value.
Text customization
You can also define the Radio Button caption text and format its font, style, size, and colour.
Note: Refer to the .NET MAUI Radio Button control documentation for more details.
Getting started with the .NET MAUI Radio Button control
We have seen the key features of the .NET MAUI Radio Button. Let’s learn how to integrate it into your .NET MAUI app and utilize its features by following these steps:
Step 1: Create a .NET MAUI application
First, create a .NET MAUI application.
Step 2: Add the required NuGet package
Syncfusion .NET MAUI controls are available on the NuGet Gallery. To add the .NET MAUI Radio Button control to your project, open the NuGet package manager in Visual Studio. Search for Syncfusion.Maui.Buttons and then install it.
Step 3: Register the handler
In the MauiProgram.cs file, register the handler for the Syncfusion core. Refer to the following code:
using Microsoft.Maui;
using Microsoft.Maui.Hosting;
using Microsoft.Maui.Controls.Compatibility;
using Microsoft.Maui.Controls.Hosting;
using Microsoft.Maui.Controls.Xaml;
using Syncfusion.Maui.Core.Hosting;
namespace RadioButtonSample
{
  public static class MauiProgram
  {
    public static MauiApp CreateMauiApp()
    {
      var builder = MauiApp.CreateBuilder();
      builder
        .UseMauiApp<App>()
        .ConfigureSyncfusionCore()
        .ConfigureFonts(fonts =>
        {
           fonts.AddFont("OpenSans-Regular.ttf", "OpenSansRegular");
        });
        return builder.Build();
    }
  }
}
Step 4: Add the namespace
Now, add the Syncfusion.Maui.Buttons namespace in your XAML page.
xmlns:buttons="clr-namespace:Syncfusion.Maui.Buttons;assembly=Syncfusion.Maui.Buttons"
Step 5: Initialize the Syncfusion .NET MAUI Radio Button control
Finally, initialize the Syncfusion .NET MAUI Radio Button control.
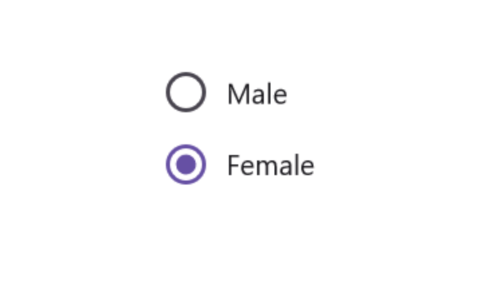
Refer to the following code example. Here, we’ll employ the radio group and radio button for gender selection.
<buttons:SfRadioGroup x:Name="radioGroup">
 <buttons:SfRadioButton x:Name="male" Text="Male" IsChecked="True"/>
 <buttons:SfRadioButton x:Name="female" Text="Female"/>
</buttons:SfRadioGroup>
After executing the previous code example, we’ll get output like the following image:
GitHub reference
For more details, check out the .NET MAUI Radio Button demos on GitHub.
Conclusion
Thanks for reading! In this blog, we explored the features of the new .NET MAUI Radio Button control introduced in the 2023 Volume 3 release. Check out our Release Notes and What’s New pages to see the other updates in this release, and leave your feedback in the comments section below.
For existing Syncfusion customers, the newest version of Essential Studio® is available from the license and downloads page. If you are not yet a customer, try our 30-day free trial to check out these new features.
You can also contact us through our support forums, feedback portal, or support portal. We are always happy to assist you!
