ASP.NET MVC is a framework for developing web applications. It works on the model-view-controller pattern, and you can use it to develop only on Windows systems.
On the other hand, ASP.NET Core is a cross-platform web development framework that supports developing applications on Windows, Mac, Linux, iOS, and Android platforms. It has less maintenance, high performance, and more versatile features compared to the ASP.NET MVC.
In this blog post, we are going to learn how to upgrade an ASP.NET MVC web application by migrating it to ASP.NET Core by following these simple steps:
- Create an ASP.NET MVC sample project.
- Create an ASP.NET Core sample project.
- Migrate a register and login page to ASP.NET Core.
- Migrate views and controllers to ASP.NET Core.
- Migrate all layout files to ASP.NET Core.
- Test each action method in the Home controller.
Prerequisites
- Visual Studio 2019 16.4 or later with the ASP.NET and Web development workload.
- .NET Core 3.1 SDK or later.
Create an ASP.NET MVC sample project
First, we are going to create a simple ASP.NET MVC project by following these steps:
- Open Visual Studio and open the File menu. Then, navigate to New -> Project.
- Now, select ASP.NET Web Application (.NET Framework) and click Next.
- Name the project MVCWebApplication1, so that the namespace matches the ASP.NET Core project that will be created later in this blog post. Now, click Create.
- Next, select the MVC option, and then click Create.
- Finally, run the application.
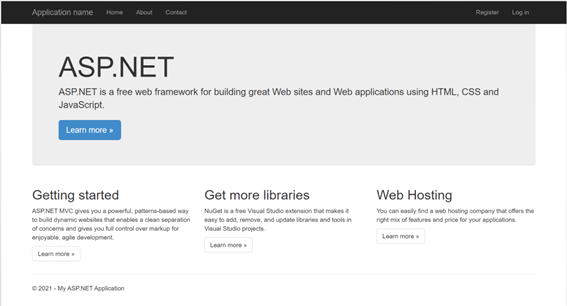
We have created a simple ASP.NET MVC project.
Create an ASP.NET Core sample project
Now, we are going to create a simple ASP.NET Core project.
- In Visual Studio, open the File menu and then navigate to New -> Project.
- Now, select the ASP.NET Core Web Application option and click Next.
- Then, the Configure your new project dialog will open. In it, enter the project name CoreWebApplication1. Using the same namespace makes it easier to copy code between the two projects. Now, click Create.
- In the Create a new ASP.NET Core Web Application dialog, confirm that the .NET Core and ASP.NET Core 3.1 options are selected. Then, select the Web Application (Model-View-Controller) project template and click Create.
- Finally, run the application.
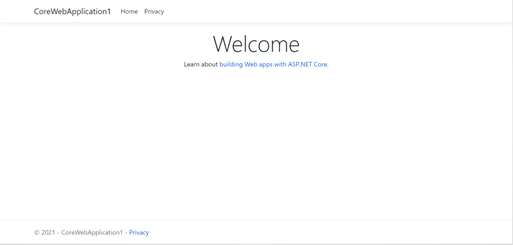
We have created a basic ASP.NET Core project.
Migrate register and login page to ASP.NET Core
In this section, we are going to migrate a register and login page to ASP.NET Core. Let’s get started.
- For authentication and identity features, install the following NuGet packages in ASP.NET Core:
- In the Startup.cs file, add the Startup.ConfigureService method to use the Entity Framework and Identity services as shown in the following code:
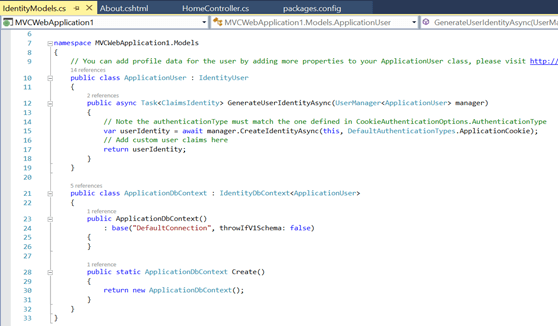
public void ConfigureServices(IServiceCollection services) { // Add EF services to the services container. services.AddDbContext<ApplicationDbContext>(options => options.UseSqlServer(Configuration.GetConnectionString("DefaultConnection"))); services.AddIdentity<ApplicationUser, IdentityRole>() .AddEntityFrameworkStores<ApplicationDbContext>() .AddDefaultTokenProviders(); services.AddMvc(); } - Create a Models folder in the ASP.NET Core project and add the two classes ApplicationUser and ApplicationDBContext to their corresponding references from the ASP.NET MVC project. You can find these classes together in the Models/IdentityModels.cs file path in the ASP.NET MVC project.
Refer to the following screenshot.
 Also, you can create separate classes for these classes as shown in the following code samples:
ApplicationUser.cs:using Microsoft.AspNetCore.Identity.EntityFrameworkCore; namespace NewMvcProject.Models { public class ApplicationUser : IdentityUser { } }ApplicationDBContext.cs:
using Microsoft.AspNetCore.Identity.EntityFrameworkCore; using Microsoft.Data.Entity; namespace NewMvcProject.Models { public class ApplicationDbContext : IdentityDbContext<ApplicationUser> { public ApplicationDbContext(DbContextOptions<ApplicationDbContext> options) : base(options) { } protected override void OnModelCreating(ModelBuilder builder) { base.OnModelCreating(builder); // Customize the ASP.NET Core Identity model and override the defaults if needed. // For example, you can rename the ASP.NET Core Identity table names and more. // Add your customizations after calling base.OnModelCreating(builder); } } } - Add the following namespaces in the Startup.cs file to compile:
using Microsoft.AspNetCore.Builder;
using Microsoft.AspNetCore.Identity;
using Microsoft.AspNetCore.Hosting;
using Microsoft.EntityFrameworkCore;
using Microsoft.Extensions.Configuration;
using Microsoft.Extensions.DependencyInjection;
- Add a new Razor view called _LoginPortal to the Views -> Shared folder and include the following code:
@inject SignInManager<ApplicationUser> SignInManager
@inject UserManager<ApplicationUser> UserManager

@if (SignInManager.IsSignedIn(User))
{
    <form asp-area="" asp-controller="Account" asp-action="Logout" method="post" id="logoutForm" class="navbar-right">
        <ul class="nav navbar-nav navbar-right">
            <li>
                <a asp-area="" asp-controller="Manage" asp-action="Index" title="Manage">Hello @UserManager.GetUserName(User)!</a>
            </li>
            <li>
                <button type="submit" class="btn btn-link navbar-btn navbar-link">Log out</button>
            </li>
        </ul>
    </form>
}
else
{
    <ul class="nav navbar-nav navbar-right">
        <li><a asp-area="" asp-controller="Account" asp-action="Register">Register</a></li>
        <li><a asp-area="" asp-controller="Account" asp-action="Login">Log in</a></li>
    </ul>
}
Migrate views and controllers to ASP.NET Core
Let’s migrate the views and controllers to the ASP.NET Core project with these simple steps:
- Navigate to Views -> Home directory. Then, add the About.cshtml, Contact.cshtml, and Index.cshtml view files from the ASP.NET MVC project.
- Then, in the Controllers -> HomeController.cs file, add all the methods from the ASP.NET MVC project.
Migrate the layout files to ASP.NET Core
Now, we are going to migrate all the layout files from the ASP.NET MVC project to the ASP.NET Core project.
- Add the _ViewStart.cshtml file from the ASP.NET MVC project in the Views folder.
- Then, in the Views -> Shared folder, add the _Layout.cshtml file from the ASP.NET MVC project.
- Make the following changes in the _Layout.cshtml file:
- Replace the @Styles.Render(“~/Content/css”) code with the following:
<link rel="stylesheet" href="https://maxcdn.bootstrapcdn.com/bootstrap/3.3.7/css/bootstrap.min.css" integrity="sha384-BVYiiSIFeK1dGmJRAkycuHAHRg32OmUcww7on3RYdg4Va+PmSTsz/K68vbdEjh4u" crossorigin="anonymous"> - Remove the @Scripts.Render(“~/bundles/modernizr”) code.
- Then, replace the @Scripts.Render(“~/bundles/jquery”) and @Scripts.Render(“~/bundles/bootstrap”) code with the following:
<script src="https://code.jquery.com/jquery-3.3.1.min.js"></script>
<script src="https://maxcdn.bootstrapcdn.com/bootstrap/3.3.7/js/bootstrap.min.js"
       integrity="sha384-Tc5IQib027qvyjSMfHjOMaLkfuWVxZxUPnCJA7l2mCWNIpG9mGCD8wGNIcPD7Txa" crossorigin="anonymous"></script>
- Replace the @Styles.Render(“~/Content/css”) code with the following:
Test each action method in the Home controller
Now, run the ASP.NET Core application.
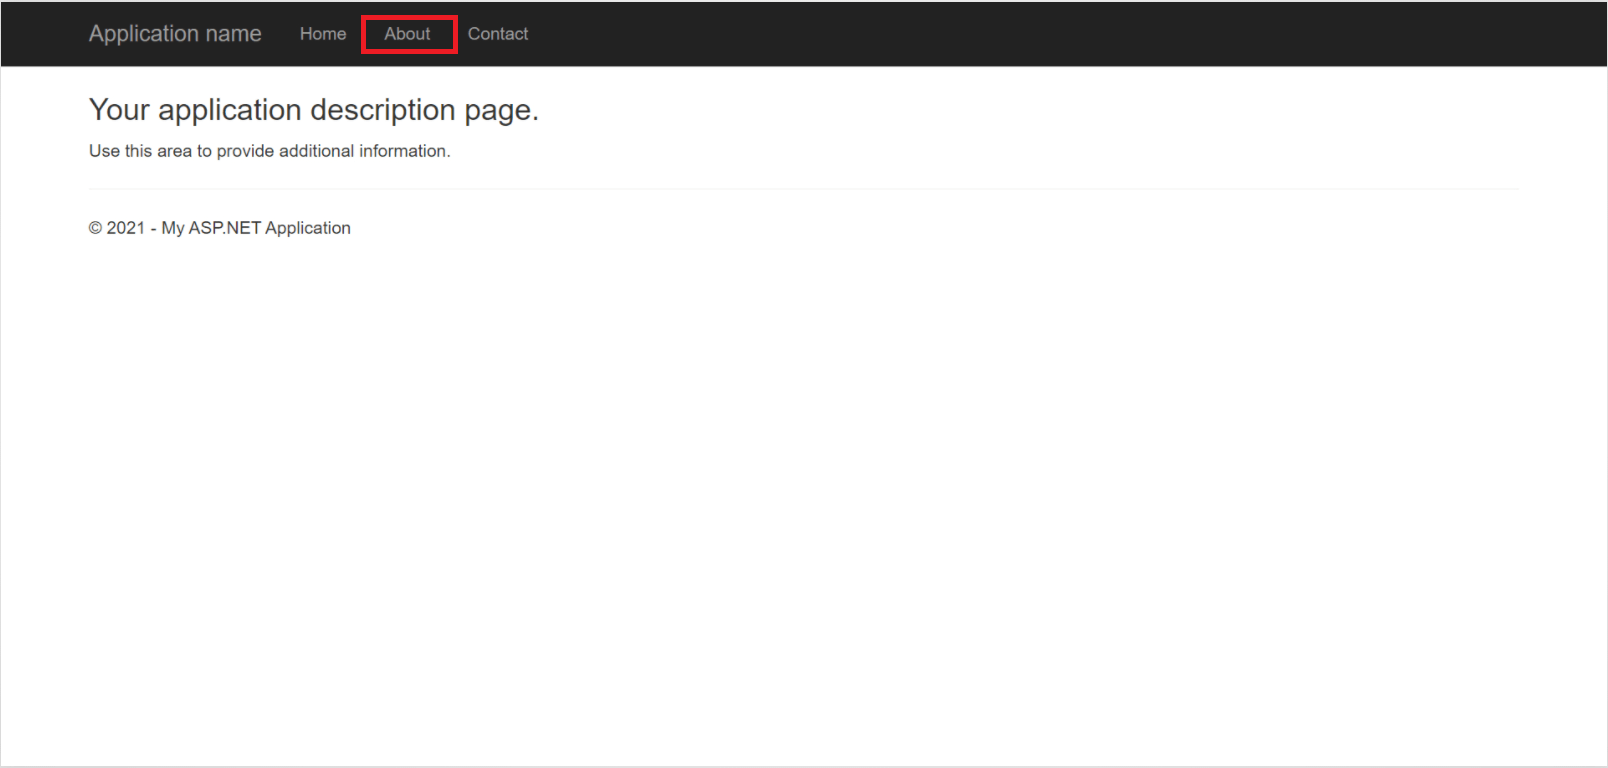
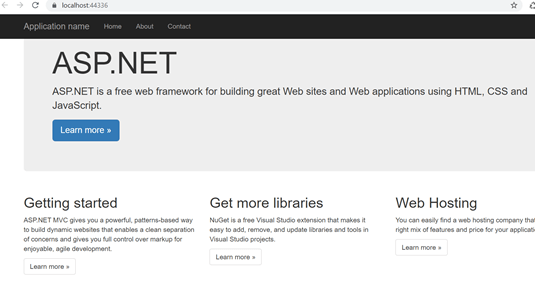 Then, navigate to the Home, About, Contact, Login, and Register tabs to ensure the changes are correct. Refer to the following screenshots.
About:
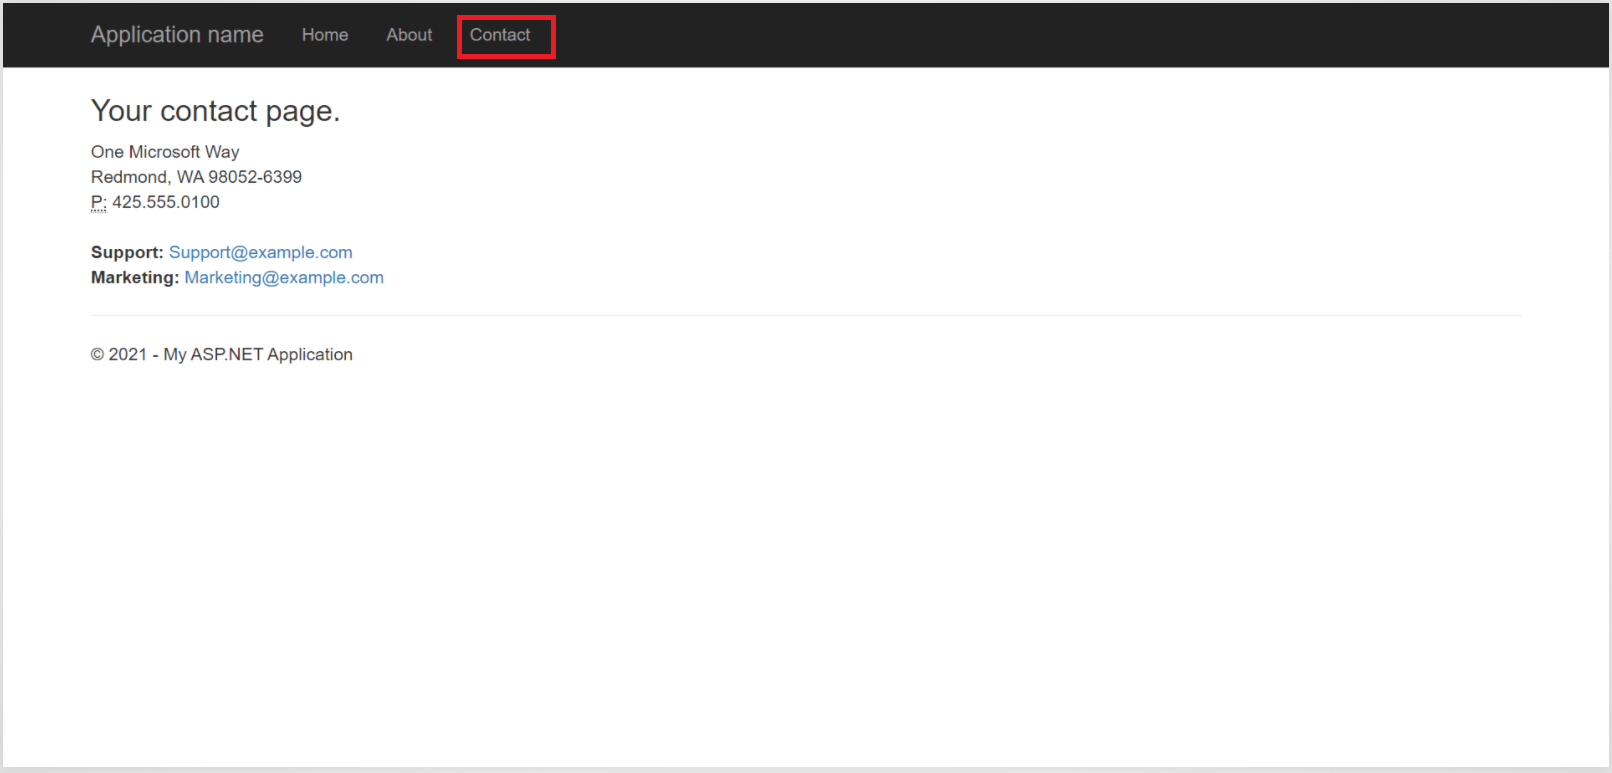
 Contact:
Conclusion
Thanks for reading! In this blog post, we have learned how to migrate an ASP.NET MVC project to an ASP.NET Core project. You can create cross-platform apps for Windows, Mac, Linux, iOS, and Android platforms. So, try out the process yourself and leave your feedback in the comments section of this blog post!
With over 70 components, our Syncfusion ASP.NET Core toolkit powered by Essential JS 2 contains all you need for building line-of-business applications. It includes popular widgets such as a DataGrid, Charts, Gantt Chart, Diagram, Spreadsheet, Scheduler, and Pivot Table. Use them to enhance your productivity!
For existing customers, the new version is available for download from the License and Downloads page. If you are not yet a Syncfusion customer, you can try our 30-day free trial to check out the available features. Also, we encourage you to try our samples on GitHub.
Also, you can contact us through our support forum, support portal, or feedback portal. We are always happy to assist you!
