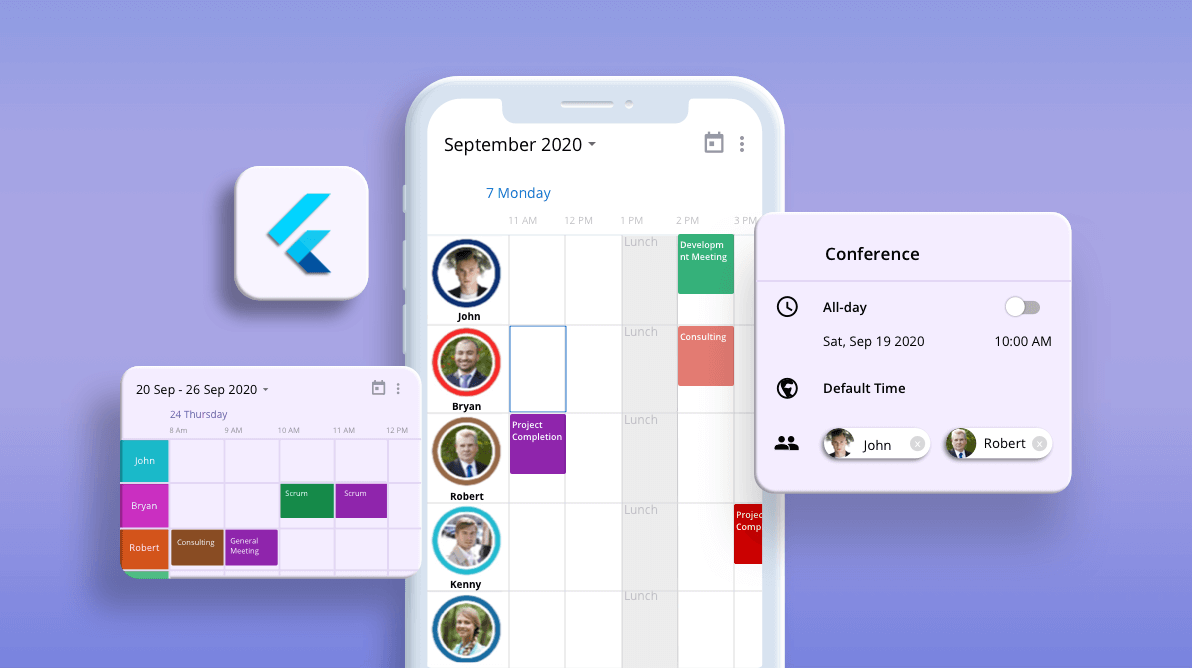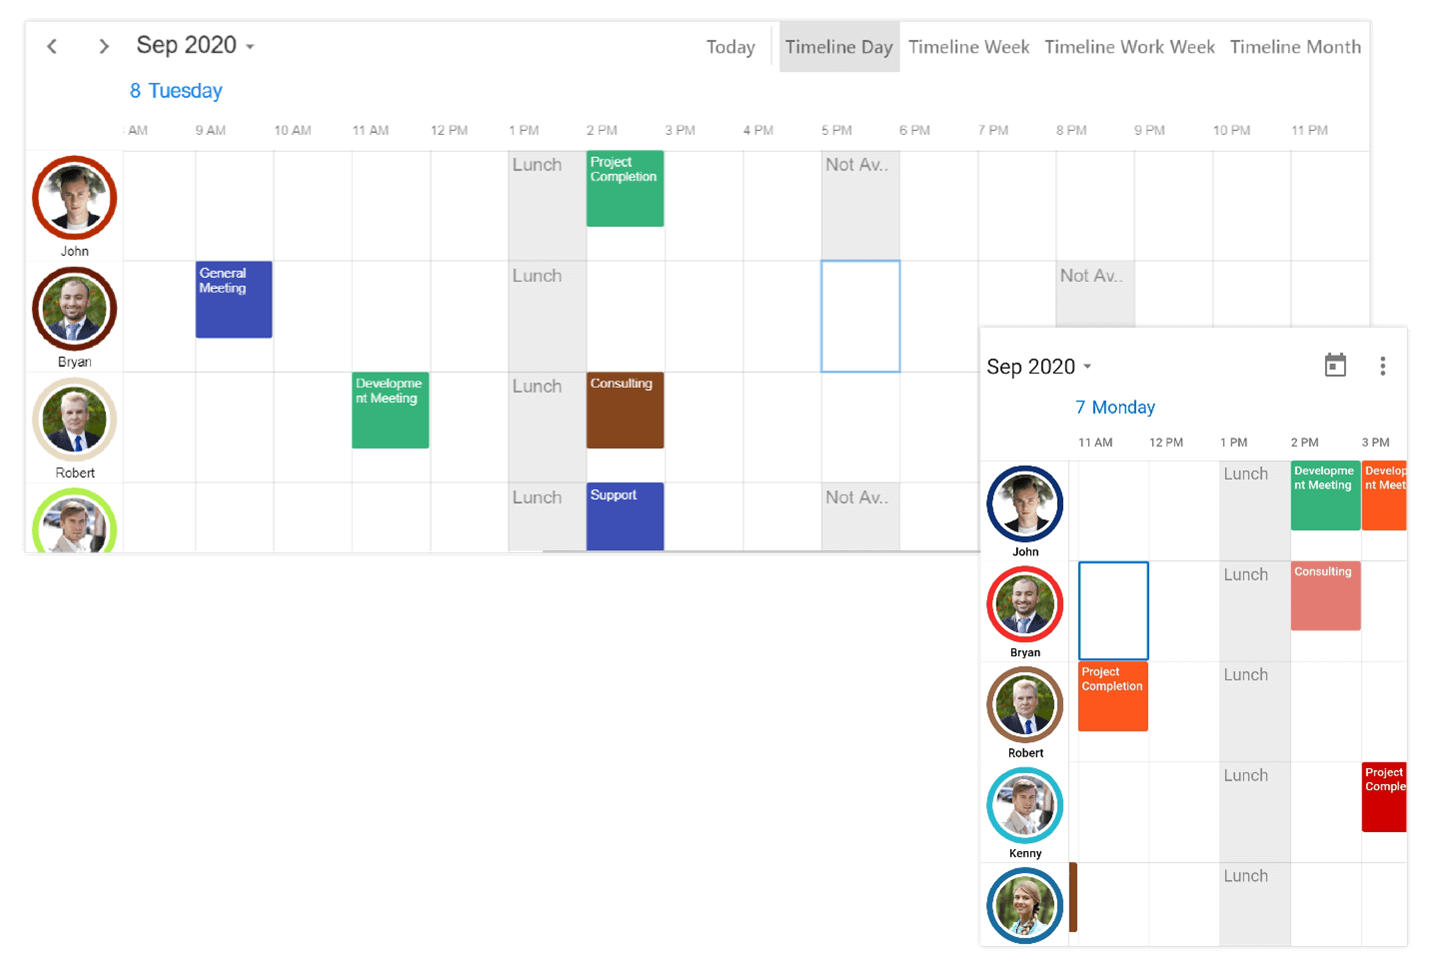

The newly introduced timeline resource grouping feature is a discrete view in our Flutter event calendar widget. It allows you to group appointments based on the available resources in the timeline view of the Calendar widget. This feature is available in our 2020 Volume 3 release.
Through this feature, you can group appointments and time regions by row based on the allocated resources in the timeline view. This feature also supports customization, allowing you to assign unique styles to the resource view.


In this blog post, we will go in depth with the timeline resource grouping feature in the Flutter Calendar widget. If you are new to the Calendar widget, please go through our getting started guide in the documentation before proceeding.
Let’s explore!
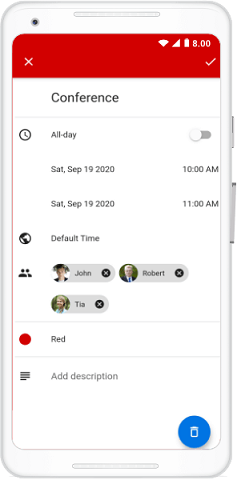
There are many occasions where multiple resources will share the same event. Any edit in the shared event will be reflected in the associated resources. For example, more than one person can participate in an event as shown in the following screenshot.


Calendar appointments and time regions can be grouped based on the assigned resources and time region in the event calendar timeline view.
You can assign a resource to an appointment by setting the resourceIds property of the Appointment. Multiple resources can be assigned to an appointment.
Refer to the following code.
_events.add(Appointment(
              startTime: DateTime(2020, 08, 20, 10, 0, 0),
              endTime: DateTime(2020, 08, 20, 12, 0, 0),
              subject: 'Scrum',
              color: Colors.green,
              resourceIds: <Object>[_employeeCollection[i].id],
)); Time regions can be grouped by resource by assigning the resourceIds property of the TimeRegion. You can assign multiple resources to a time region to share it with them.
Refer to the following code.
for (int i = 0; i < _employeeCollection.length; i++) {
     _specialTimeRegions.add(TimeRegion(
          startTime: DateTime(date.year, date.month, date.day, 13, 0, 0),
          endTime: DateTime(date.year, date.month, date.day, 14, 0, 0),
          text: 'Lunch',
          resourceIds: <Object>[_employeeCollection[i].id],
          recurrenceRule: 'FREQ=DAILY;INTERVAL=1'));
} You can display a certain number of resources in the viewable area based on your requirements and the size of the application.
Note: By default, the resource count will be adjusted based on the available size of the Event Calendar widget.
Refer to the following code.
resourceViewSettings: ResourceViewSettings(
        visibleResourceCount: 3,
), You can enhance the look and feel of the resource header cells by:
You can disable the user profile image and the circular representation of a resource by setting false to the showAvatar property in the ResourceViewSettings. This will display each resource with a resource name and the color assigned to the resource.
Refer to the following code.
resourceViewSettings: ResourceViewSettings(
        showAvatar: false
), The display name text style for the resource view can be customized by setting a text style to the displayNameTextStyle property available in the ResourceViewSettings.
Refer to the following code.
resourceViewSettings: ResourceViewSettings(
        displayNameTextStyle: TextStyle(
          fontSize: 13,
          color: Colors.white,
          fontStyle: FontStyle.italic
        )
), You can customize the size of the panel that displays the resource views in the calendar by setting the size property available in the ResouceViewSettings.
Refer to the following code.
resourceViewSettings: ResourceViewSettings(
        size: 120
), In this blog post, we have seen the timeline resource grouping feature introduced in the Flutter event calendar. This feature is available in the Essential Studio® 2020 Volume 3 release. You can explore other features in the Calendar widget’s documentation, where you can find detailed explanations of each feature with code examples.
For existing customers, the newest version of Essential Studio® is available for download from the License and Downloads page. If you are not yet a Syncfusion customer, you can try our 30-day free trial to check out the available features.
Feel free to try out the samples available in our GitHub repo, and share your feedback or ask questions in the comments section. You can also contact us through our support forums, Direct-Trac, or feedback portal. We are always happy to assist you!