TL;DR: This blog provides a detailed guide on how to set up continuous integration and deployment (CI/CD) for static web apps using Azure Static Web Apps and GitHub Actions. It covers key concepts, benefits, setup, monitoring, best practices, and more.
CI/CD (continuous integration/continuous deployment) is an essential practice in software development today. It enables fast, reliable, and continuous delivery. It automates tasks related to integrating code changes, running tests, and deploying updates, thereby decreasing the need for manual intervention and reducing errors.
The 2024 Stack Overflow survey showed that most professional developers now have access to a continuous integration system, up from 44.8% in 2020, when the survey was first conducted. 56.3% said they had access to automated testing frameworks; another 58.3% used DevOps functions within their organizations.
What is CI/CD?
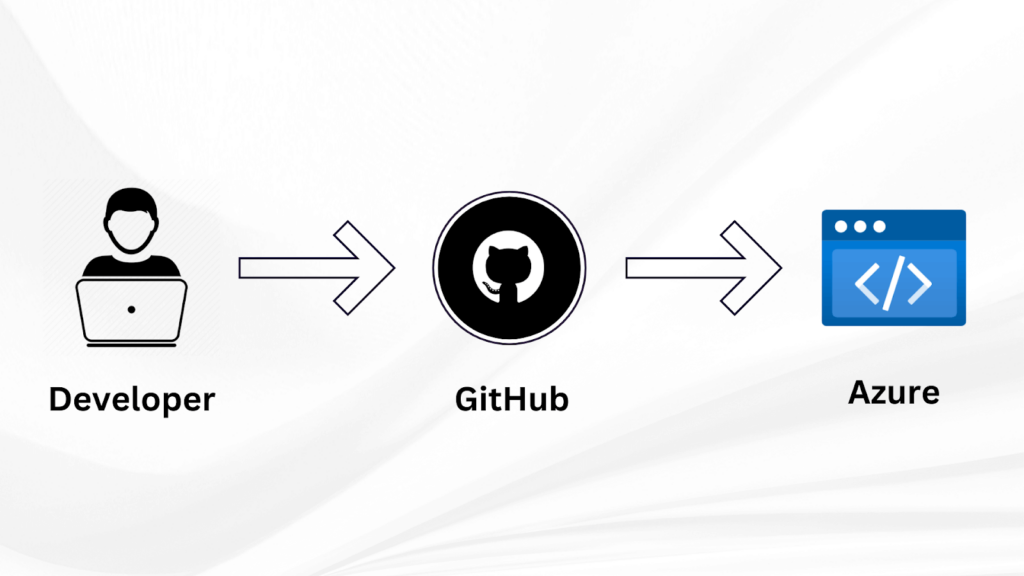
Continuous integration and continuous deployment are important trends in modernizing traditional work processes for development teams. CI/CD automation in the software release helps speed up development cycles and create high-quality code. With the implementation of CI/CD practices, teams can release features as frequently as necessary and respond to user feedback, thus keeping up high standards of the software.
Overview of Azure Static Web Apps
Azure Static Web Apps is a fully managed service that enables you to deploy and host static web apps easily. It natively integrates with your GitHub repository, which adds ready CI/CD for changes to go live once you push it into your repository. Azure Static Web Apps also support custom domains, SSL certificates, and global content delivery, making it perfect for any modern web app that requires quick, scalable, and secure hosting.
GitHub Actions
GitHub Actions enables you to automate tasks within your GitHub repositories. You can create workflows triggered by events such as push and pull requests or schedule them to run at specific times. Each workflow consists of multiple jobs, each job a series of steps. The execution of these steps is carried out by runners, which can be GitHub-hosted virtual machines or self-managed environments.
Key concepts in GitHub Actions
- Workflows: Defined in YAML files within the .github/workflows directory. They specify the automation processes.
- Jobs: A workflow can run multiple jobs in parallel or sequentially. Each job contains a set of steps.
- Steps: Individual tasks within a job, such as checking out code, setting up a language runtime, or running a build script.
- Runners: Environments where workflows are executed. GitHub provides hosted runners with different operating systems, or you can use self-hosted runners.
Why Azure Static Web Apps?
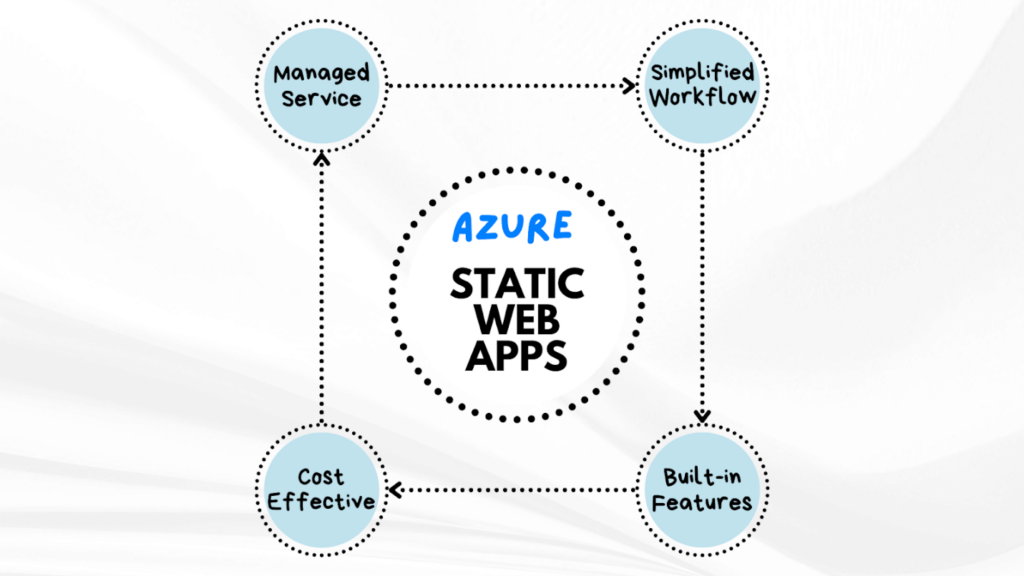
Choosing the right platform to deploy web apps is very important for efficiency. Azure Static Web Apps has the following unique advantages over other CI/CD tools like AWS CodePipeline, Jenkins, and Travis CI.
Fully managed service
Unlike Jenkins, which requires you to set up and subsequently keep a CI/CD infrastructure running, Azure Static Web Apps is a fully managed service. No server management or maintenance is required, so you are free to focus on development.
Simplified workflow
Azure Static Web Apps includes native support for most industry-leading frameworks, such as Angular, React, and Vue.js. This out-of-the-box support ensures that your app can be built and deployed without extensive configuration.
Built-in features for modern web apps
Azure Static Web Apps includes essential features like:
- Custom domains: Easily configure custom domains.
- SSL certificates: Automatically manage SSL certificates for security.
Cost efficiency
It provides an affordable solution. Azure Static Web Apps even has a free tier, which includes SSL, custom domains, and generous bandwidth. This makes it perfect for small projects or startups.
Setting up Azure Static Web Apps
Step 1: Log in to the Azure Portal
Navigate to the Azure portal and log in with your credentials.

Step 2: Create a resource
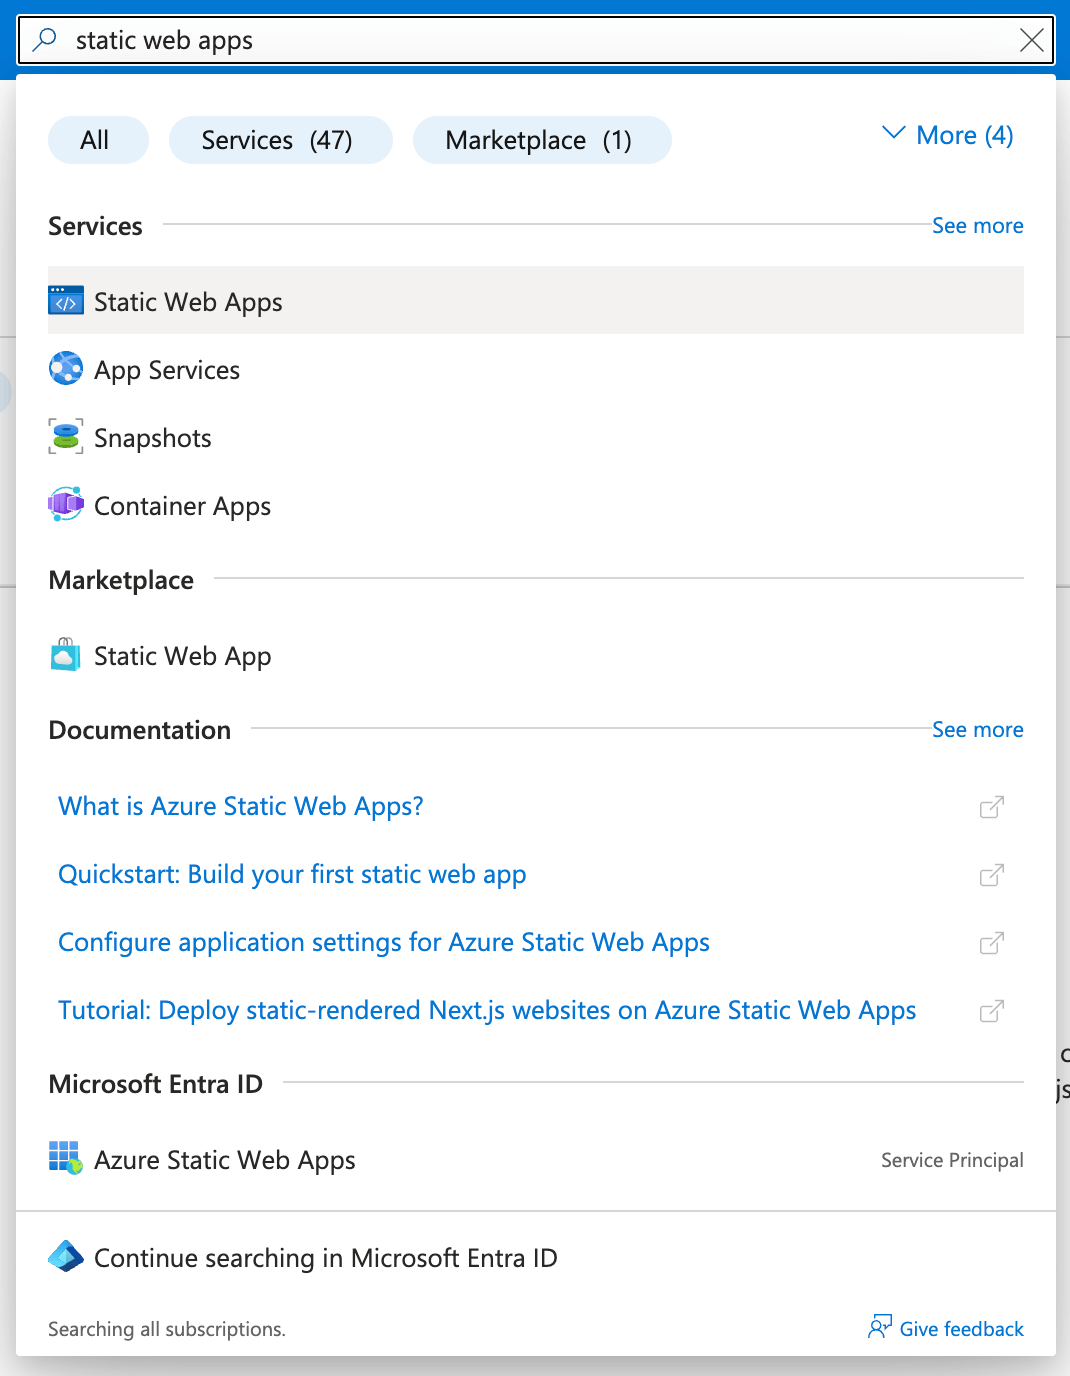
Search for Static Web Apps in the search bar to create a resource.
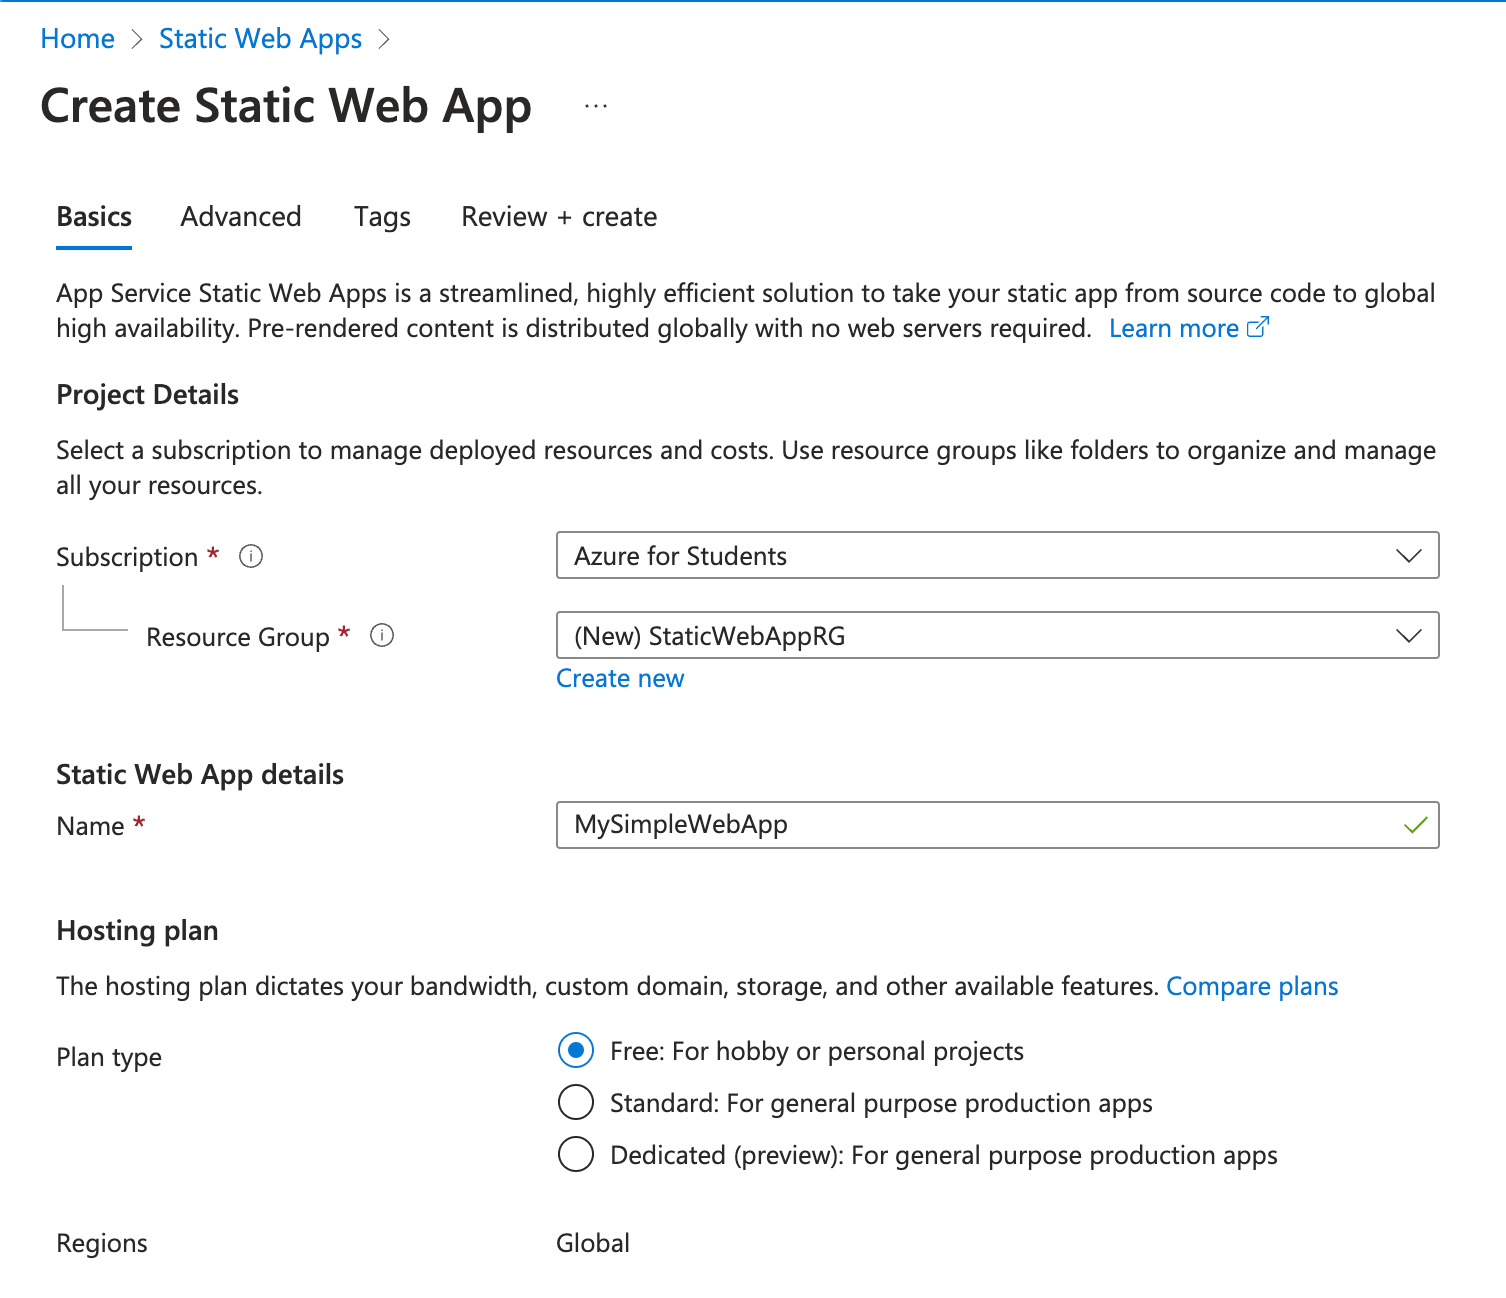
Step 3: Fill out basic information
Provide your app’s name, subscription plan, and resource group. If you don’t have a resource group, you can create one.
Step 4: Deployment source
Choose GitHub as your deployment source.
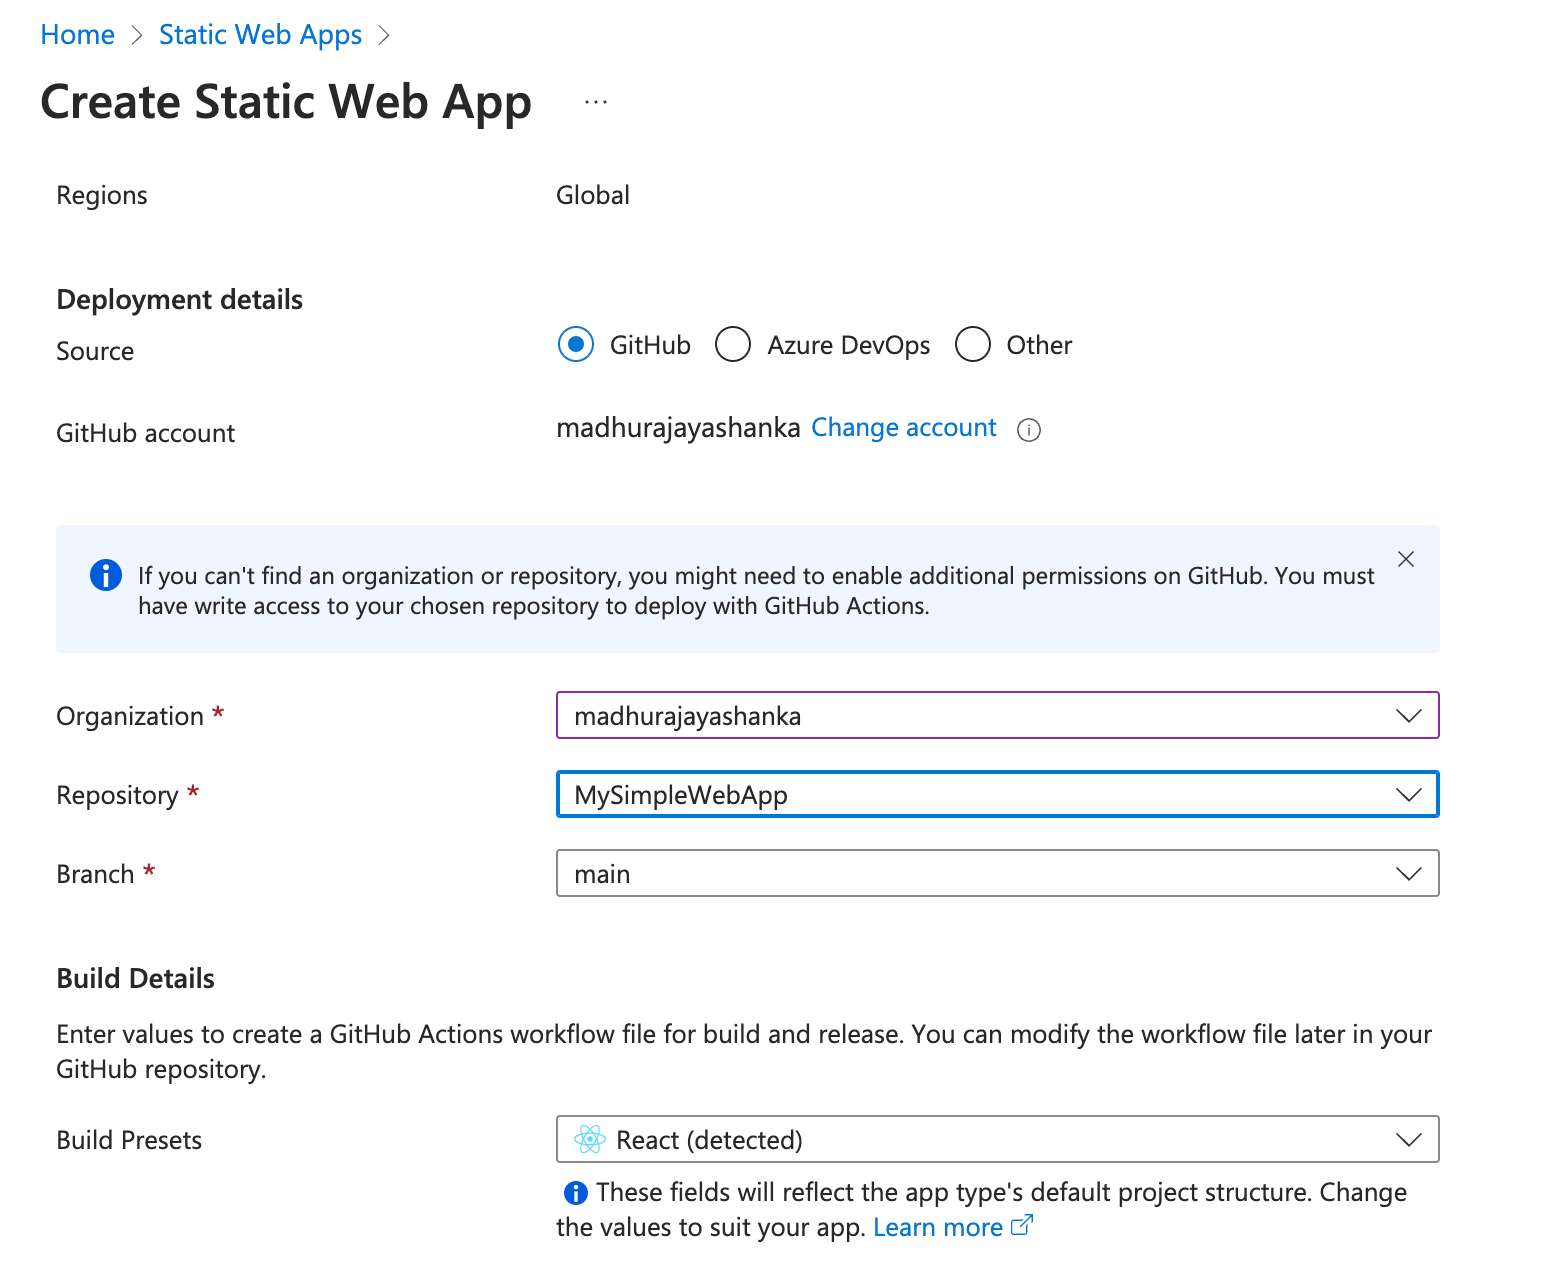
Step 5: Authorization
Authorize Azure to access your GitHub account.
Step 6: Select repository
Select the repository and branch from which you want to deploy.
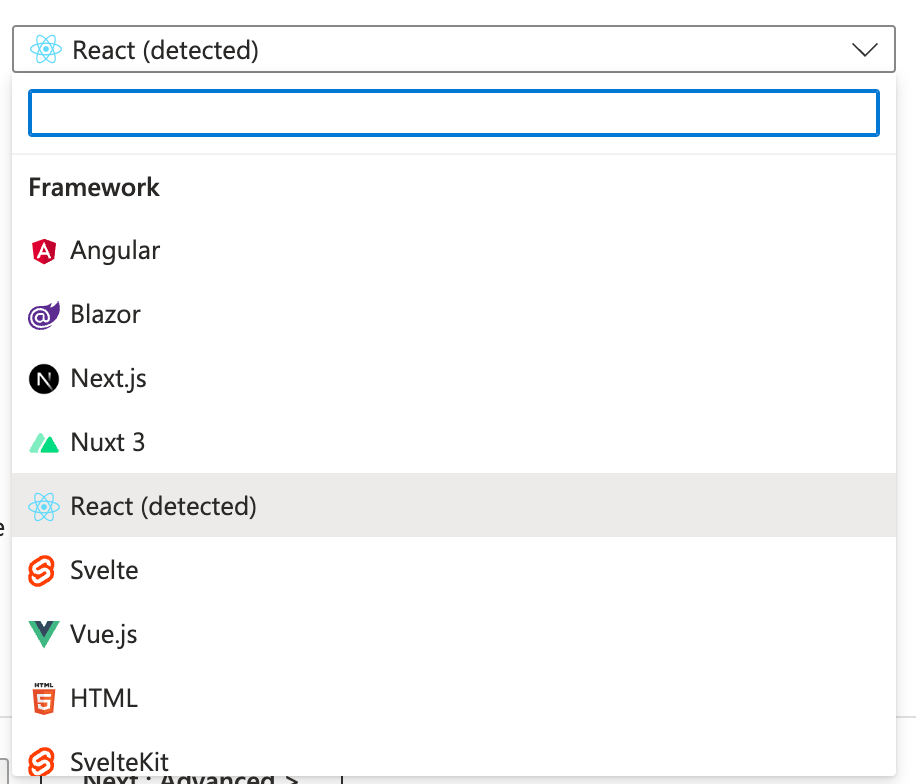
Step 7: Build details
The web app framework or library will be automatically detected. If not, you can manually select it.
Finalizing the setup process
Review the details and click Create.
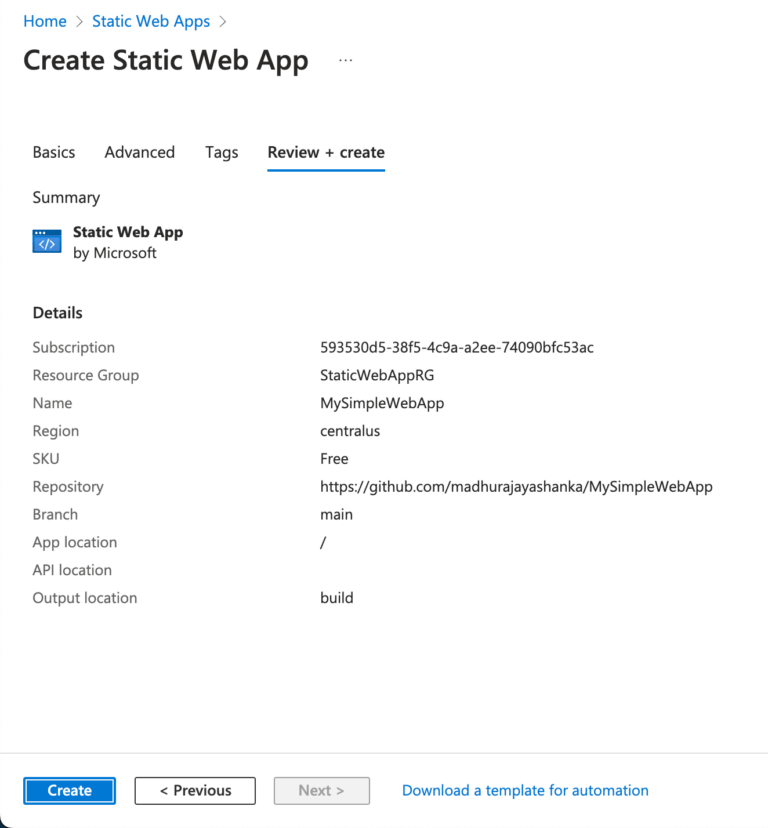
Once the app is created, Azure will automatically generate a GitHub Actions workflow in your repository.
Monitoring deployment status in GitHub
After setting up the deployment, if you go to your GitHub repository, you’ll see a new directory named .github. You’ll find a file for the automatically created workflow inside this directory. This file sets up your static web app’s CI/CD pipeline.
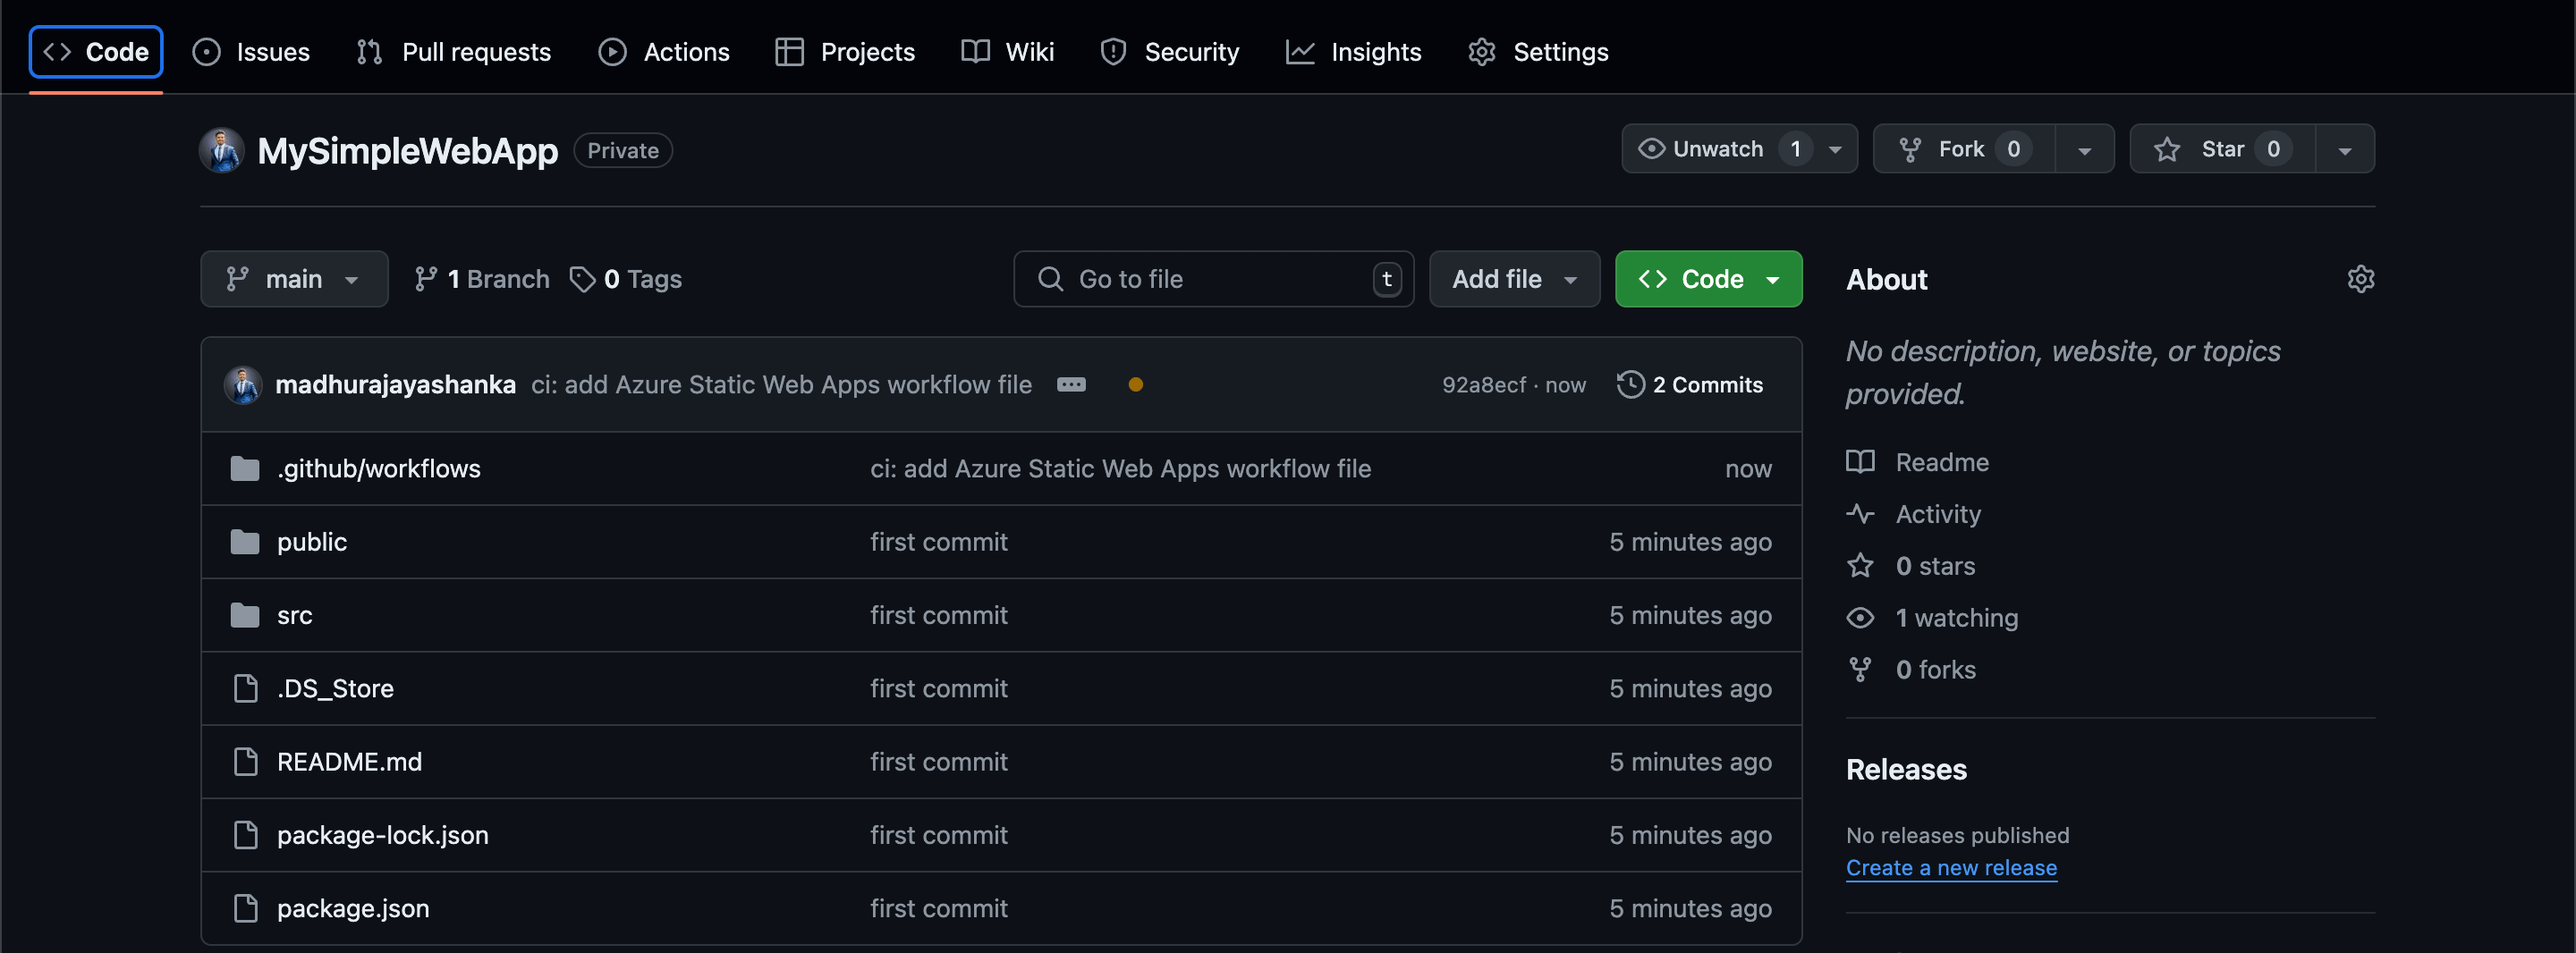
Running Actions
In your GitHub repository’s Actions tab, you will see a running action that represents the deployment process. The workflow file triggers this action and executes the steps necessary to build and deploy the web app.

Viewing deployment status
The action will be completed after some time. When you go to Build And Deploy and scroll down, you can see the deployed URL.
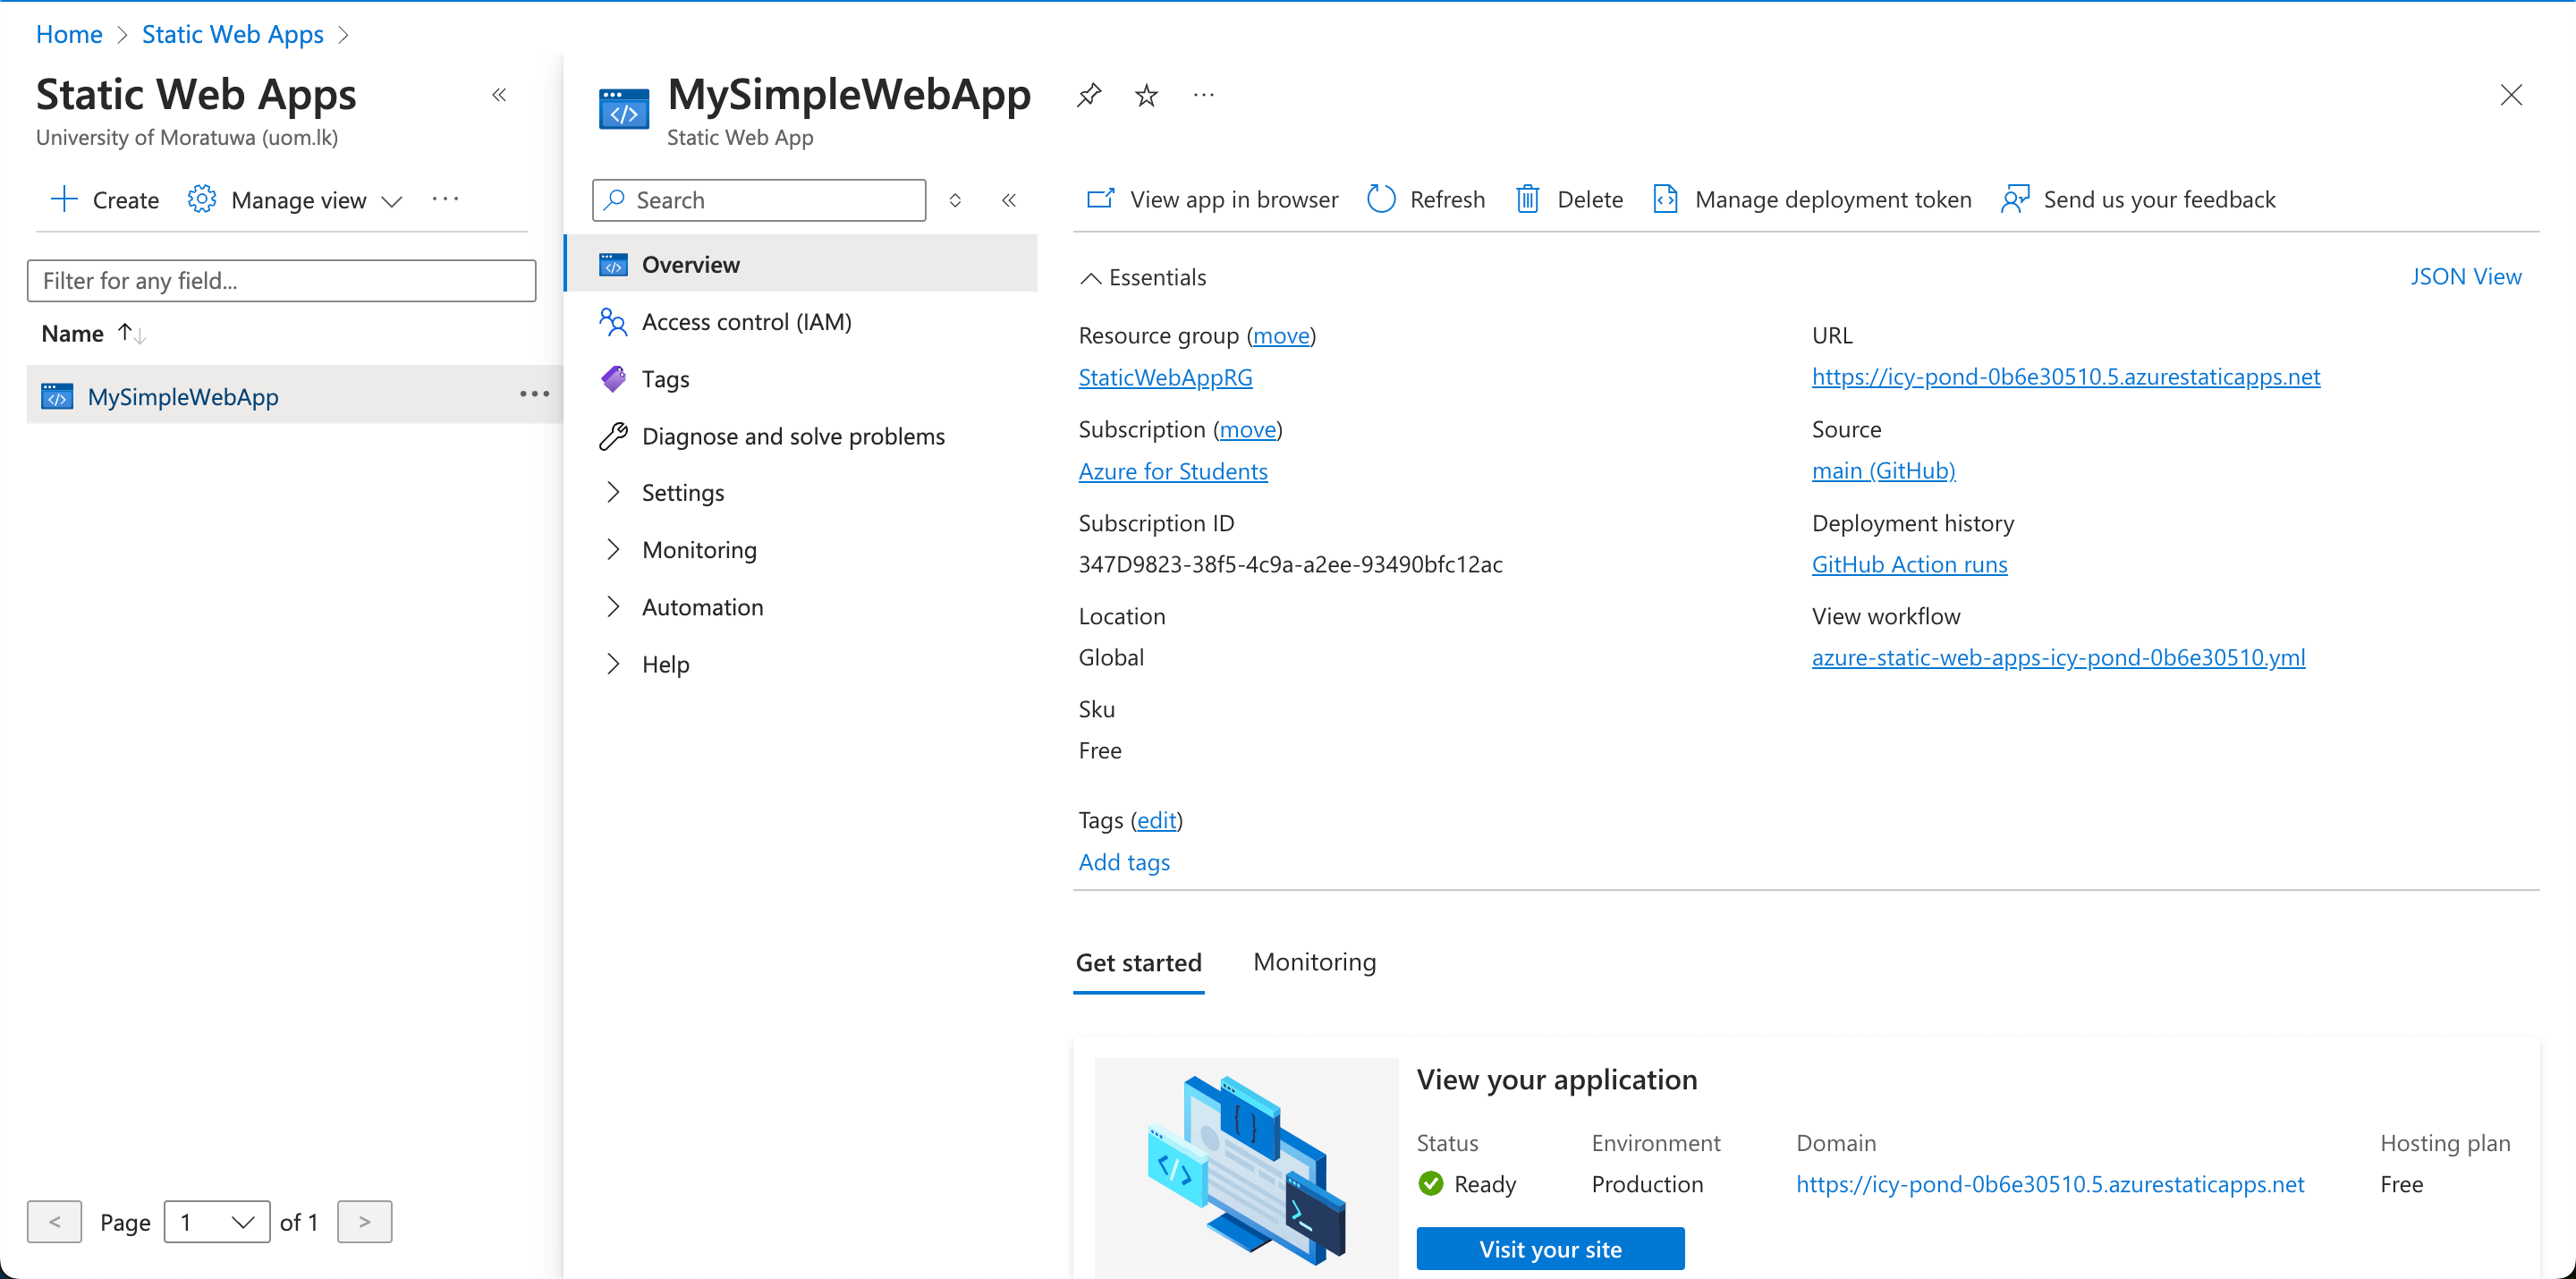
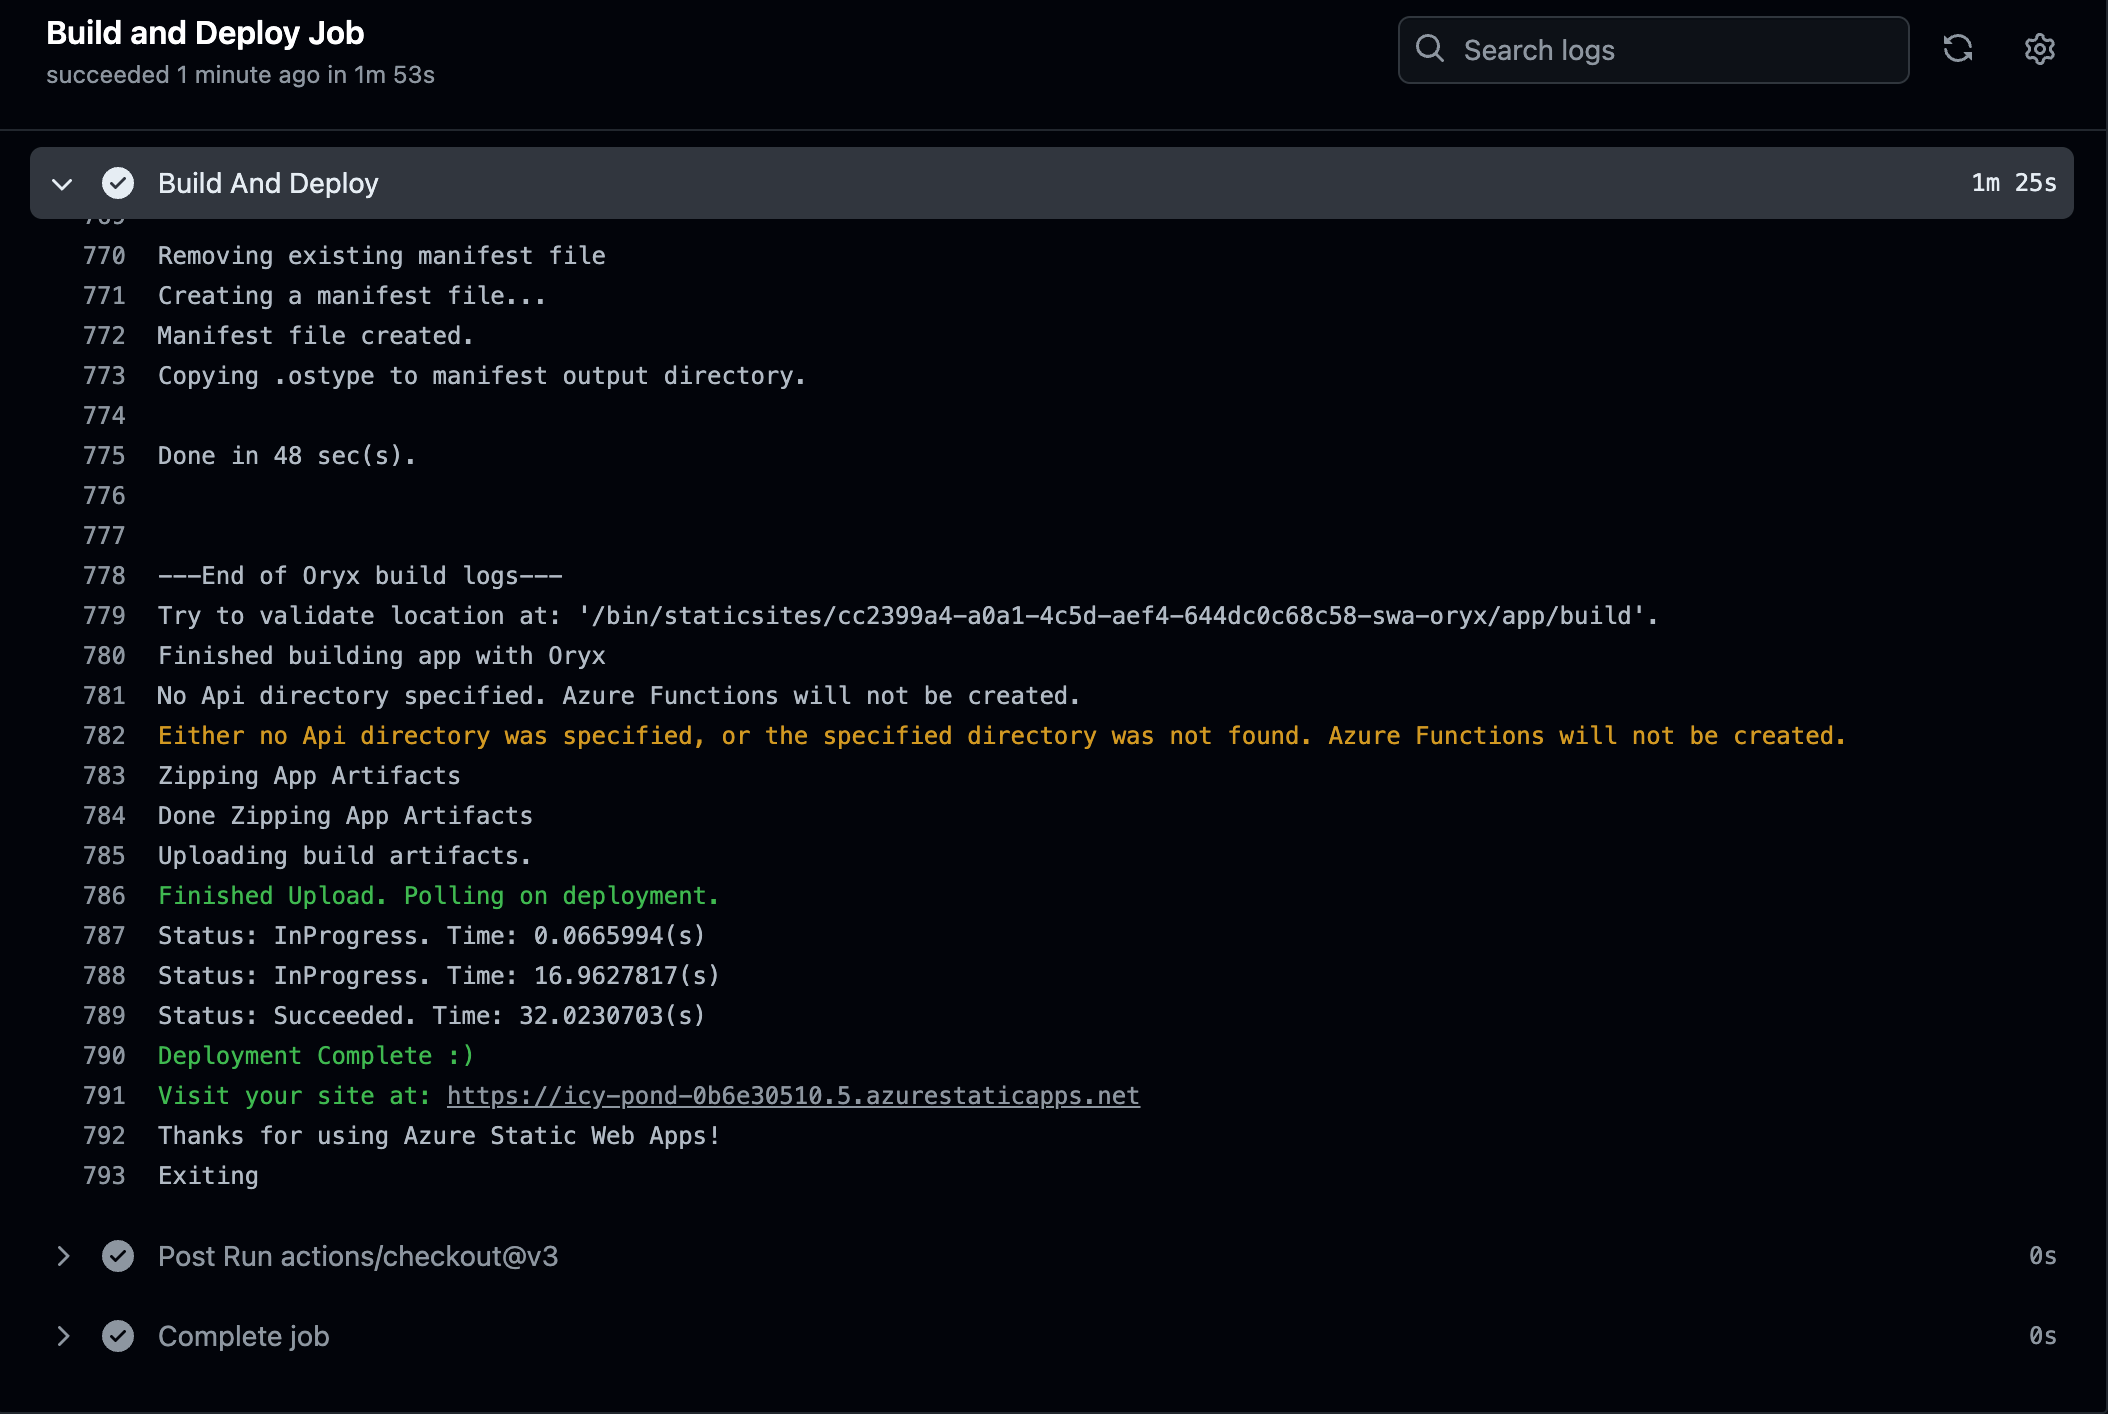 When you click on the web app we deployed, you will be redirected to it. You can also see it in the Azure portal when you click on the project name.
Deployed web app
The deployed web app looks like the following image.

Continuous Deployment with code changes
When you change your code and push it to the GitHub repository, an automatic action is triggered. This action follows the same workflow to build and deploy the updated code to Azure.
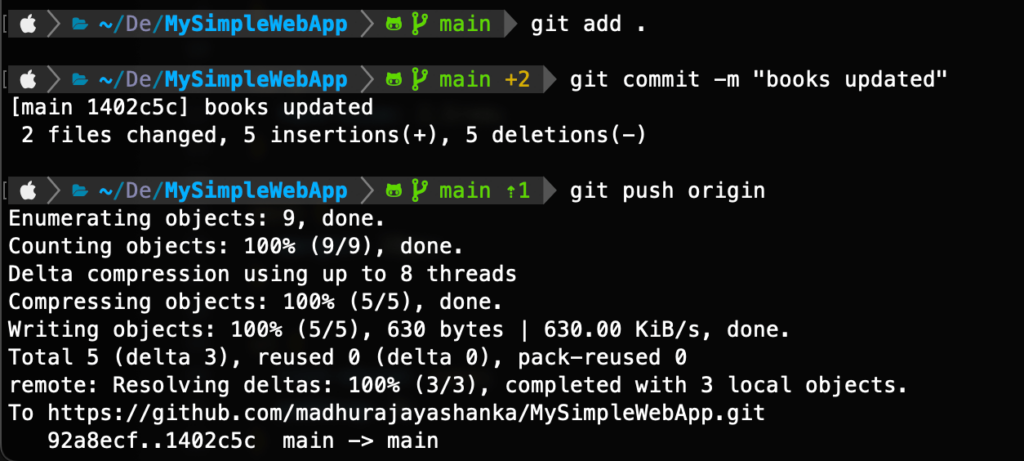
Once the action is completed, the updated site will be available using the same deployment URL.
 This ensures that your web app is always up-to-date with the latest changes.

Monitoring and notifications
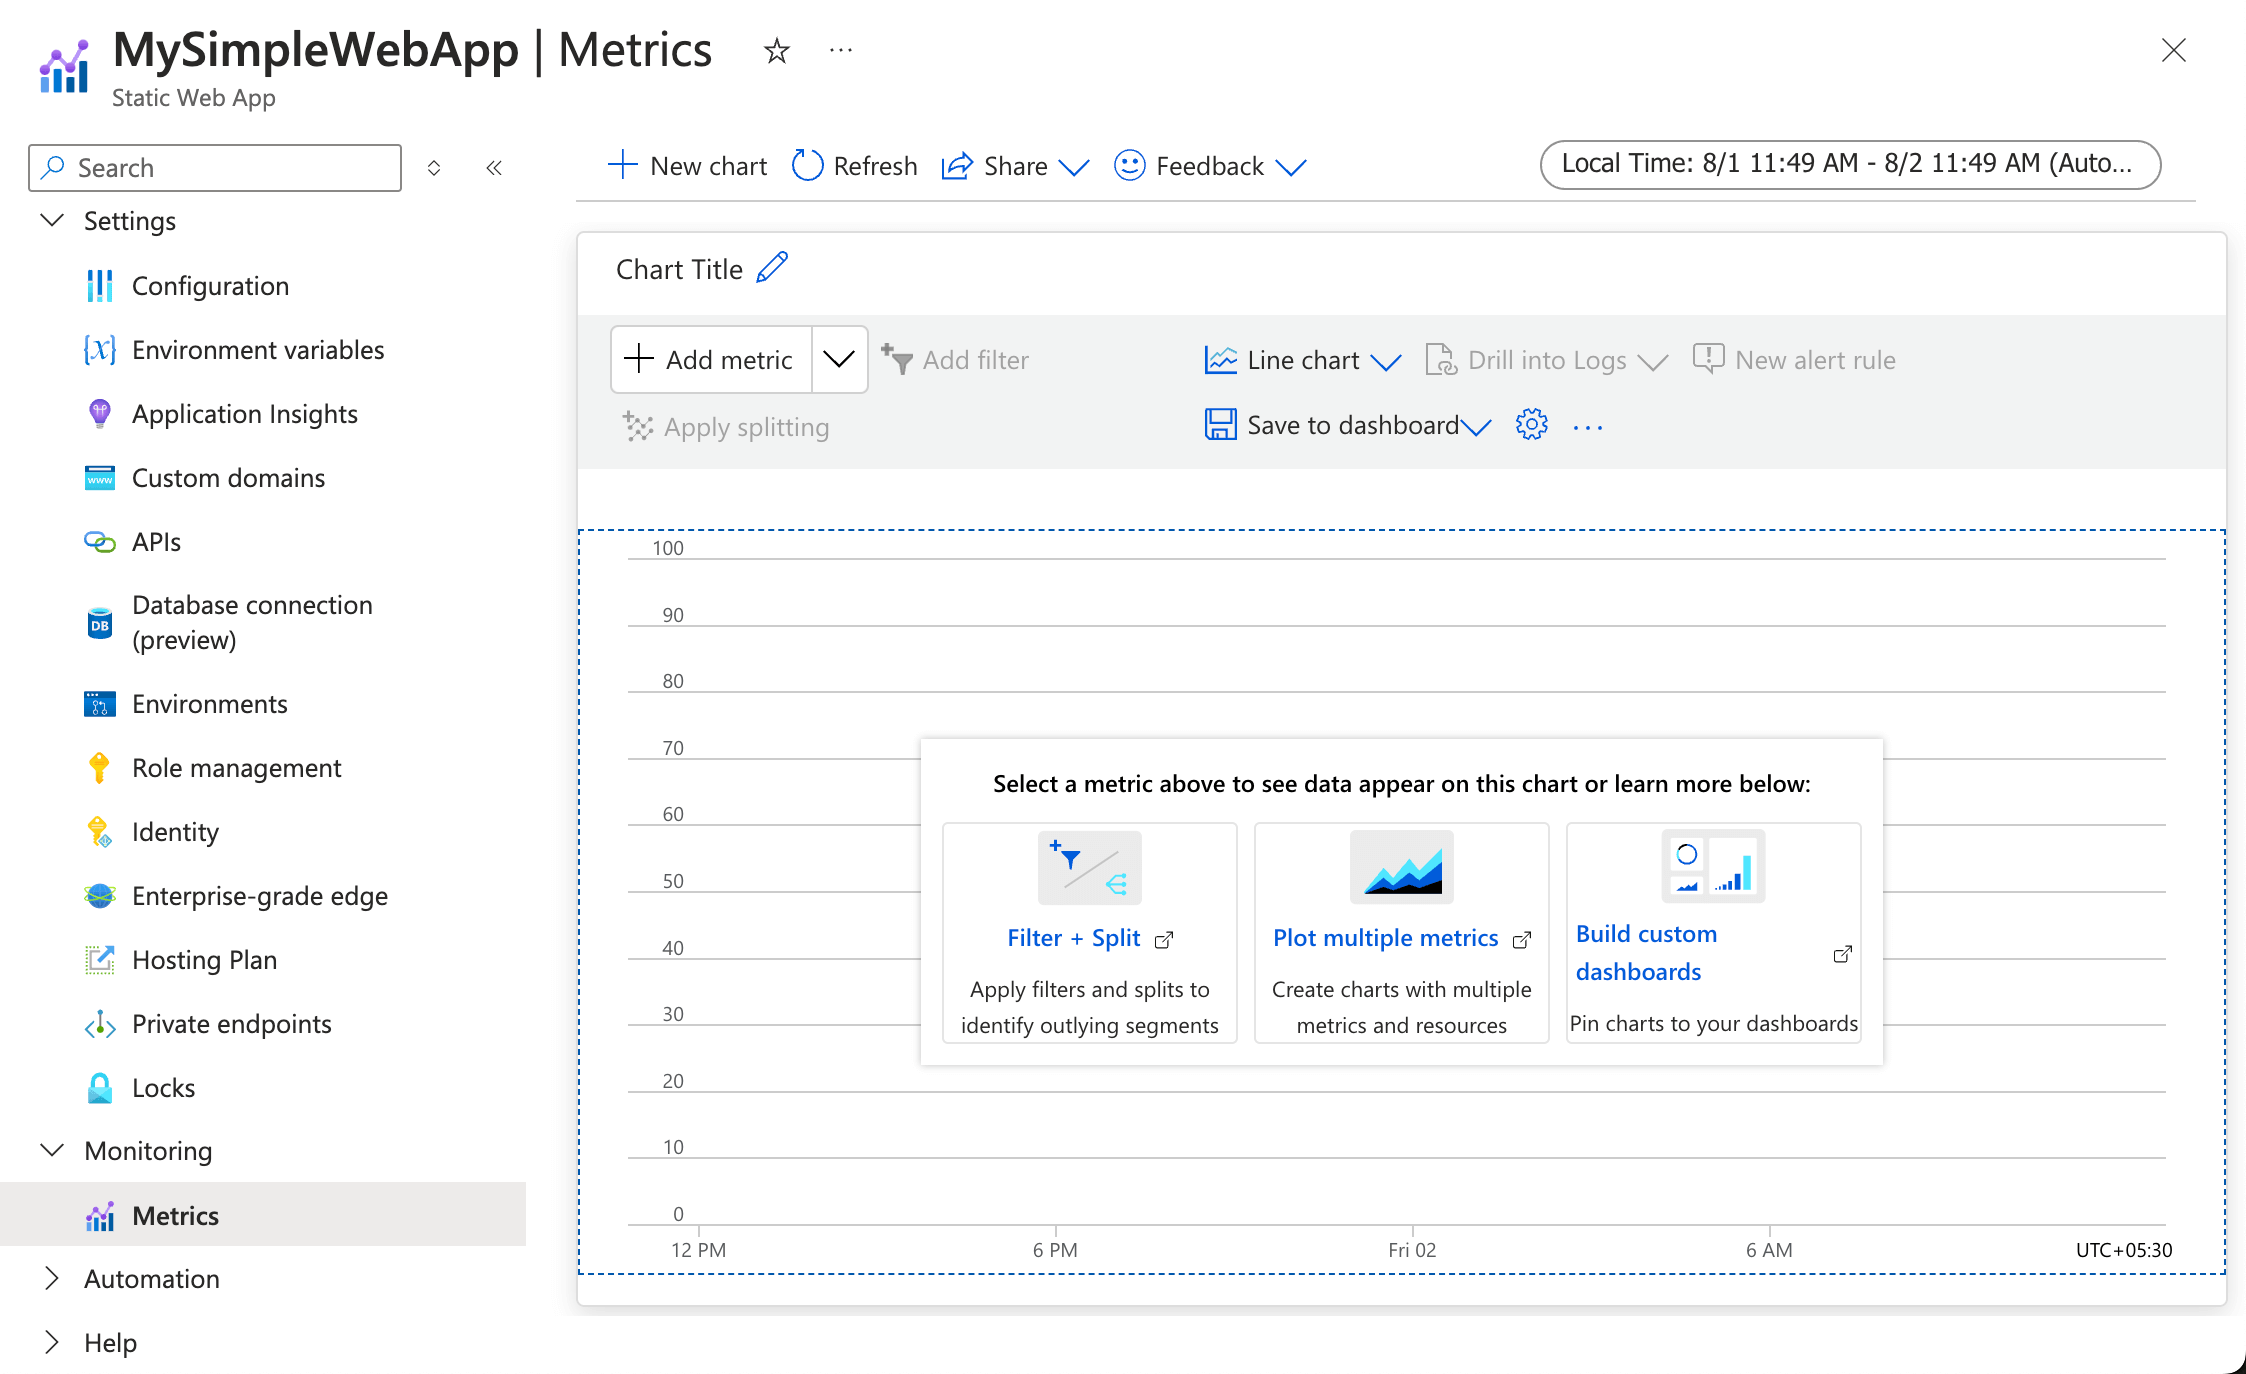
You can monitor the deployment status and log directly into the Azure portal. This will help you track the health and performance of your deployments, access detailed logs for troubleshooting, and ensure that your app is running smoothly.
 Connect with collaboration tools like Slack or Microsoft Teams to receive real-time notifications. This integration allows your team to stay updated on the build
and deployment events, enabling quicker responses to any issues that may arise.
Best practices for CI/CD with Azure Static Web Apps
Keeping workflows DRY
Adhere to the DRY (don’t repeat yourself) principle to maintain clean and manageable CI/CD pipelines. Extract common steps into reusable actions or workflow templates. This approach simplifies your workflows and ensures consistency across different projects or stages.
Reusable Actions: Create GitHub Actions for repetitive tasks like build processes or deployments. Store these actions in a separate repository and include them in your workflows using <repository>@<tag>.
Security considerations
Handling secrets
Properly managing sensitive information is crucial for security. To handle secrets securely, use GitHub Secrets and the Azure Key Vault:
- GitHub Secrets: Store your secrets in GitHub Actions using the repository’s Secrets settings. Reference these secrets in your workflow files to avoid hardcoding sensitive data.
env: AZURE_CREDENTIALS: ${{ secrets.AZURE_CREDENTIALS }} - Azure Key Vault: Integrate Azure Key Vault to store and retrieve secrets securely during deployment. Use the Azure Key Vault Action to fetch and inject secrets into your workflows.
- name: Get secrets from Azure Key Vault
  uses: azure/get-keyvault-secrets@v1
  with:
   keyvault: <YourKeyVaultName>
   secrets: <YourSecretNames>
Automated dependency scanning
Use tools like GitHub Dependabot or Snyk to automate dependency checks and receive alerts on vulnerabilities. Configure these tools in your repository to run regularly and keep dependencies up-to-date.
- name: Run Dependabot
  uses: dependabot/fetch-metadata@v1
Optimizing Build and Deployment times
Implement caching mechanisms to improve efficiency and reduce build times. Caching stores dependencies and builds outputs that can be reused in subsequent builds:
- Node modules cache: Cache node modules to avoid reinstalling dependencies in every build. Use the cache action to store and restore in the cache based on the package-lock.json file.
- name: Cache Node modules uses: actions/cache@v2 with: path: ~/.npm key: ${{ runner.os }}-node-${{ hashFiles('**/package-lock.json') }} restore-keys: | ${{ runner.os }}-node- - Build Artifacts cache: Cache build artifacts to speed up subsequent deployments. Store built assets or compiled files and reuse them in future builds to save time.
- name: Cache Build Artifacts
  uses: actions/cache@v2
  with:
   path: path/to/artifacts
   key: ${{ runner.os }}-build-${{ hashFiles('**/build-output/**/*') }}
   restore-keys: |
    ${{ runner.os }}-build-
Following these best practices can streamline your CI/CD workflows, enhance security, and optimize performance for Azure Static Web Apps.
Conclusion
In this guide, we have gone through how continuous integration and deployment improve development processes by automating tasks associated with integration and deployment. We explained how to set up Azure Static Web Apps, configure GitHub Actions, and perform effective monitoring of your deployments. With deeper dives into advanced configurations and best practices, you will be well on your way to streamline your Workflow and optimize your build time.
Are you ready to supercharge your deployment pipeline? Apply these practices in your projects today and let development efficiency shine.
